Archive for the ‘after’ Category

DIY NEON TABLE

Friday, October 5th, 2012

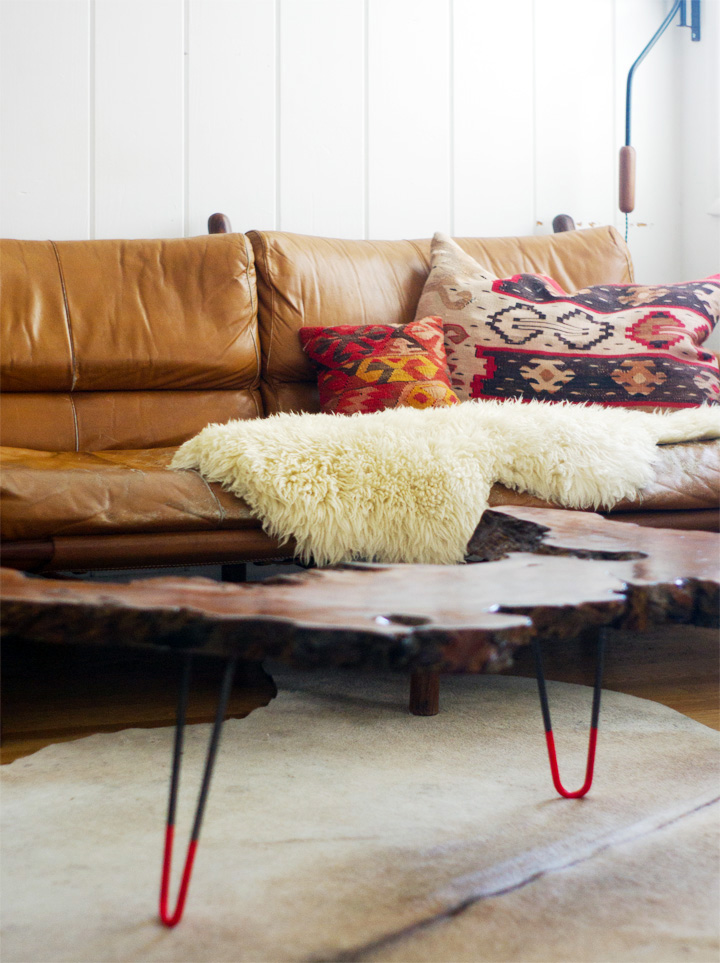
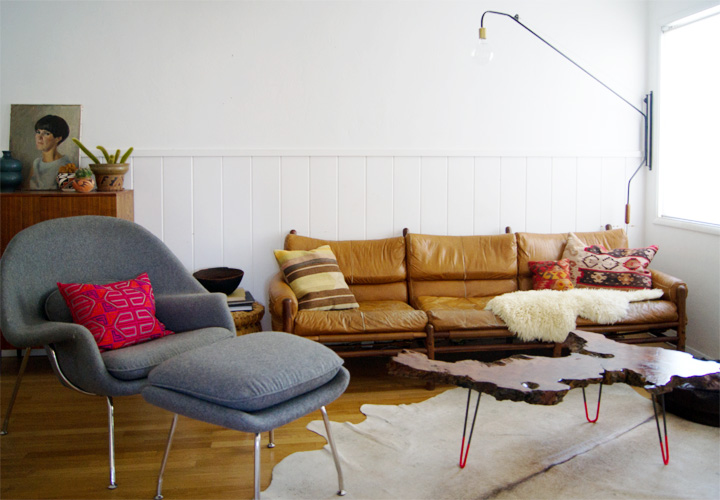
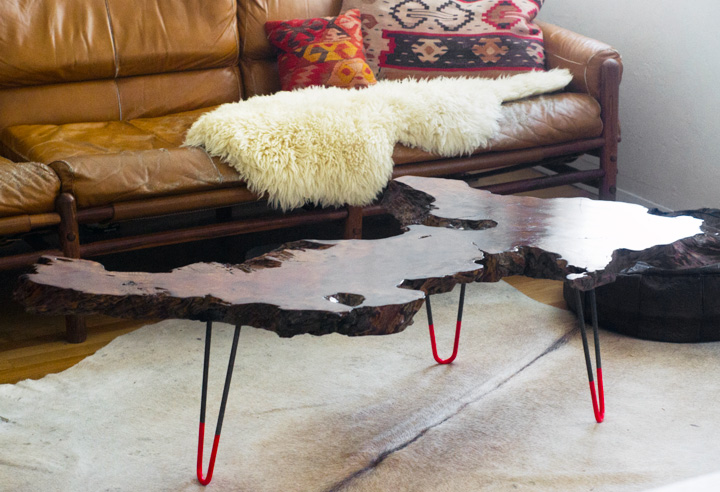
I made a new coffee table for the den and so can you! You know, if you want to or whatever. I don’t care! It’s your coffee and a place to put it, homeslice.

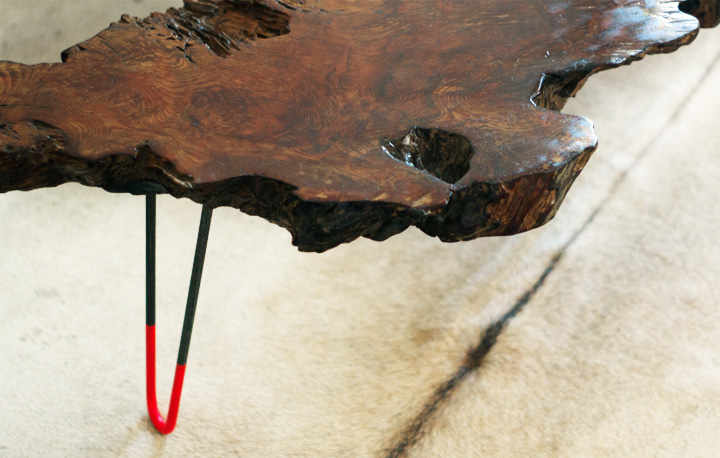
The den has always been my nemesis in terms of awkward layout, weird wainscoting and overall browntown-ness and remained so despite a year living with that gorgeous tulip table. Sometimes marble isn’t able to solve all your problems, so when I ran across this wood slab top on Craigslist I thought, hey, why not throw in some more brown to browntown and maybe – just maybe – add a touch of neon pizazz to fix this mess of a room.

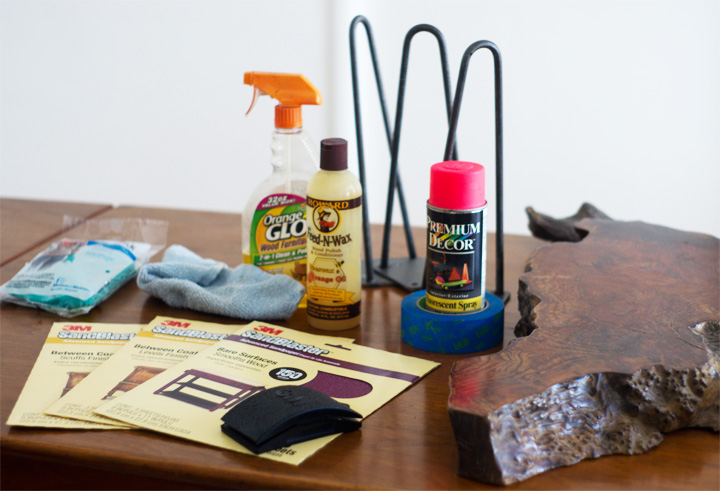
WHAT YOU’LL NEED 

– Table Top (I found this slab on Craigslist – eBay is a great source or THIS might work for you, but any top can work)
Hairpin Legs (Logan from OneFortyThree made these ones – oh, and check out his shop too)
Florescent Spray Paint
ScotchBlue Painter’s Tape
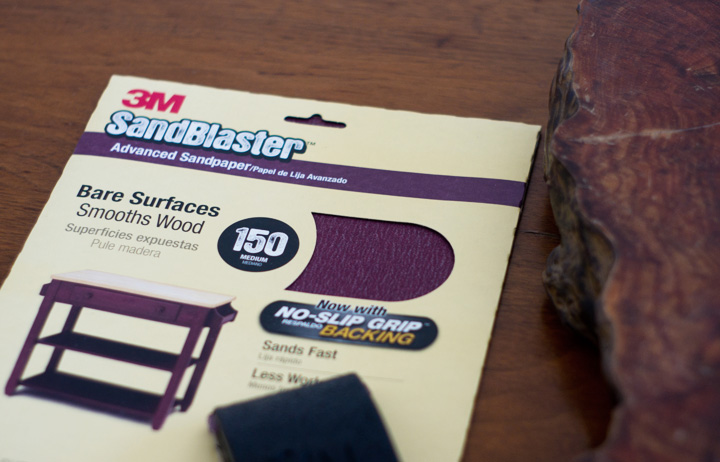
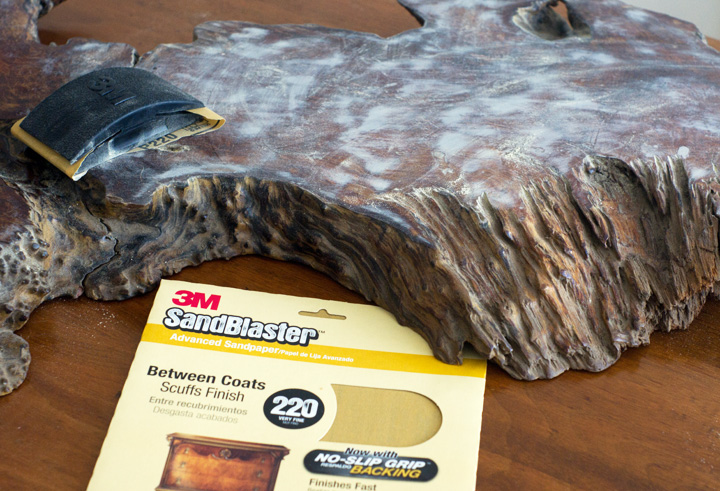
3M Advanced Abrasives Sandpaper (I used the 150 and 220 grit)
3M TEKK Protection Saftey Gear (gloves, mask, ect.)
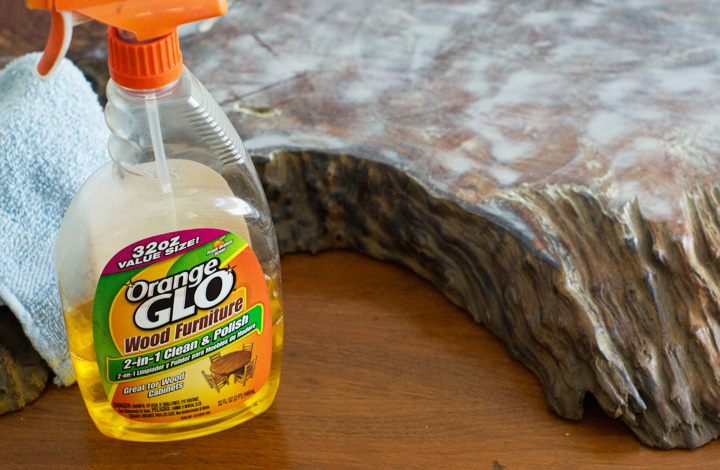
Orange Glo Spray Cleaner
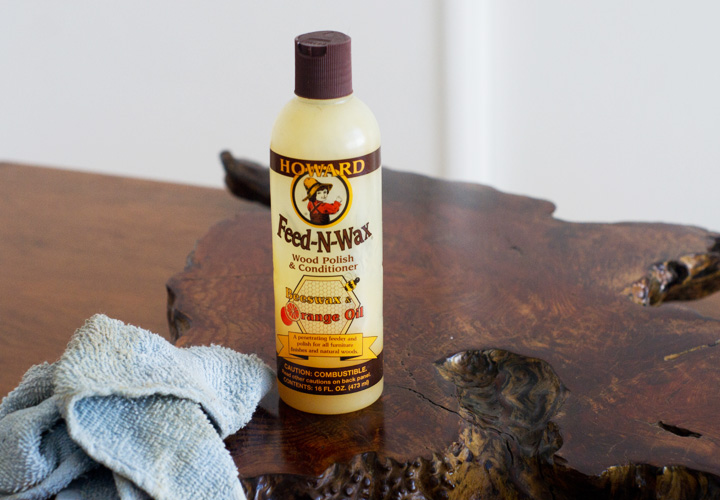
Howard Feed & Wax
Cordless Drill
– Tape Measure
– Screws (length and type best suited for your table top)
– Rags

HOW TO DIY 

1. My wood slab had some surface scratches and vintage grim that needed to be ‘refreshed’, so I started hand-sanding with the rougher 150 grit sandpaper to knock down the majority of the damage and finished up with the very fine 220 grit for a nice smooth finish.

*Tip Corner: Depending on how rough your wood is or if it has any sort of lacquer or stain finish, you might prefer using a power sander to expedite the sanding process. Wear some eye protection and a mask if power sanding off any kind of preexisting finish, ’cause seriously who knows what it is or if you should ingest it (you really probably shouldn’t FYI). Anyways, my wood was in pretty good shape and didn’t need a ton of sanding to look and feel good.

2. After sanding, go ahead and remove all the dust and icky stuff with some Orange Glo Spray and a clean rag in order to prep the wood for the final buff.

3. Sometimes when refinishing wood I’ll use Danish Oil to restore and treat the wood and then buff it, but this slab was already in pretty good shape and didn’t really need it, so I finished up by buffing on some Howard Feed & Wax (aka my favorite thing ever).

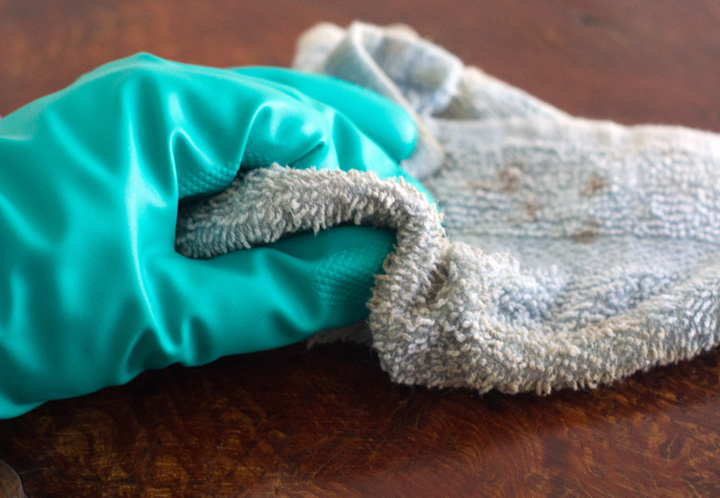
*Tip Corner: After years of gross oil hands turning into gross oily hobo hair (when I inevitably touched my hair with my oily hands) I finally threw on some gloves and avoided the whole situation. Now I am an adult. An adult doing things safely or something.

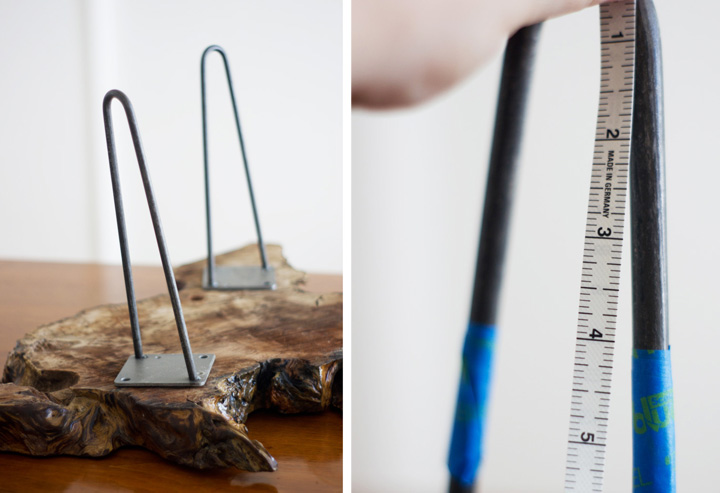
4. After the top was all finished up I flipped it over and roughly placed the hairpin legs to eyeball where they should go.

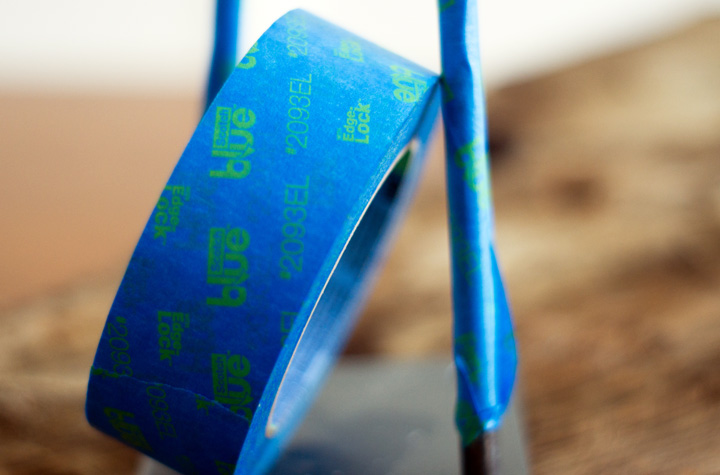
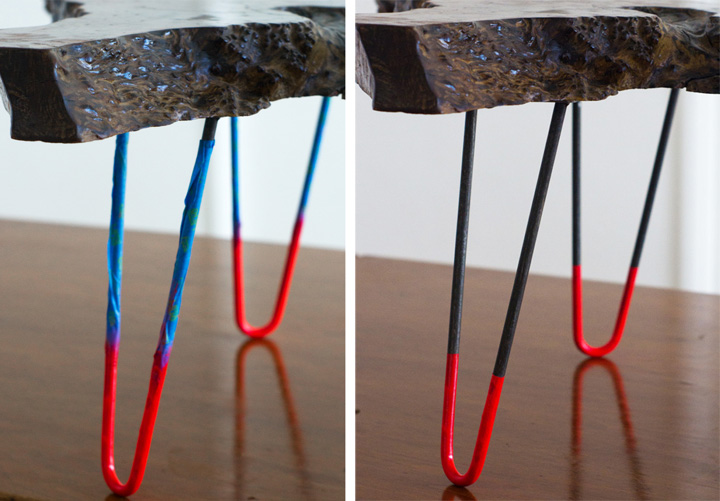
5. Once placement was decided, I taped off the legs at 4″ to prep them for the neon spray paint.

*Tip Corner: I taped the legs all the way down in order to avoid any over-spray. Why? Because I’m a messy and lazy spray painter, duh.

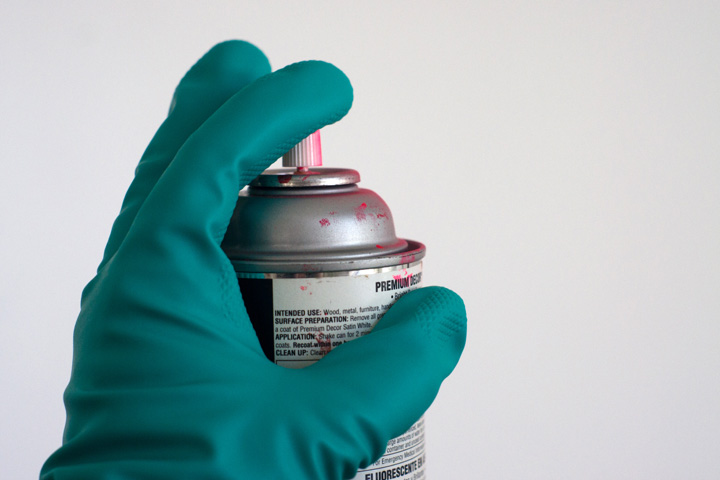
6. I threw on some gloves to avoid that messy nozzle spray paint finger thing that always happens and then gave each leg a few coats of paint. Also, go ahead and wear a mask and some eye protection for extra safety – you know, if you go all willy-nilly and spray paint crazy and want to protect stuff like your health. SAFETY.

*FYI, florescent spray paint seems thinner than normal paint and ended up taking more coats than I expected.

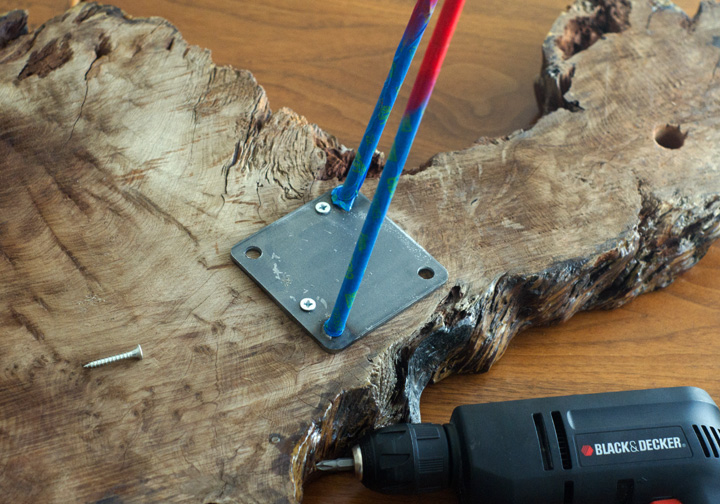
7. I screwed on the legs and then pulled off the tape.

BOOM. Done.

Easy-peasy custom neon fun times.

I’m super happy with how the coffee table turned out and really enjoy this little florescent touch to what has always been browntown central. Now if that lame wainscoting would just disappear without me having to do anything…

…………………………………………….

This post is a collaboration with 3MDIY. To learn more about safety and preparation, visit 3MDIY.com
COMMITTED

Tuesday, June 5th, 2012

Sighs of relief everyone. The dining room light situation is resolved.

Bubble it is.

Those terrible weeks of baited breath and restless nights are a thing of the past, so feel free to revel in relief as that desperate anxiousness in your heart melts away. Because yes. OH YES. The single most important lighting decision of our time concerning a dining room in a nondescript vintage home in a crappy neighborhood in the armpit of the Inland Empire has been made.

Look at how this lamp can now turn on and illuminate stuff. Stuff like dinner.

Spectacular.

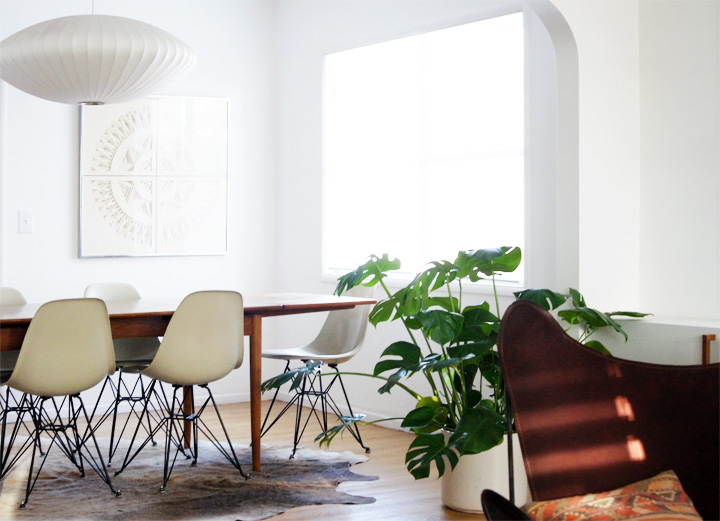
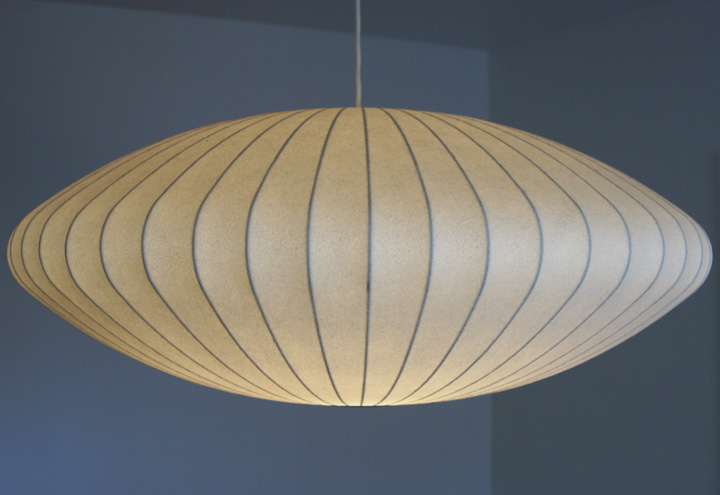
It’s like we finally connected those funny wires that stick out of the ceiling to the funny wires that stick out of the cord in order to fully commit to that good ‘ol ubiquitous Nelson bubble lamp in a dining room thing. And you know what? I love it. Unashamedly.

Goodbye pretensions. Hello thirty six inches of iconic mid century design.

Something feels different here…

Less fibery? More green? Somehow ruggy?

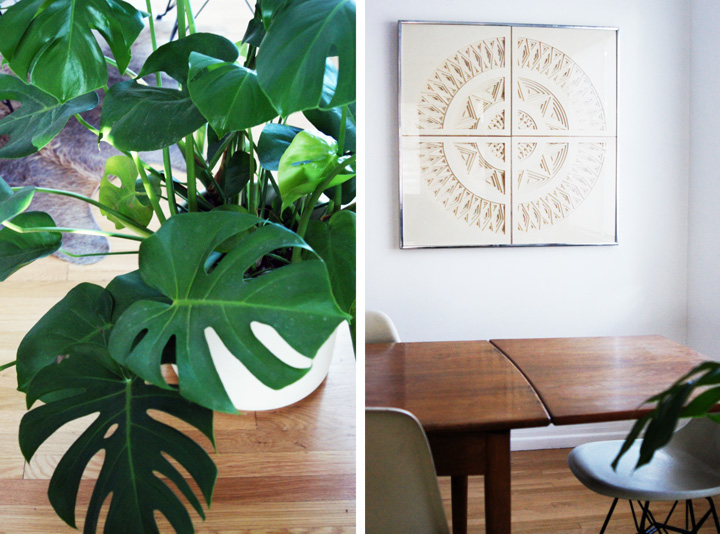
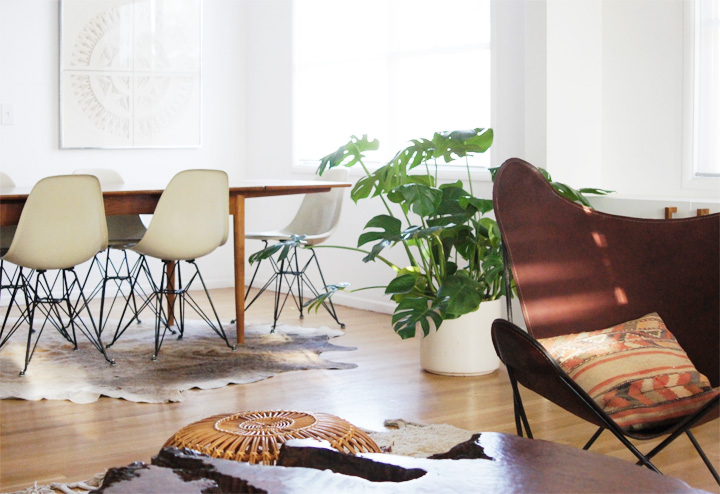
Pointless meandering aside, there’s obviously been a couple of additions and changes in the past few weeks that made the big bubble finally feel like the right choice. Firstly, yes, the amazingly huge fiber art wall hanging has moved (and not very far). Then the crazy grandma plant (or philodendron if you want to get all correct or something) was moved from the bedroom into here for some ‘effing greenery. Finally.

Plants make a room. This truth I live by, but somehow can’t enforce around the house.

Oh, then lastly, I slammed the old living room cowhide rug under the dining table. Rug action in the dining room finally seemed to make sense when paired with the Moroccan rug situation happening in the living room.

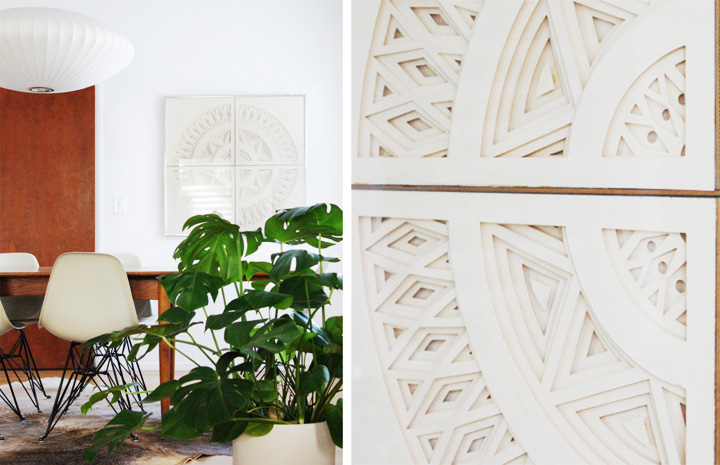
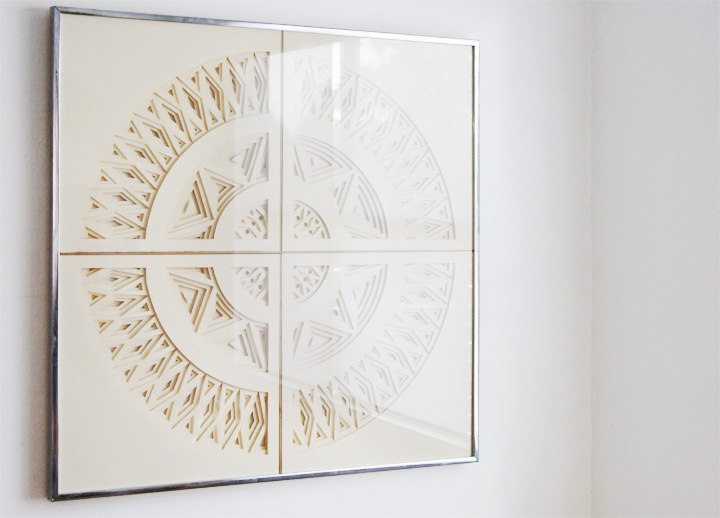
This incredible 70’s hand cut paper wall sculpture was a recent thrifty find at a local consignment/antique type shop. I believe I actually gasped out loud when I saw it leaning against the wall and then gasped again when I saw the affordable price.

Huge, handmade, strangely heavy, unsigned and beautiful. I could not love it more.

Reminds me of Greg Copeland for sure, but feels more like a study or experimental piece someone was playing around with.

My once lush and rampantly growing philodendron seems to have gotten a little stressed out after the move. I was hoping to break old patterns of neglect and serial plant killing by being a better and more attentive plant owner, but just ended up over-watering the thing.

Ironically, this baby prefers abuse.

Stupid plants. Make up your minds.

Also, the butterfly’s are back.

I probably should focus on being a better and more attentive blogger. Or on finishing some projects (like painting and fixing up that busted pocket door). Or clearing out some of the piles of vintage stuff laying just outside the cameras frame.

Yeah, this is all an illusion of organized cleanliness. Reality is much more cluttered.

COLOR DIPPING

Wednesday, April 18th, 2012

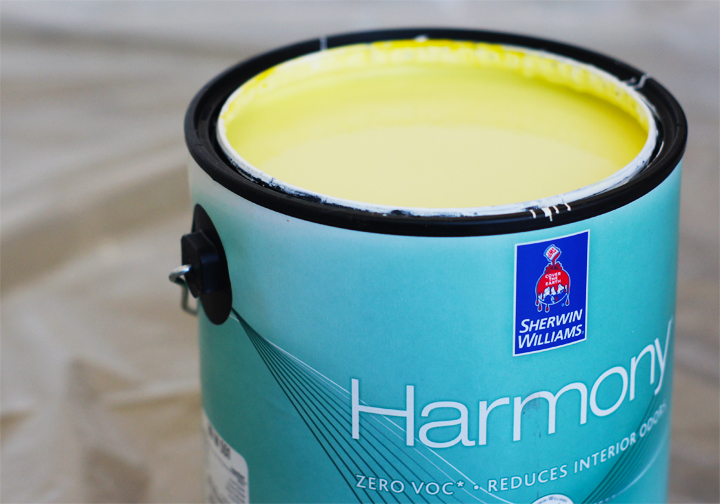
If you saw Emily Henderson’s blue office makeover or Cassandra’s red red redo on Coco and Kelley, then it’s old news that it’s Sherwin-Williams National Painting Week. I’m celebrating paint and painting and paint related things with a bit of DIY and the funnest of yellows, Fun Yellow.

DIY? Say what.

Here’s what: Burl. Jute. Color Dipping. Magic.

Lets do this thing.

…………………..

MATERIALS

TOP
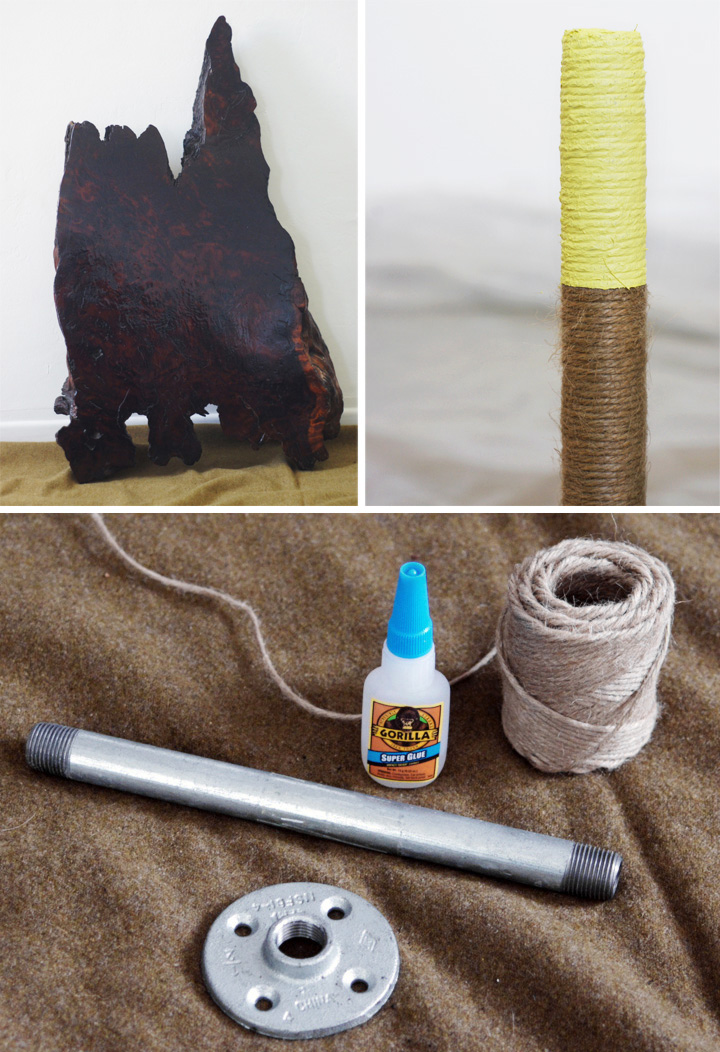
2 – wood tops/whatever you’d like to use. *I used two slabs of vintage redwood burl I found on Craigslist, but you can use anything your heart desires. Like maybe burl? Oh, wait.

LEG
6 – 1/2″ x 10″ galvanized steel pipe
6 – 1/2″ galvanized floor flange
1 – jute twine
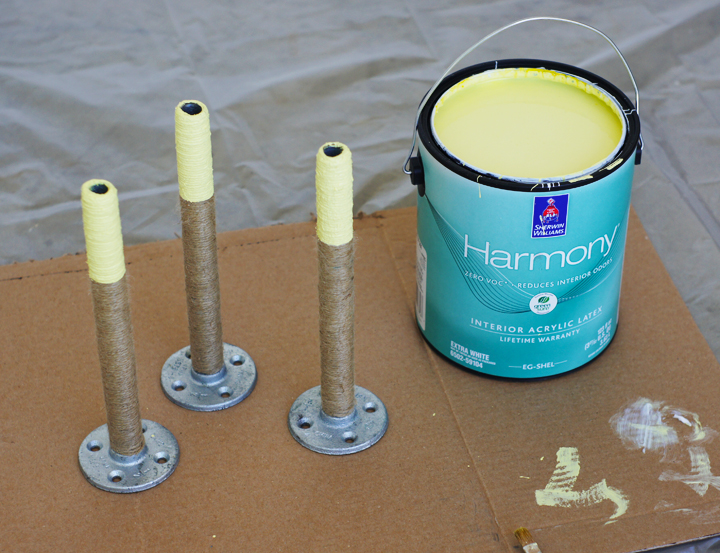
1 – paint *I used Sherwin Williams Fun Yellow

TOOLS
1 – drill
24 – screws
1 – glue *I used Gorilla Super Glue. Why? It was already here.
1 – masking tape
1 – small paint brush

HOW TO

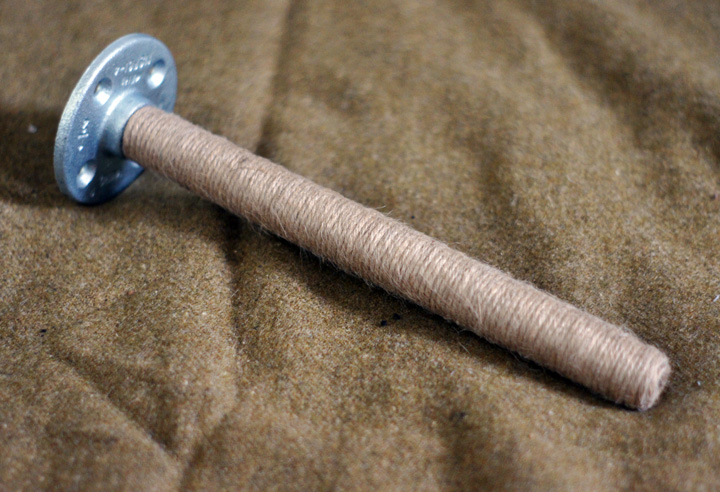
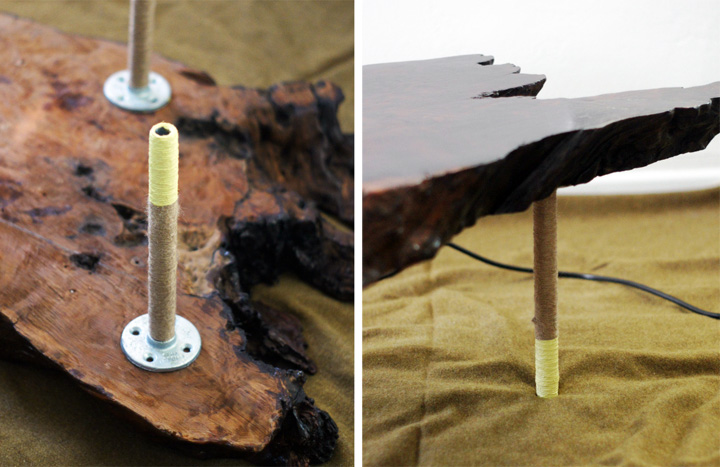
1. Screw the steel pipe (or nipple – if you prefer the hilarious technical terminology) into the flange.

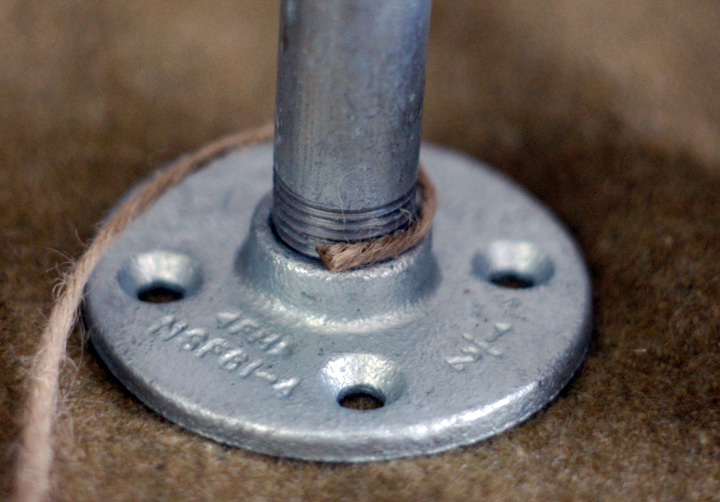
2. Squeeze a dollop of glue onto the base of the threaded part of the pipe and attach the end bit of that jute twine.

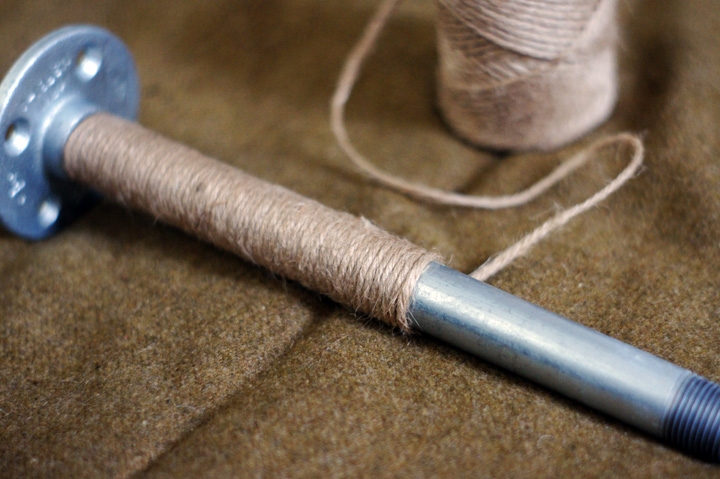
3. Wrap jute twine around the entire length of the pipe. Yes, it’s boring, but really doesn’t take that long.

*Be sure to keep the twine slightly taut as you wrap and also as you’re wrapping, it helps to push the wrapped twine down towards base for even coverage.

4. Finish wrapping the length of the pipe and cut the twine.

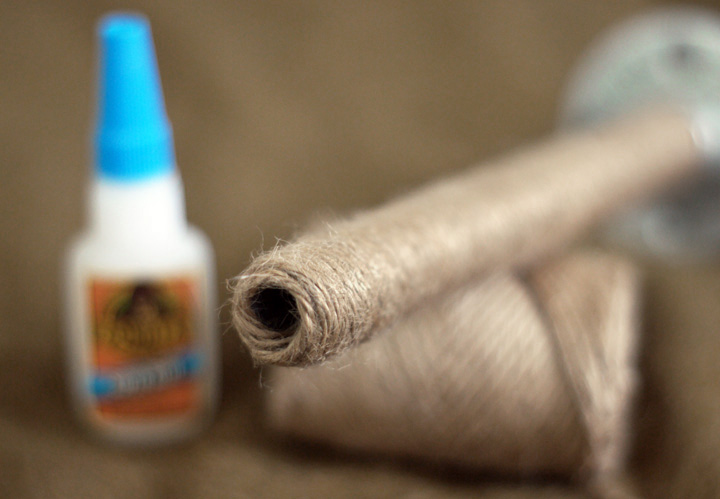
5. Tuck the loose twine bit into the pipe and secure with a spot of glue.

Now you have a fully jute wrapped leg. Hooray.

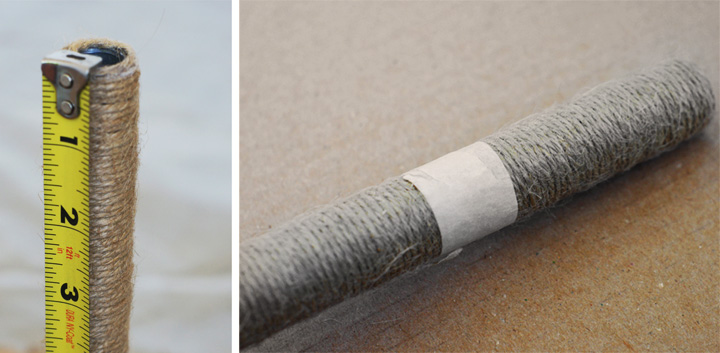
*Smart person tip: notice how the twine actually wraps over the pipes rough threaded end in order to protect delicate floors and such? Be nice to your floors!

6. Measure 3″ down from the foot end of the pipe.

7. Tape around the pipe horizontally at this 3″ mark.

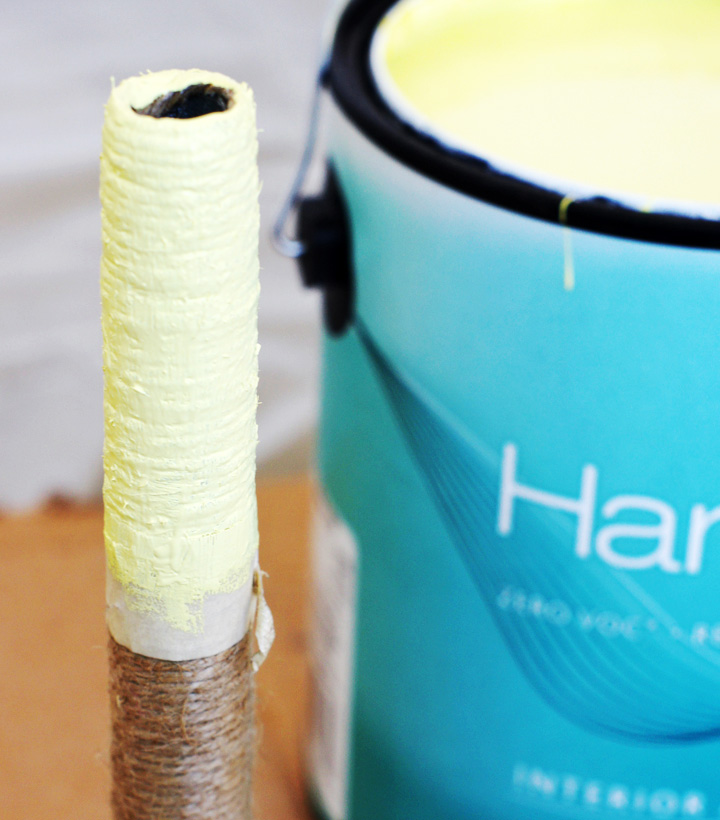
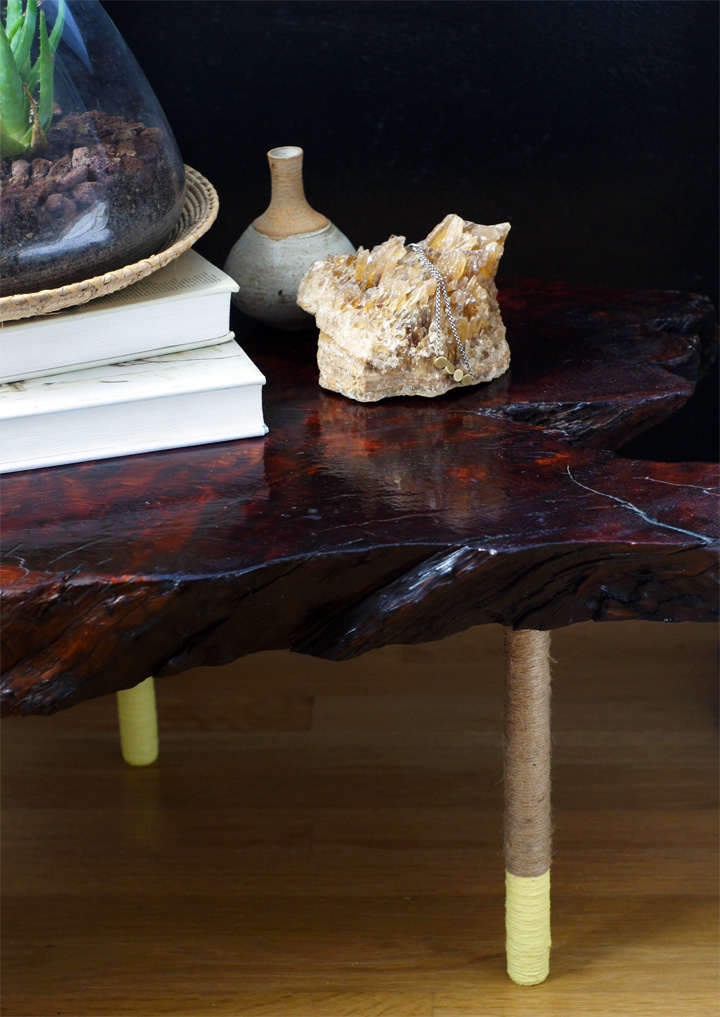
8. Dip the securely taped leg into some paint. Like yellow maybe?

*Smart person tip: Stuff old newspaper bits or paper scraps into the leg hole so it won’t fill up with paint and drip forever.

9. Brush off any excess paint drips with a small brush and lay the leg down to dry.

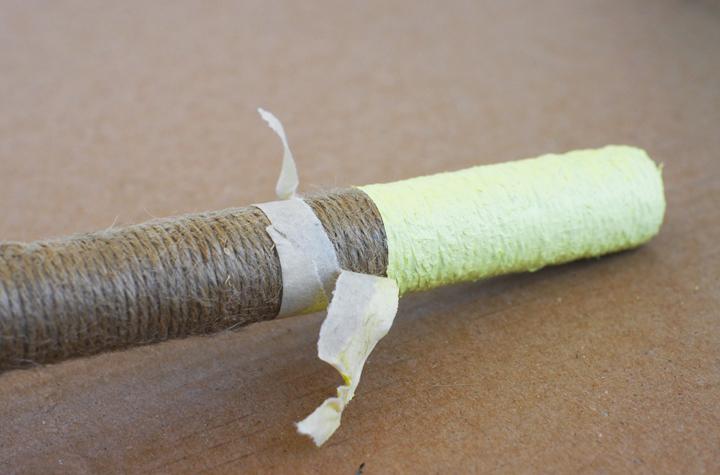
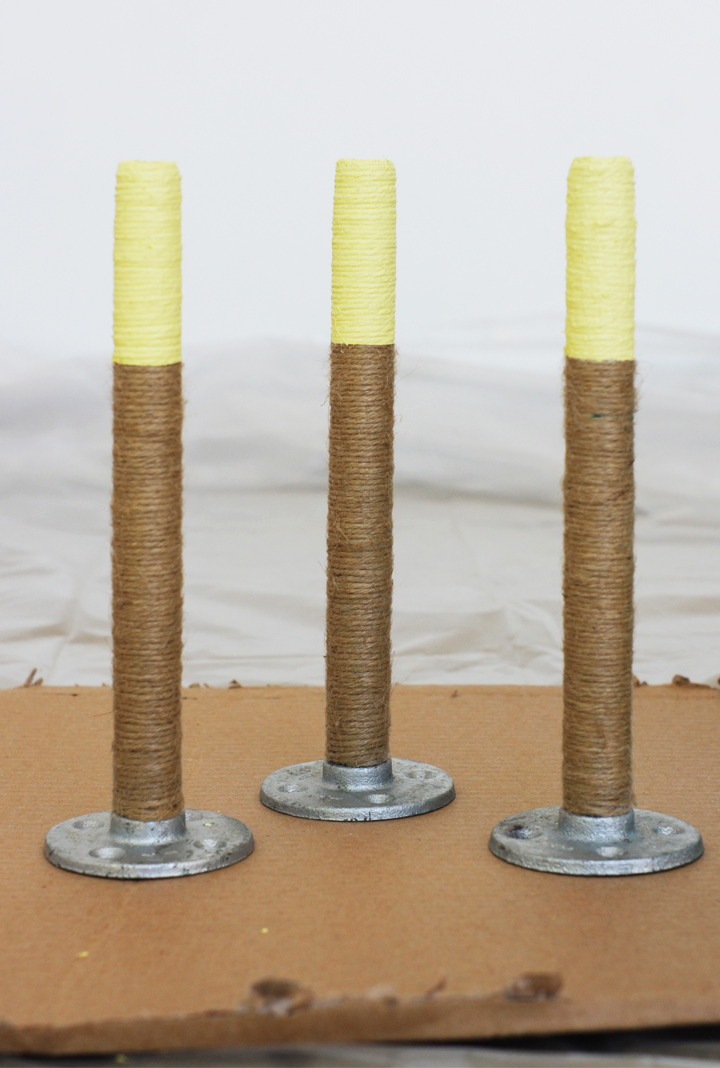
10. Once the paint fully dries, go ahead and remove the tape slowly and carefully to keep the paint edge crisp.

Repeat and repeat and repeat all of those steps as needed.

FACT : tables need more than one leg. Crazy, but true.

Look at you, you sassy finished legs. Hey now.

OK, now that every leg is jute wrapped, color dipped and thoroughly dry – then what happens?

Well, these babies can’t wait to hold stuff off the floor.

The time is now.

Lets go nuts.

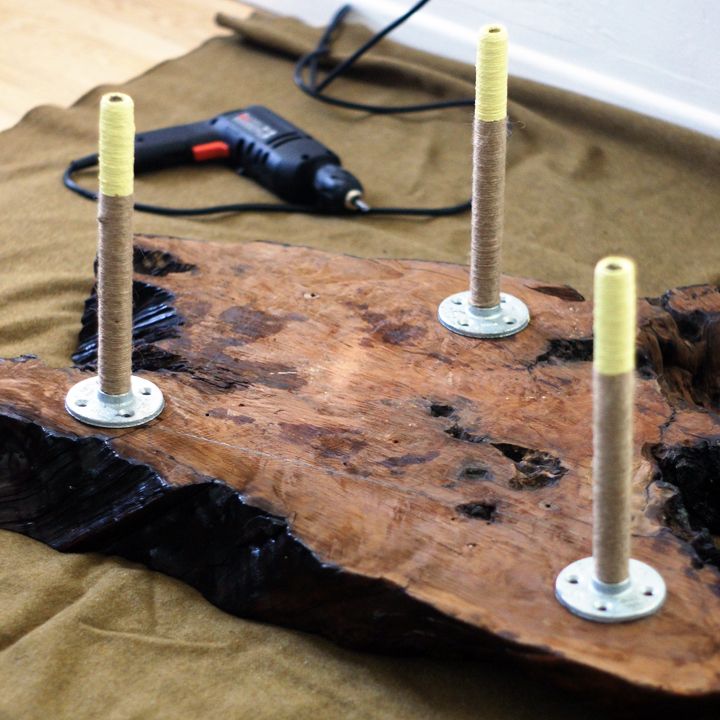
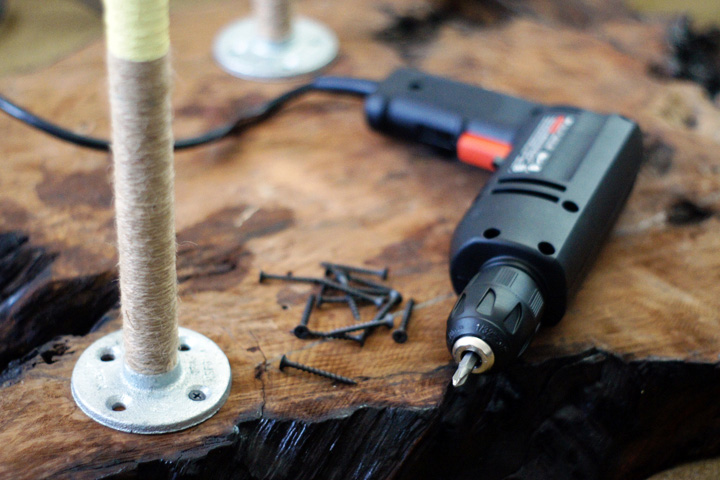
Screw the finished legs onto whatever top you’ve scrounged up and then repeat and repeat and repeat. Do I need to say that the screws go through the flange holes? No, but I did.

Anyways. Boom. Legs. Done.

Now you have the power to transform anything into a table. Use it wisely.

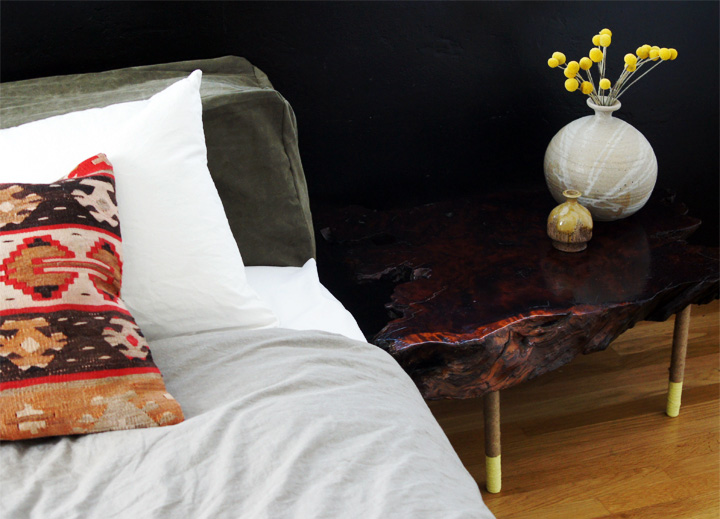
Look whose all screwed on and ready to be a nightstand! You legs! That’s who!

Go get in the guest bedroom, you silly gooses.

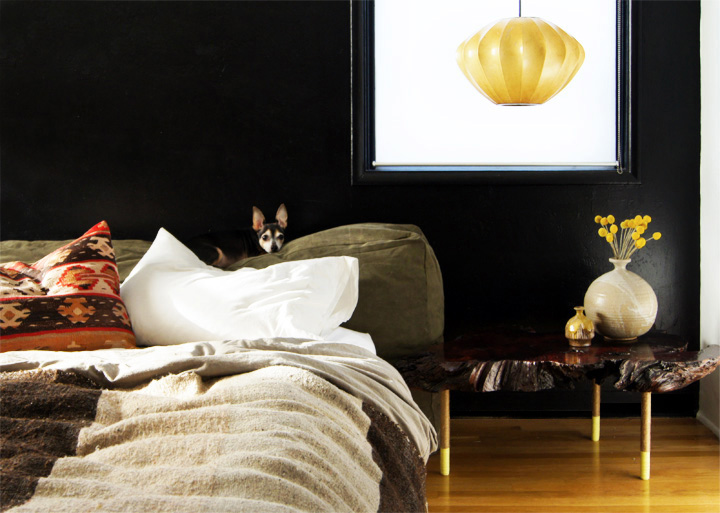
Adding these custom dipped boots of color to the jute wrapped legs helped float the nightstands off the black wall and wood floor in all the best possible ways. The final tables turned out way better than I’d dare hope, which is great since I’ve gotten incredible tired of looking for nightstands.

All my problems? Solved.

DIY accomplished. Done and Done.

Even notoriously pretentious Iggy-pup is impressed. He also asks that you ignore that new headboard situation happening. Details soon.

Oh, so just in case nightstands aren’t your jam – no worries, my feelings aren’t that hurt – methinks this project can easily be customized to anything and everything you’d like to wrap in jute or color dip. Like your friends? Neighbors? Or maybe something more practical, like taller legs for a dining table?

Color boots for everyone.

…………………..

For more color fun, check out Amanda Hill’s project launching tomorrow over at Recycled Consign and Design. Thanks again to Sherwin-Williams inviting me to participate and helping sponsor my project for National Painting Week.