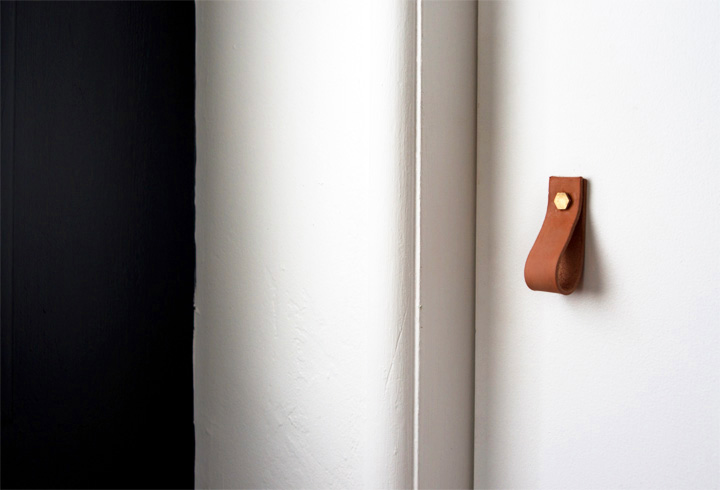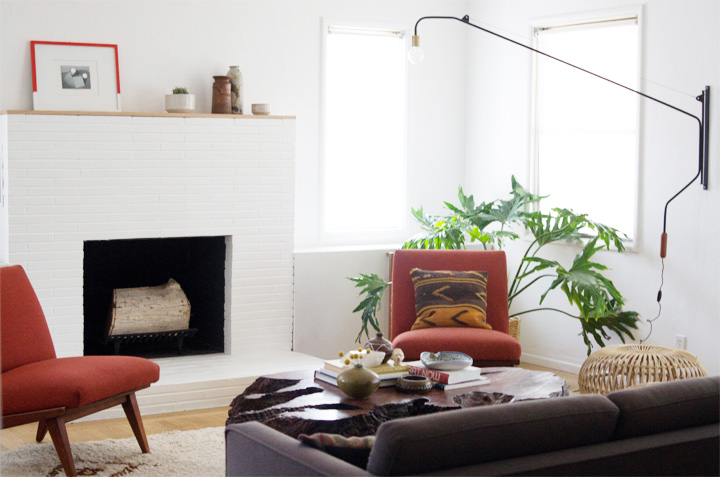
Hey now. Look at that updated living room.
As mentioned earlier I’ve been working on a painting project with Sherwin-Williams for National Painting Week. Most of the time my taste and the house leans towards a pretty predictably neutral (aka browntown), so when it came time to add a bit of orange to the mix I wanted it to be BOLDLY orange and therefore decided on Sherwin Williams ‘Raucous Orange‘.
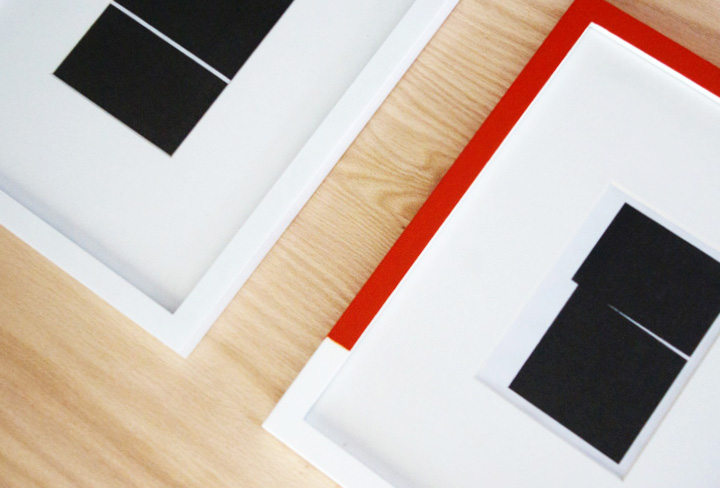
DIY ART | MINIMALIST PAINTED FRAME
Art ain’t easy, but hey, at least this project is.
Materials
– Basic White Frame > these are from Target, but Ikea and many others have similar options.
– Paint > as mentioned this is Sherwin Williams ‘Raucous Orange‘
– Art > I used a couple black & white minimalism inspired pieces I printed out at home.
– Sponge Brush / Fine Paint Brush
– Painters Tape
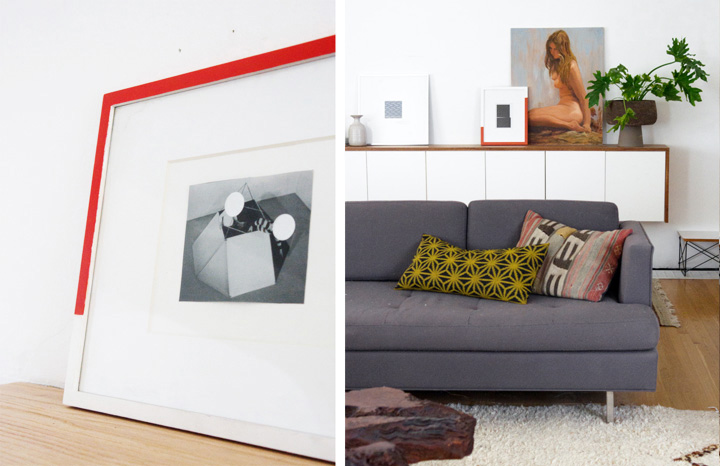
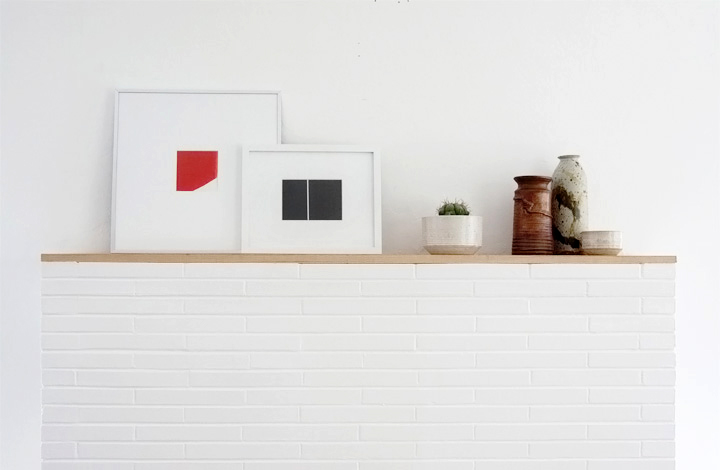
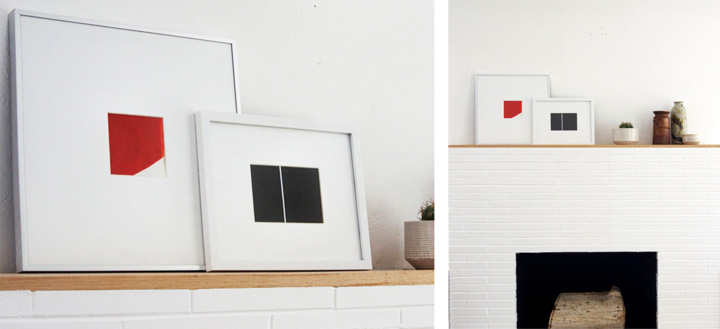
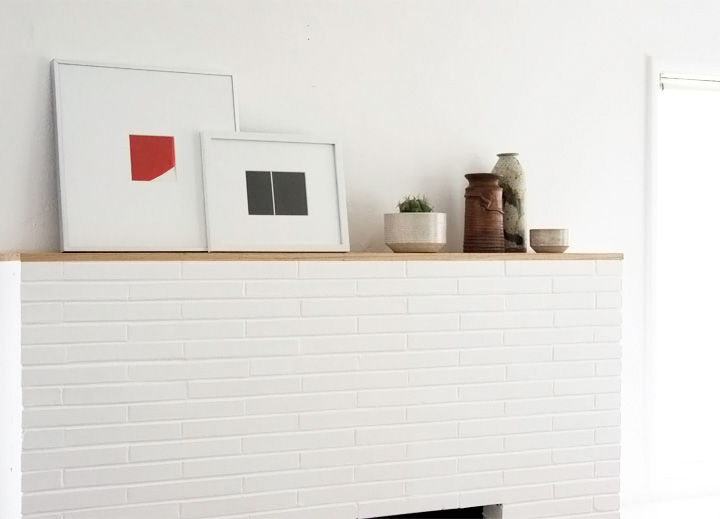
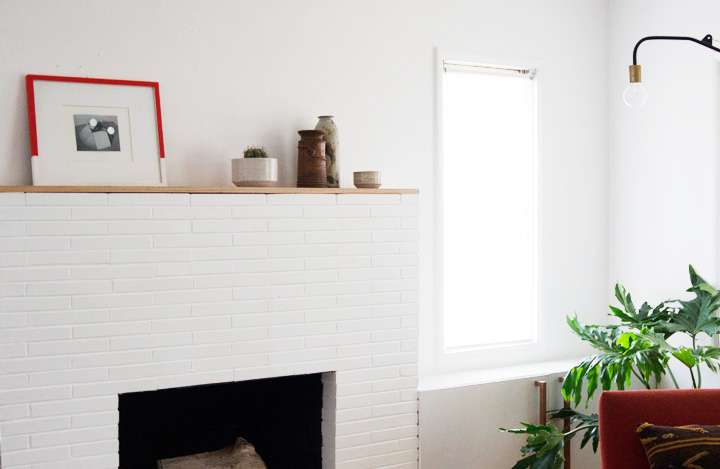
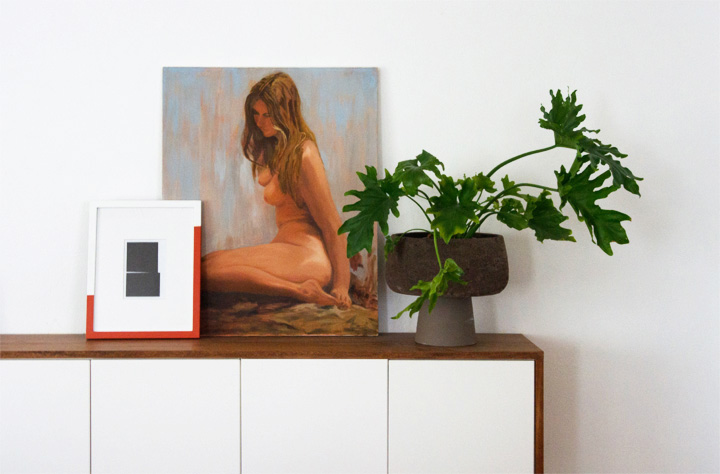
On the mantel is a larger framed piece painted symmetrically about 3/4 of the way around while the smaller framed piece leaned on the fauxdenza is painted asymmetrically for an unexpected hit of color.

How To
– Decide where the painted detail begins and ends on the frame.
– Wrap a piece of painters tape straightly and evenly around the front and side of the frame.
– Use a sponge brush / fine paint brush to apply paint evenly on the front and side of the frame.
– Do a few coats for even coverage.
– Remove the tape and call it a day.
Hey now. A bit of graphic color makes a difference.
I’ve been messing around with a bunch of DIY art type projects and it’s been difficult to get something going that doesn’t look too ‘DIY’ or actually adds to a space in a positive way. The addition of some unexpected color and an unusual composition painted onto the frame turned out to be a nice twist to an old idea and keeps things modern amongst all the vintage. Minimal and bold, easy and budget friendly art for anyone who – like me – is also stuck in browntown. Color it up!
Check out some more orange themed paint action over at Design Crush and look out for some red/pink projects tomorrow on Vintage Revivals & Style By Emily Henderson. Paint it up!
*This post sponsored by Sherwin-Williams. All photos and words are my own, yo.