One problematic quirk of this ‘ol brick house which isn’t always apparent despite some bold ugliness and a real talent for causing deep boiling frustration inside me. Hey wait, is it that awkward looking ceiling medallion?
Nope.
Well, sort of.
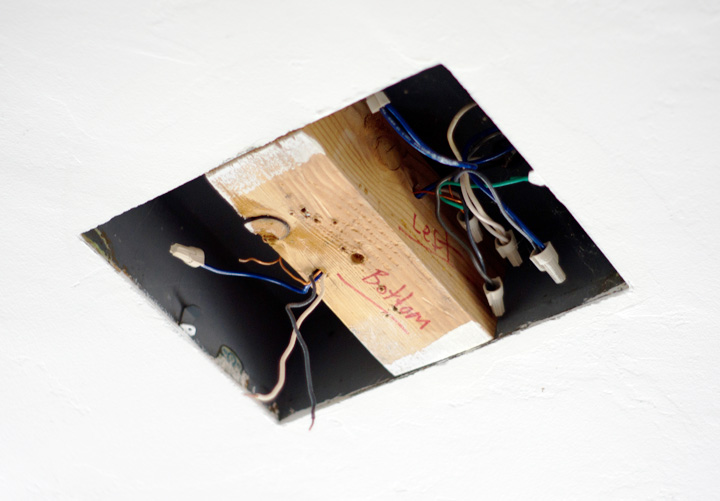
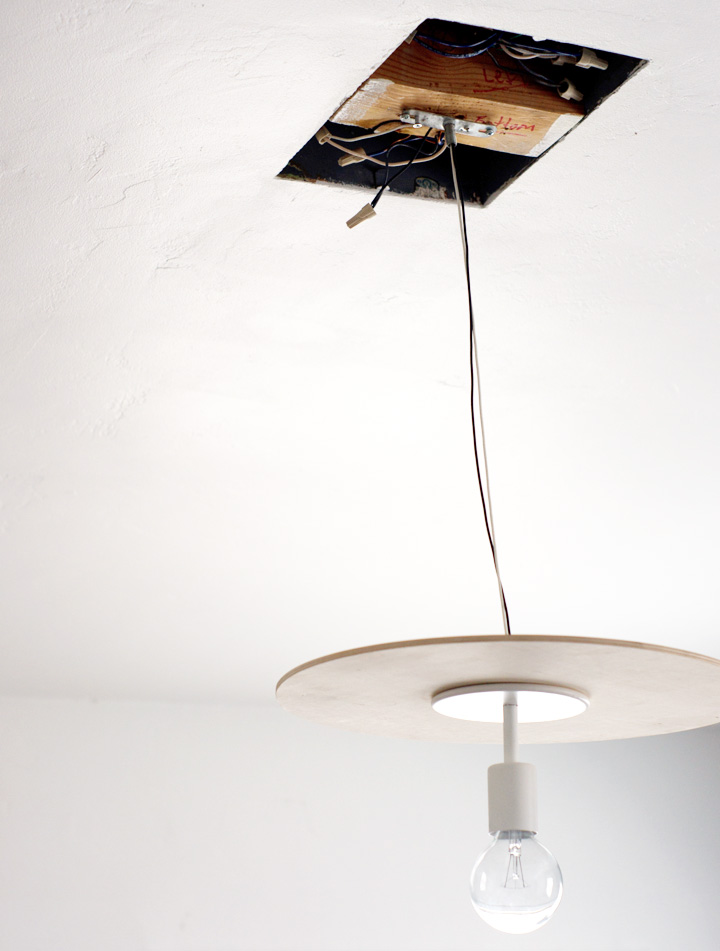
Nightmare. Electrical. Ceiling. Boxes.
Roughly carved into every ceiling, these 14″ square holes of wires and chaos forever need to be concealed when installing any hardwired light fixture around the house. Lacking any sort of clever or modern option to cover these monster holes, I’ve always grabbed the cheapest and least gaudy ceiling medallion available. Afterwards I’ve tried to ignore how much I hate them and the way they look. Stupid medallions.
So, after five years of endless light fixture swapping, hoarding and medallion tolerating all I wanted was to be free of clutter and simplify down to the basics. This need to minimize down to the simplest base of form and function was how I eventually built the Simple Light. So now that the simple light is being installed throughout the house We need a simple medallion to match. So?
DIY TIME.
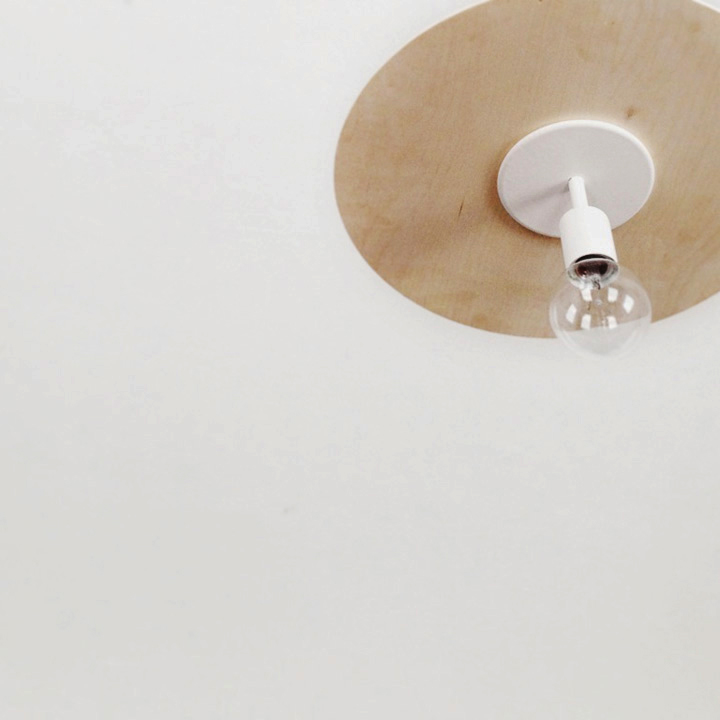
DIY MINIMALIST CEILING MEDALLION
Simply a minimal plywood circle for covering up your holes, you know, modernly.
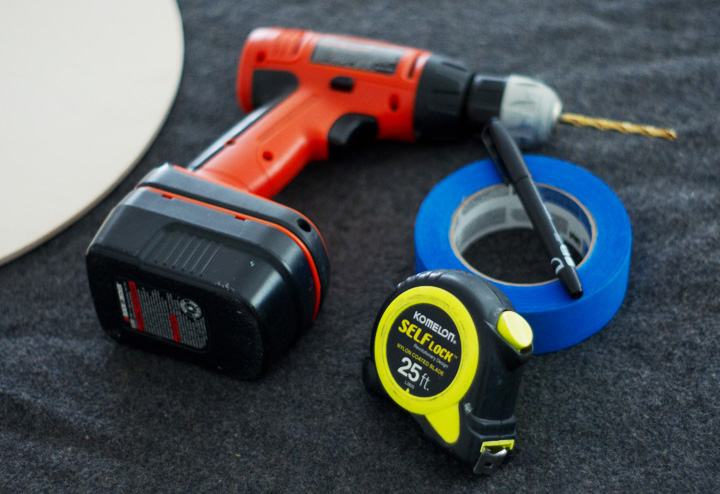
MATERIALS
Drill + Wood Drill Bit
Tape Measure
Pen / Pencil
16″ Birch Plywood Disc
ScotchBlue™ Painter’s Tape
HOW TO
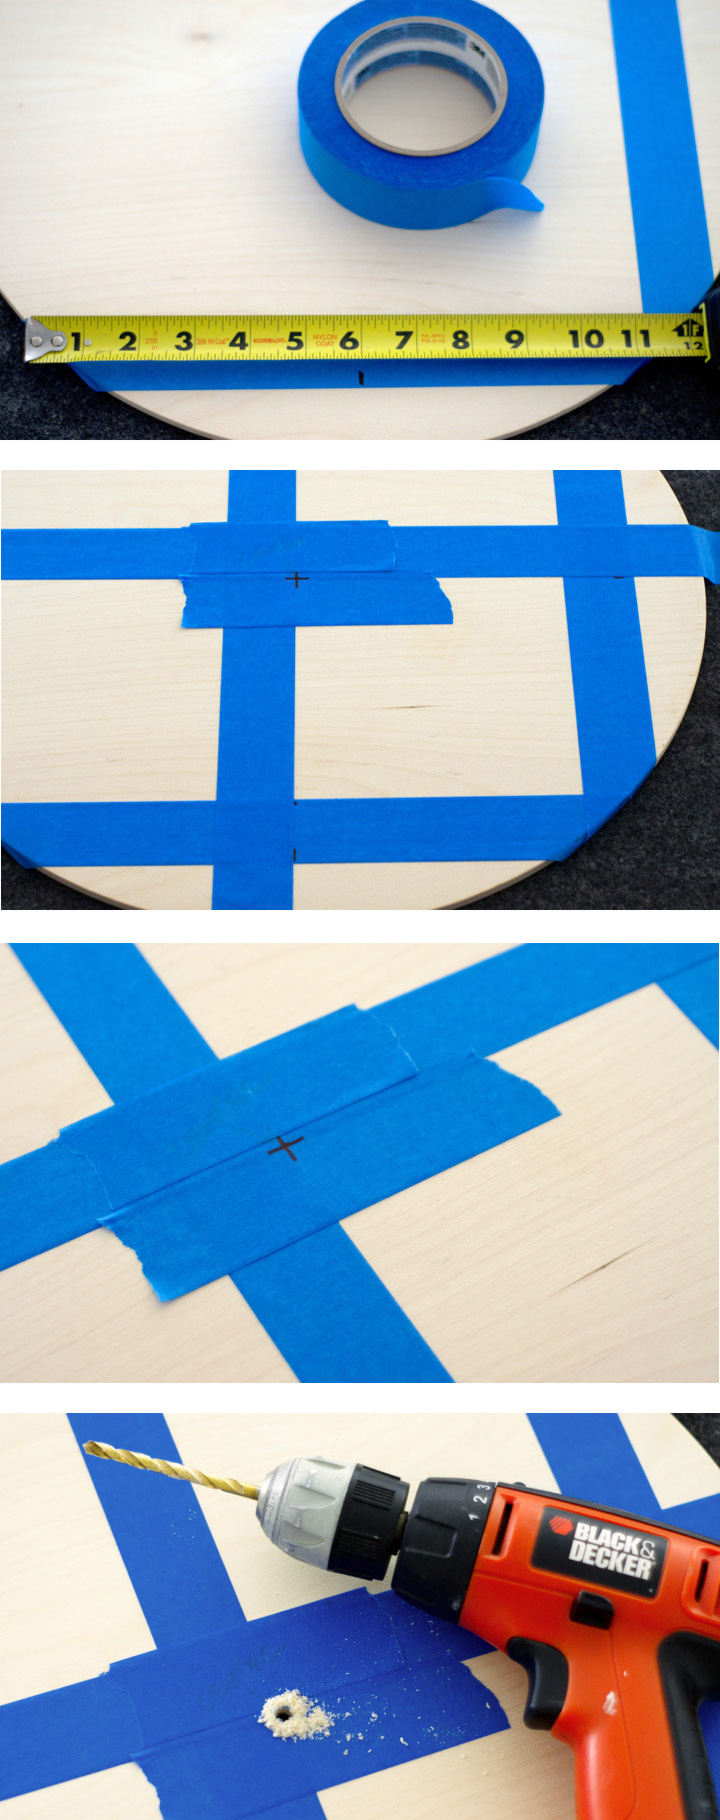
1. Find and mark the center of the circle. (Here is a guide)
* I used 12″ strips of ScotchBlue™ Painter’s Tapeto figure out the center points (aka 6″) of the two sides of the circle. Using that 6″ mark as a guide, I taped two straight lines across the middle of the circle. Where the two tape lines cross is the center point!
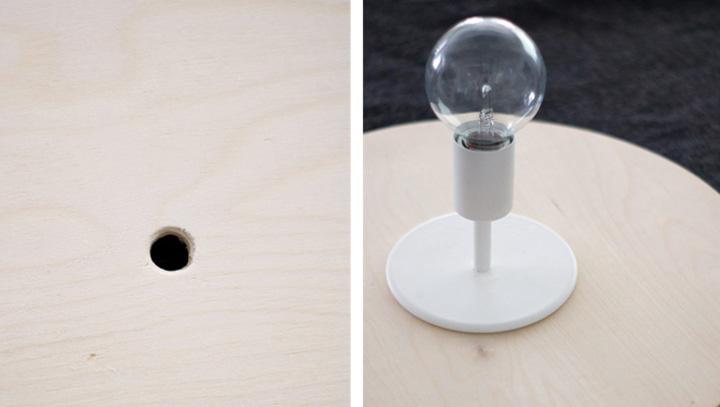
2. Drill a center hole through the plywood disc that is large enough to easily accommodate lamp wire or your particular light fixture.
* TIP: apply ScotchBlue™ Painter’s Tape over the spot you plan to drill through and then drill through the tape. The tape makes it easy to drill a clean smooth edge hole and will stop any splintering.
3. Depending on how your fixture installs, thread the lamp wire or fixture body through the new smooth drilled hole.
4. Install it all up!
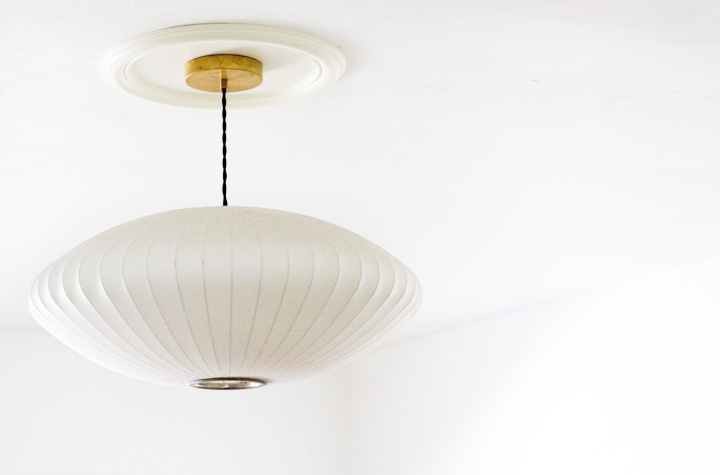
I ended up taking the white lamp down and installed a brass one. Why? ‘Cause I’m fickle. I don’t know.
Depending on your fixture and how it installs, you can attach this medallion like most others. I installed these lights per their normal method, but added the medallion by threading the pipe nipple through the center hole and then twisting it into the fixture bracket until everything was tight and flush.

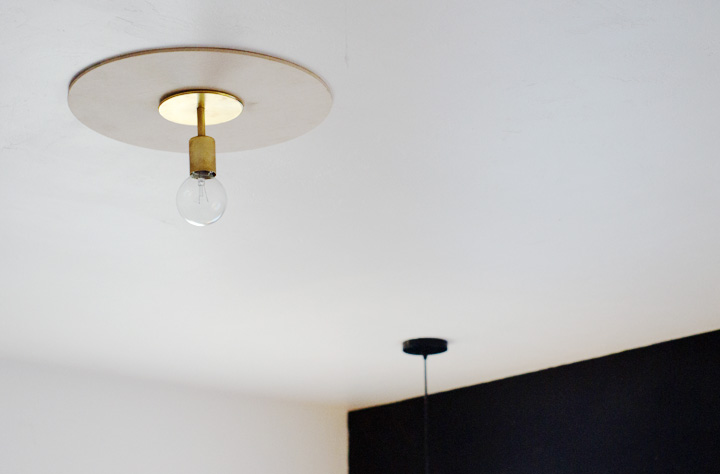
Overall? DIY Medallion? Success.
Modern, minimal, easy and super cheap to do. Simplify covering up ugly holes without making a big fuss about it. So, heads up other lamps around the house, looks like its updated medallion time for you crazy weirdos.


This post is a collaboration with ScotchBlue™ Painter’s Tape. To join the creative community, visit the ScotchBlue™ Painter’s Tape Facebook Page, tweet us via th ScotchBlue™ Painter’s Tape Twitter Page or get inspired by the ScotchBlue™ Painter’s Tape Pinterest Page.
 , tweet us via th
  or get inspired by the


