Archive for the ‘DIY’ Category

HEADBOARD 2.0

Thursday, November 1st, 2012

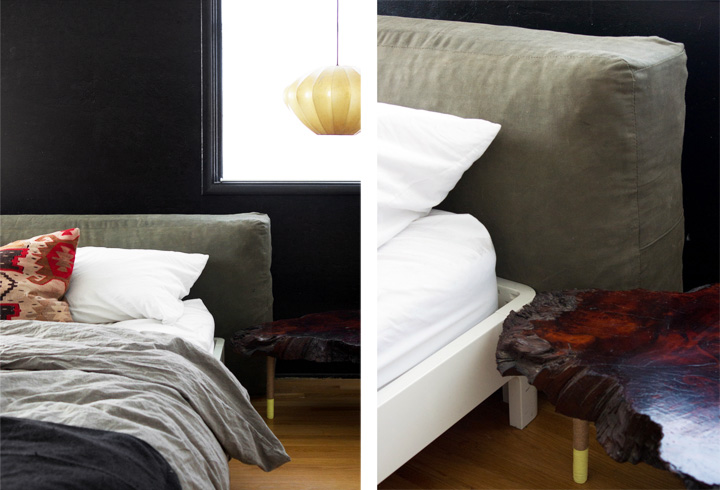
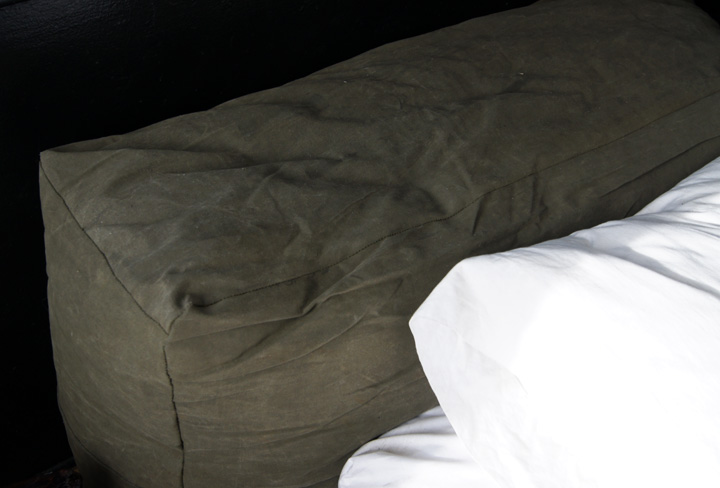
Ages ago I tried to deal with the great headboard shortage of the guest bedroom by getting a cushy queen sized Ace style pillow  headboard fabricated from vintage fire tarp, shredded foam and starry-eyed dreams. As discussed previously, the end product wasn’t exactly what was hoped for and rather than the perfectly formed comfy headboard I’d hoped for, there was instead a sadly saggy and overly deep lump of crap.

Sometimes things don’t work out.

Learning curved.

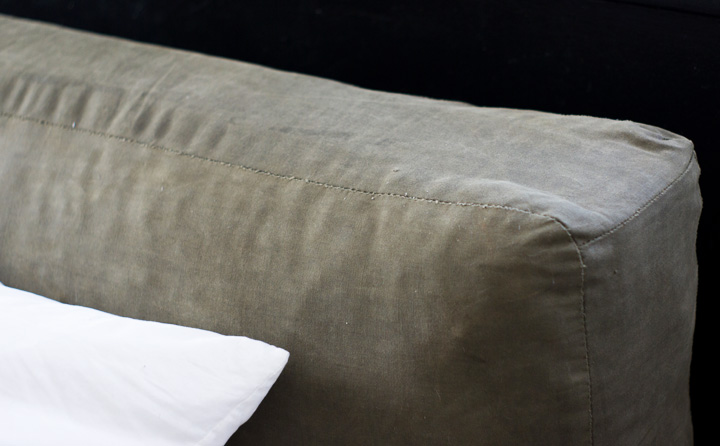
Anyways, the main issue with version 1.0 was that the shredded foam settled and began bulging out the entire form into a rotund beanbag style lump. So, to resolve that kink, I decided to reduce the headboards depth from 12″ to 6″ and had a solid piece of upholstery foam cut to fit and then stuffed inside.
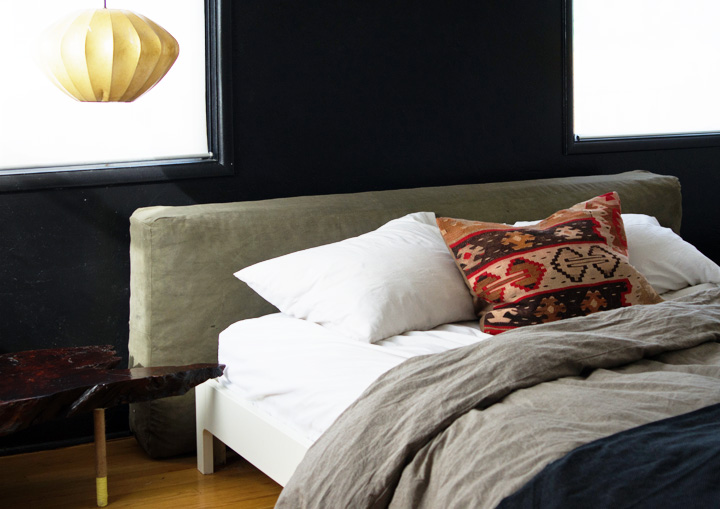
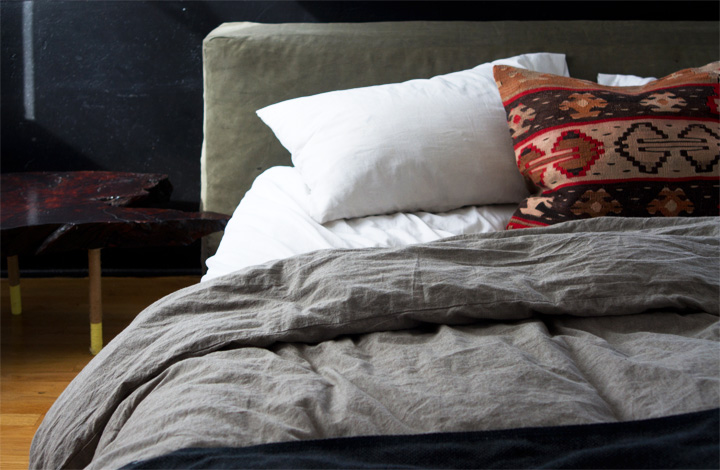
Version 2.0 is firm and proud. No more sad shapeless lump with that solid 5″ thick foam form stuffed up in there.

FYI, that thick custom cut foam was kind of pricey at $98, but I tried to consolidate costs by having my local auto upholstery guy order the material as well as resew the upholstery form so it would fit snugly around the foam.

BEFORE

(12″ deep and saggy Version 1.0)

AFTER

(6″ deep and firm Version 2.0)

Version 2.0 is generally better and so much closer to the original design.

I’m just not sure if I’m loving it.

After living with it for a bit, some kinks have developed that need addressing. Simple changes like a softer fabric, smaller scale and wall mount would be a start. I’m just about fed up with the bed frames willy-nilly wandering and constant need for repositioning.

Version 3.0 might be heading in this general direction.

I spotted this skinny gray beauty at Anonymous Architects Eels Nest House during a photo shoot and haven’t been able to get it out of my head. Oh, so no big deal, but conveniently enough my master bedroom still totally needs a headboard.

Looks like version 3.0 is a go.

Well, you know. Eventually.

MORE NEON DIY

Monday, October 15th, 2012

I’m a dipping fool.

Dippin’ it and dippin’ it and dippin’ it well. Oh, and yes, that is an LL Cool J lyrical metaphor for how I dip things in paint like LL makes sweet love to ladies.

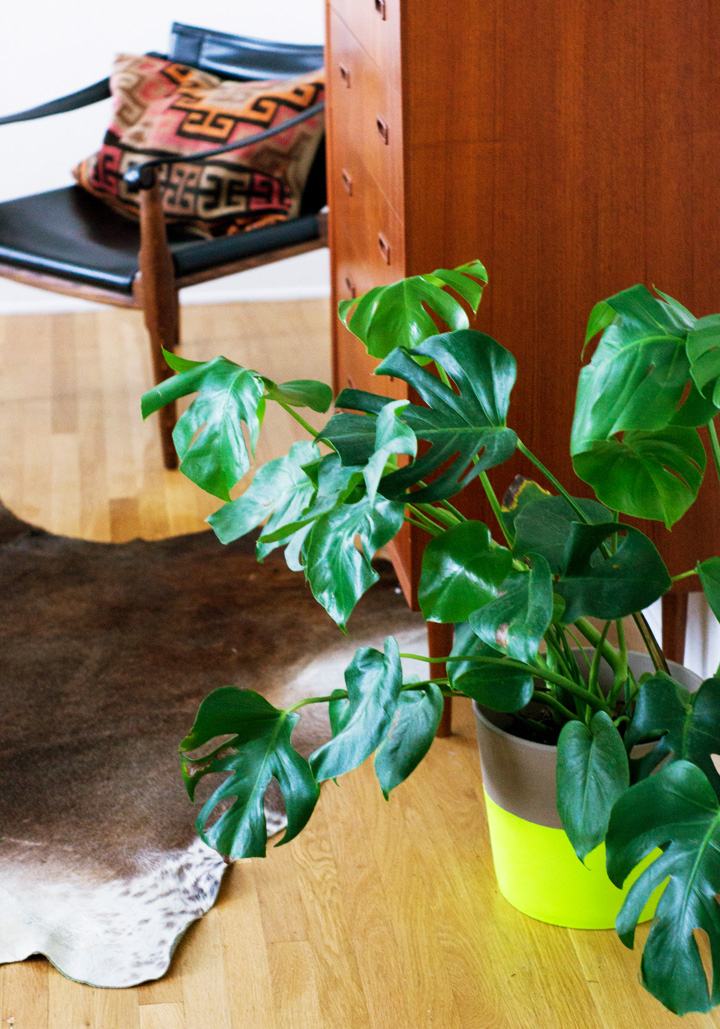
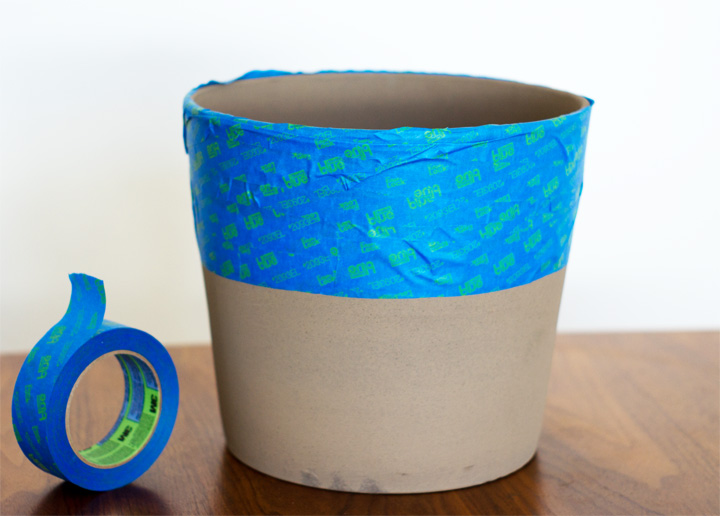
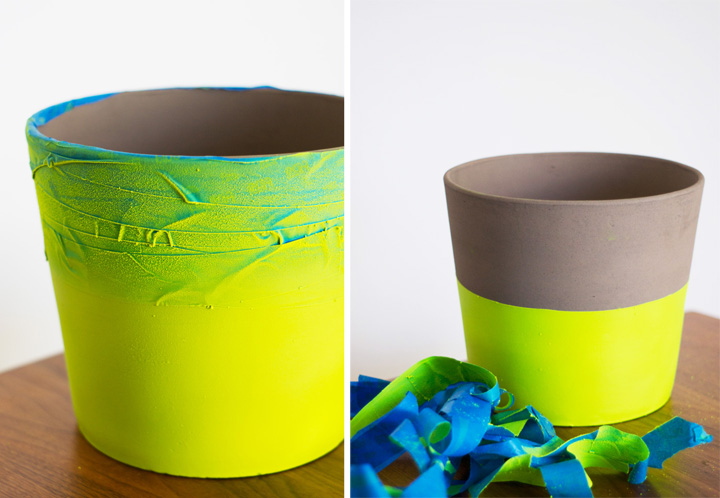
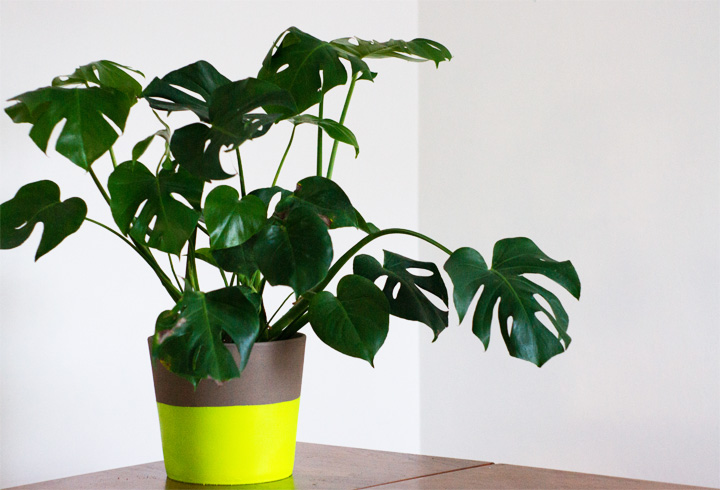
Well, I had some leftover spray paint in florescent yellow and tape from my recent coffee table DIY, so how could I resist customizing up an Ikea planter with the aforementioned paint and zero new ideas…since I’m out of fresh ideas now and apparently stuck in a loop doing the same thing over and over and over in slightly different ways.

How to DIY it?

TAPE.

SPRAY.

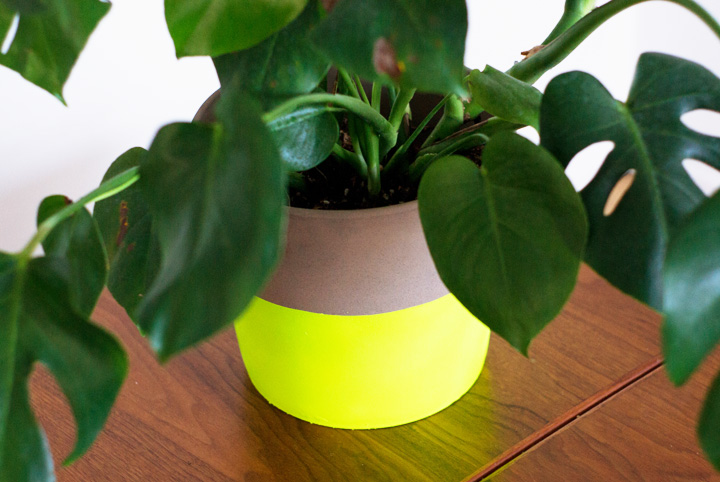
PLANT.

Incredibly complex and clever DIY, right? How could anyone have actually dreamed up this brilliant and completely original idea? How, tell me HOW?! Sarcasm aside, this ‘adding some color to things’ is such a simple idea and easy application that it’s dumb how surprisingly effective the outcome is. I mean, I really like this thing, but who knows what the future holds. I’m a fickley fickle lady.

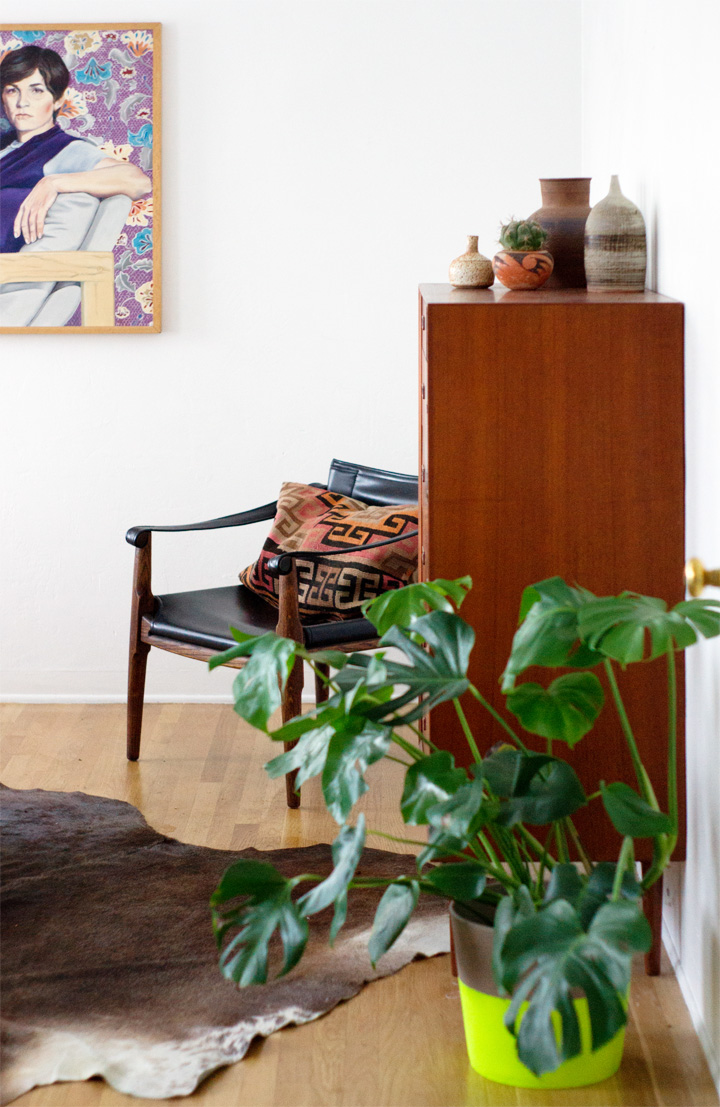
Once the planter was all neon dipped up, I planted it with one my favorite neglect loving houseplants, the Split Leaf Philodendron, and called it a damn day.

Plants. Am I right ladies?

I’m still experimenting with some other DIY planters, but for now I’m going to try and take comfort in the words of someone who has some experience with design or whatever:

“Innovate as a last resort. More horrors are done in the name of innovation than any other.” -Charles Eames

DIY NEON TABLE

Friday, October 5th, 2012

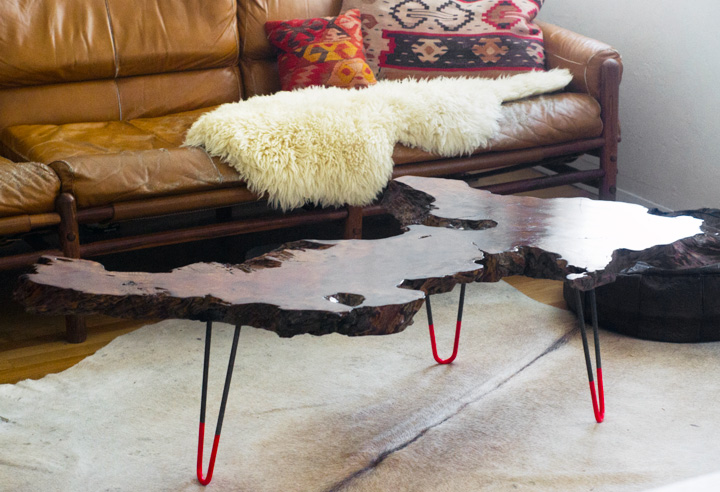
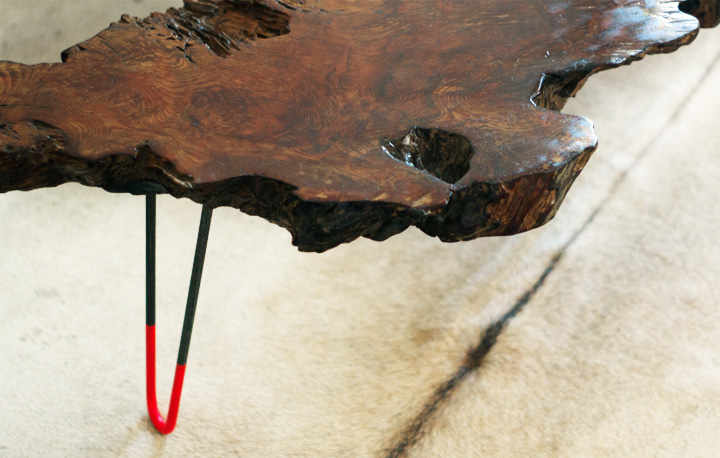
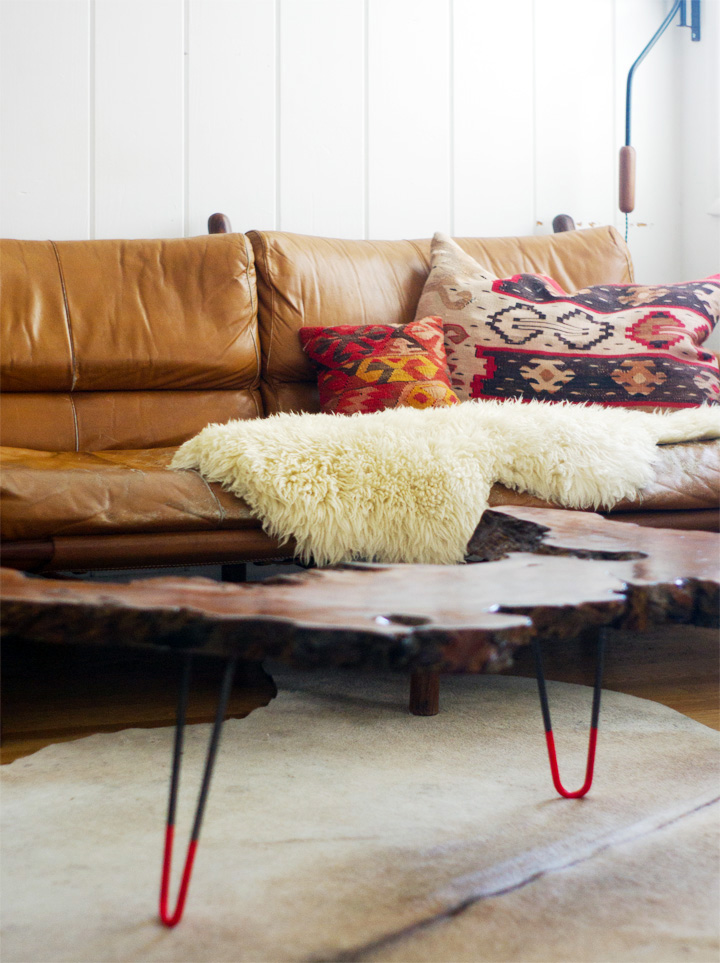
I made a new coffee table for the den and so can you! You know, if you want to or whatever. I don’t care! It’s your coffee and a place to put it, homeslice.

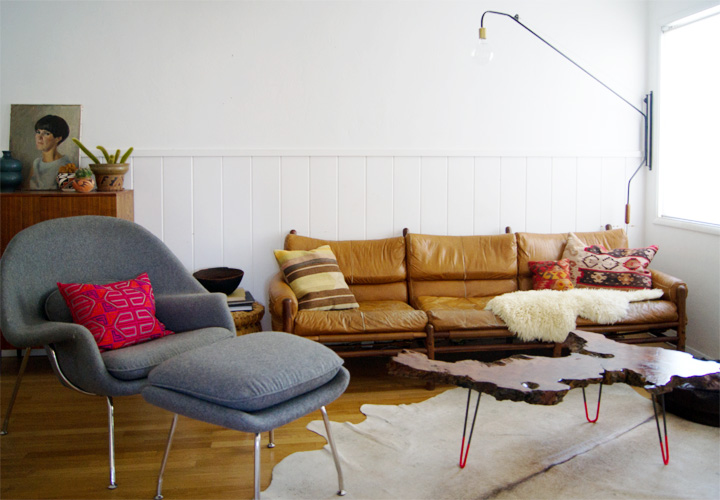
The den has always been my nemesis in terms of awkward layout, weird wainscoting and overall browntown-ness and remained so despite a year living with that gorgeous tulip table. Sometimes marble isn’t able to solve all your problems, so when I ran across this wood slab top on Craigslist I thought, hey, why not throw in some more brown to browntown and maybe – just maybe – add a touch of neon pizazz to fix this mess of a room.

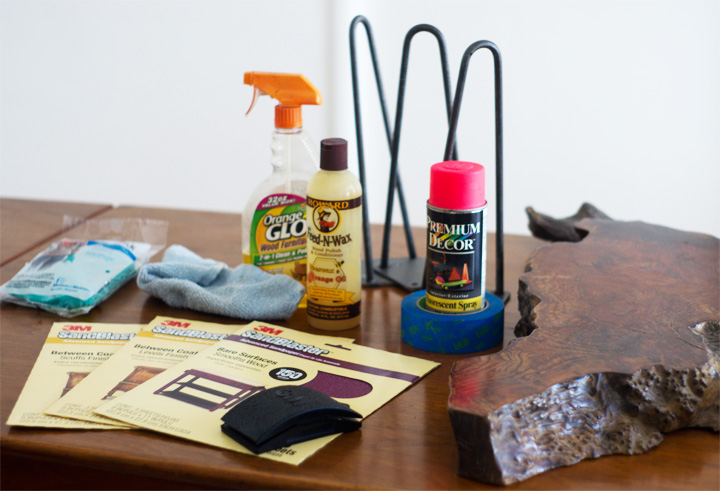
WHAT YOU’LL NEED 

– Table Top (I found this slab on Craigslist – eBay is a great source or THIS might work for you, but any top can work)
Hairpin Legs (Logan from OneFortyThree made these ones – oh, and check out his shop too)
Florescent Spray Paint
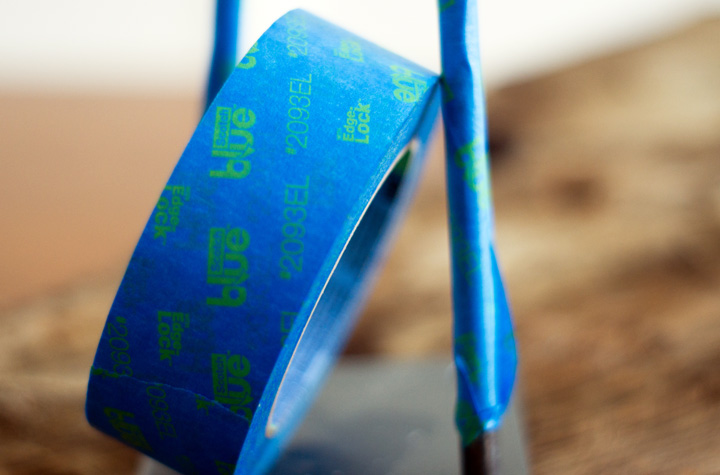
ScotchBlue Painter’s Tape
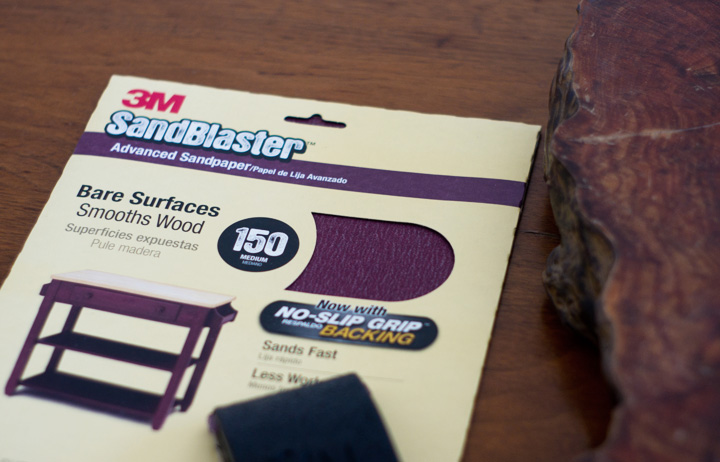
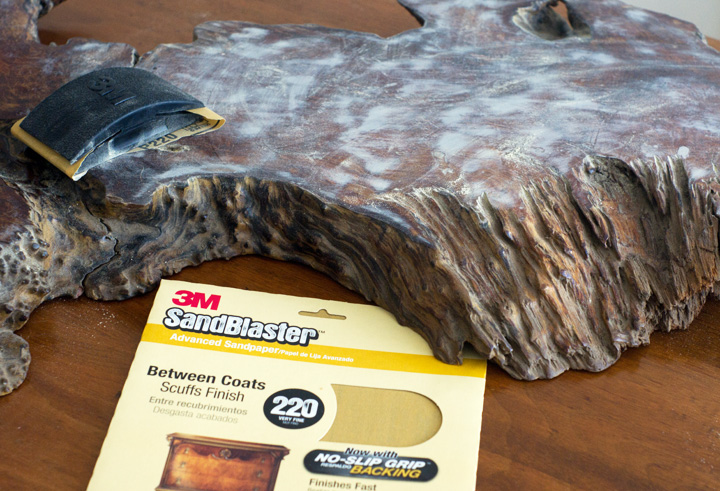
3M Advanced Abrasives Sandpaper (I used the 150 and 220 grit)
3M TEKK Protection Saftey Gear (gloves, mask, ect.)
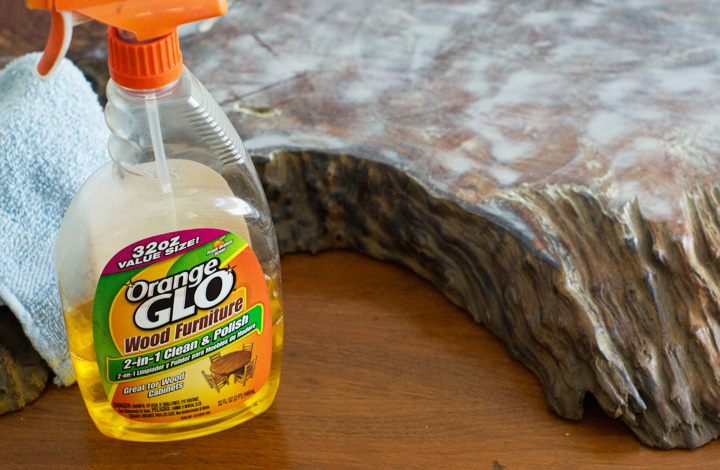
Orange Glo Spray Cleaner
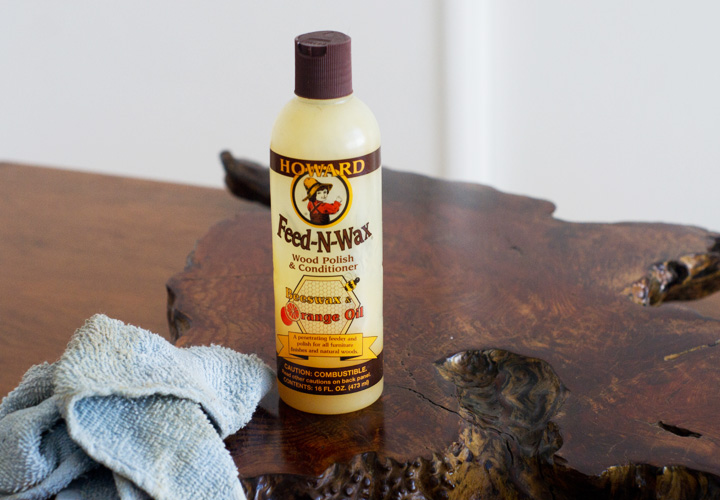
Howard Feed & Wax
Cordless Drill
– Tape Measure
– Screws (length and type best suited for your table top)
– Rags

HOW TO DIY 

1. My wood slab had some surface scratches and vintage grim that needed to be ‘refreshed’, so I started hand-sanding with the rougher 150 grit sandpaper to knock down the majority of the damage and finished up with the very fine 220 grit for a nice smooth finish.

*Tip Corner: Depending on how rough your wood is or if it has any sort of lacquer or stain finish, you might prefer using a power sander to expedite the sanding process. Wear some eye protection and a mask if power sanding off any kind of preexisting finish, ’cause seriously who knows what it is or if you should ingest it (you really probably shouldn’t FYI). Anyways, my wood was in pretty good shape and didn’t need a ton of sanding to look and feel good.

2. After sanding, go ahead and remove all the dust and icky stuff with some Orange Glo Spray and a clean rag in order to prep the wood for the final buff.

3. Sometimes when refinishing wood I’ll use Danish Oil to restore and treat the wood and then buff it, but this slab was already in pretty good shape and didn’t really need it, so I finished up by buffing on some Howard Feed & Wax (aka my favorite thing ever).

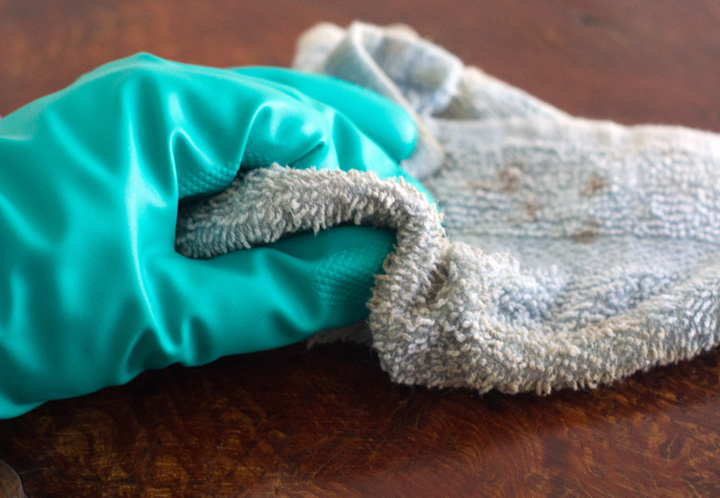
*Tip Corner: After years of gross oil hands turning into gross oily hobo hair (when I inevitably touched my hair with my oily hands) I finally threw on some gloves and avoided the whole situation. Now I am an adult. An adult doing things safely or something.

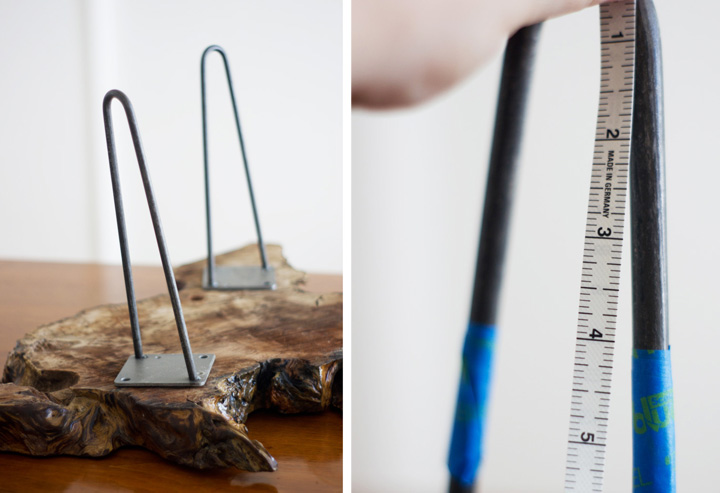
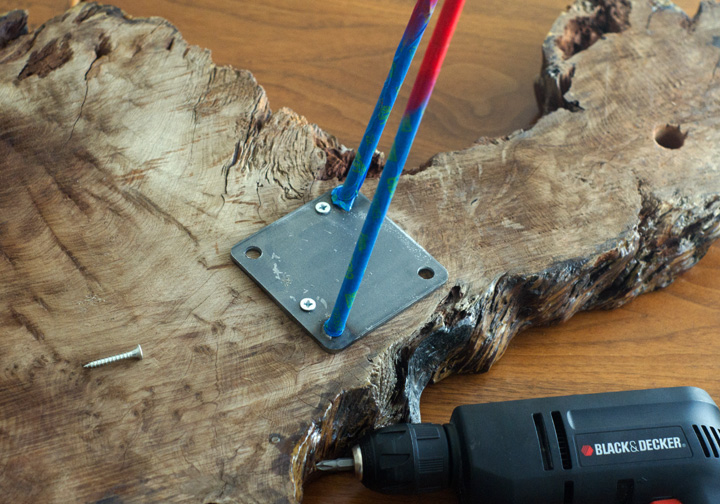
4. After the top was all finished up I flipped it over and roughly placed the hairpin legs to eyeball where they should go.

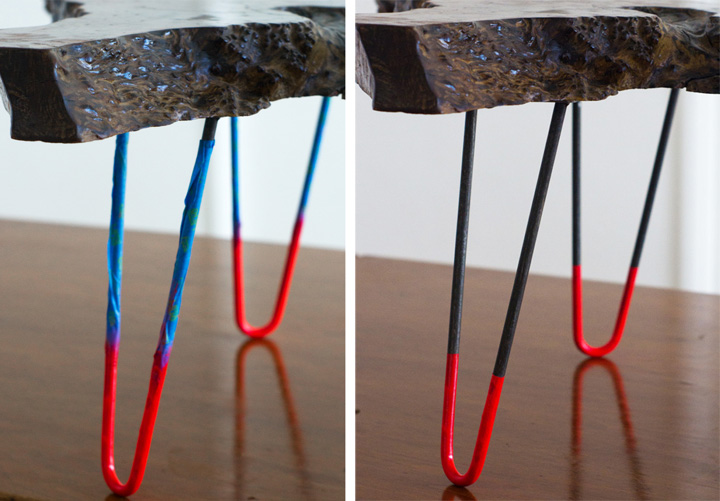
5. Once placement was decided, I taped off the legs at 4″ to prep them for the neon spray paint.

*Tip Corner: I taped the legs all the way down in order to avoid any over-spray. Why? Because I’m a messy and lazy spray painter, duh.

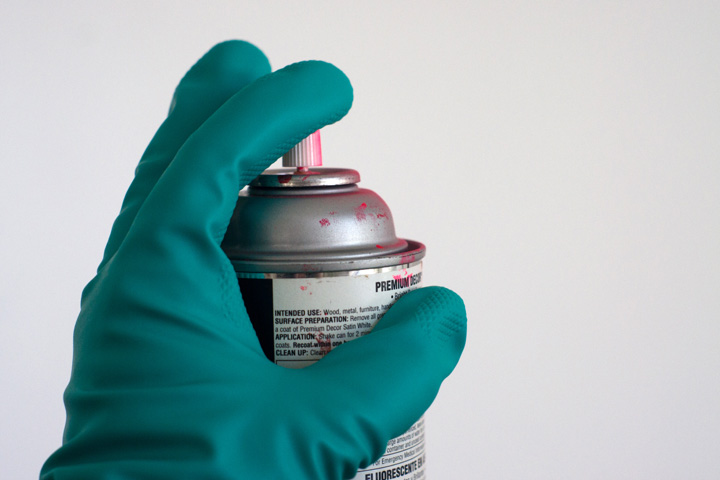
6. I threw on some gloves to avoid that messy nozzle spray paint finger thing that always happens and then gave each leg a few coats of paint. Also, go ahead and wear a mask and some eye protection for extra safety – you know, if you go all willy-nilly and spray paint crazy and want to protect stuff like your health. SAFETY.

*FYI, florescent spray paint seems thinner than normal paint and ended up taking more coats than I expected.

7. I screwed on the legs and then pulled off the tape.

BOOM. Done.

Easy-peasy custom neon fun times.

I’m super happy with how the coffee table turned out and really enjoy this little florescent touch to what has always been browntown central. Now if that lame wainscoting would just disappear without me having to do anything…

…………………………………………….

This post is a collaboration with 3MDIY. To learn more about safety and preparation, visit 3MDIY.com