FUN FACT: We’ve been working on this house for five years and still haven’t installed handles on most of the original built-in storage cabinets or the closets.
Why rush it. No big deal.
Oh, except that now its been half a decade of living like filthy animals who routinely need to savagely pry open heavy drawers or wonky old doors with a screwdriver or any other available blunt object.
Time for change. Time for?
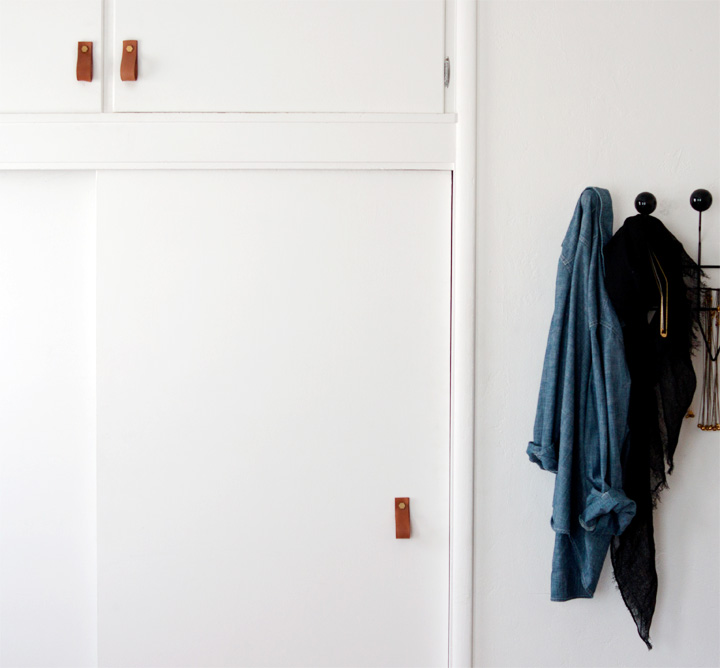
Leather. Pulls. For. Doors.
For months I’ve been messing around and field testing all manner of leather design bits and objects. Working out the kinks. Comparing materials. Picking finishes. Doing all the leather work. Leather working? Leather science? Leathering? Leathery stuff. The sort of stuff that recently culminated with the plopping out of this finalized prototype batch of simple looped leather+brass handles that make opening the closet easier and much more stylish than a screwdriver wedged in the crack.
Super.
OK. General DIY rundown time.
DIY | LEATHER + BRASS PULL HANDLE
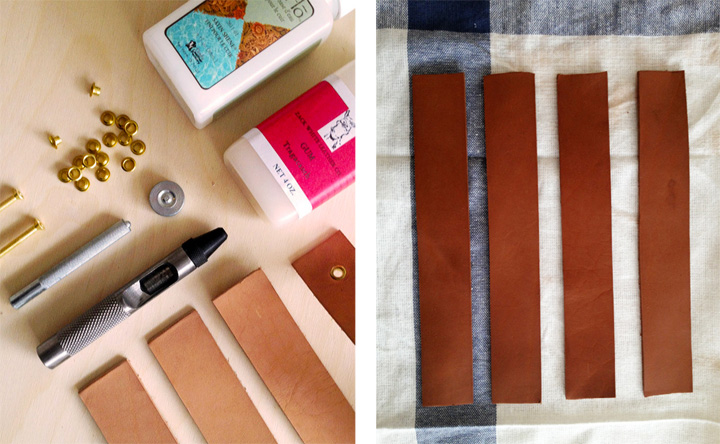
MATERIALS
Leather (mine = 1″ wide + 8/9oz + natural veg dye)
Brass Eyelets (mine = 3/16″ hole)
Brass Bolts
Brass Washers
TOOLS
Leather Hole Punch
Eyelet Setter
Hammer
Tape measure
Scissors
Sponge
Towel
DIY BASICS TO MAKE IT . SIMPLE LEATHER PULL
1. Measure then cut leather to size. (mine = 1″ wide x 8″ long – final installed handle is approx. 4″ tall)
2. Lightly dampen cut leather pieces with a sponge to prep leather for hole punching. Towel off any extra moisture.
3. Measure and mark matching hole locations on both ends. (mine = 1″ interior from either edge + centered width)
*TIP: Make a template using an extra matching leather scrape to quickly and consistently mark hole guide placements if you’re making multiple matching handles.
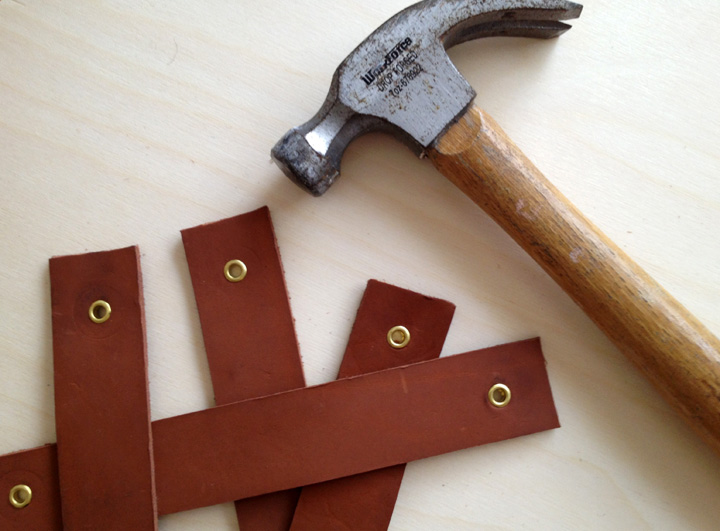
4. Align punch tool with the guide mark and carefully punch out the hole.
5. Place setter and hammer eyelets into each hole.
6. Loop leather strip in half and thread the bolt through both eyelets to prep for install.
7. Thread bolt through the hardware mounting hole, finalize leather handle placement, thread washer onto the bolt end and tighten both very firmly to secure the handle.
and then DONE.
*Optional Finishing: I’ve been using a leather finisher on the overall handle and then finishing the edges with a slicker and Gum Tragacanth. Leave the leather raw, seal it, dye it, burn it – I don’t care. Do whatever works to finish things up to your taste.
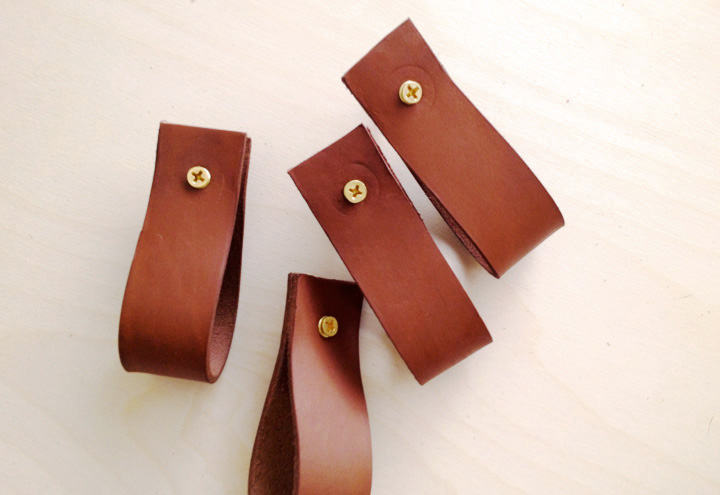
Basically the basic of basics. These finished leather handles work and look pretty great and are totally good to go for install.
Well, except that I haven’t been able to shake off this nagging need to rework and replace the current basic brass bolt set with different hardware that’s feels more unusual or unexpected while still staying minimal and unfussy.
Hey now, at least one closet is all functional for the first time with actual usable handles.

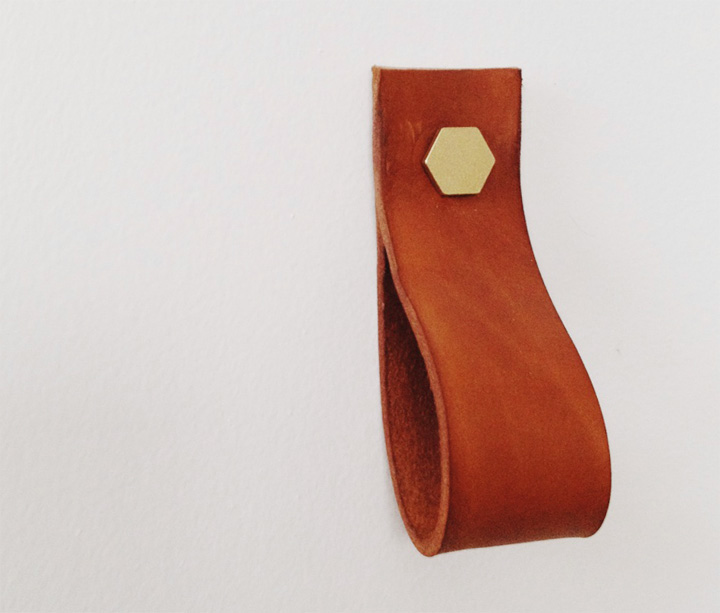
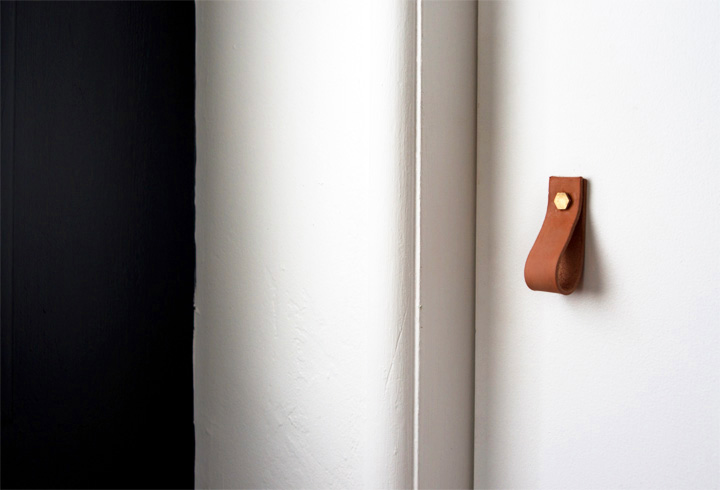
OH WAIT. AND. BOOM.
Say hello, sexy hex detail.
This is what plopped out of all that and ended up being the hardware solution for my closet pulls. I’ve been testing these things out around the house and refining a few construction details, but who cares! I’m in love with this thing. The scale, the finish, the bit of unexpected handle detail is pretty much doing all those things my crazy brain was hoping for.
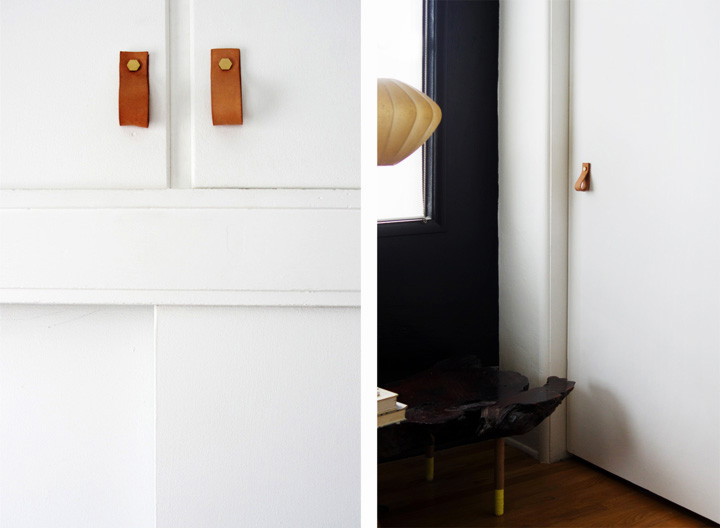
CLOSET PULL SUCCESS.
Now onto make a ton more of these for the rest of the house and other design projects. Maybe someday I might even make some handle sets for CAMP? Ugh, hold it. Going too far into the future. Must focus on the now and the 34 handles I gotta make just to cover the rest of our closets and built-ins.
I’m a leather handle making machine!
Check back in five more years to see if there was any progress.