Archive for the ‘after’ Category

Enough Already

Thursday, February 24th, 2011

A long while ago I mentioned that I was working with fancy set decorator and all around super star Laure Joliet on a TV makeover show. Well, it’s finally started airing on that new Oprah network and is called Enough Already with Peter Walsh. Laure already wrote a pretty awesome post explaining the whole shindig and the great folks involved like art director Mike, Heather, Barry and the whole crew. Laure also so kindly let me use her images below (did I mention she is also a killer photographer? I know, she is annoyingly good at everything) since with the madness of the schedule I never did get a decent shot.

When I say madness, I mean utter and complete madness.

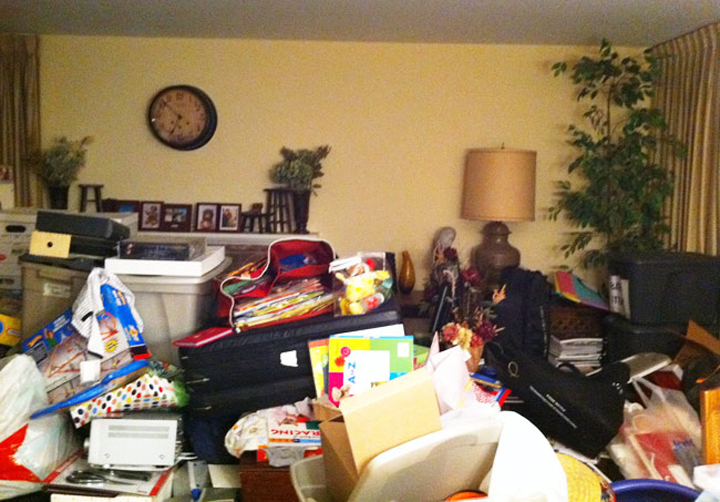
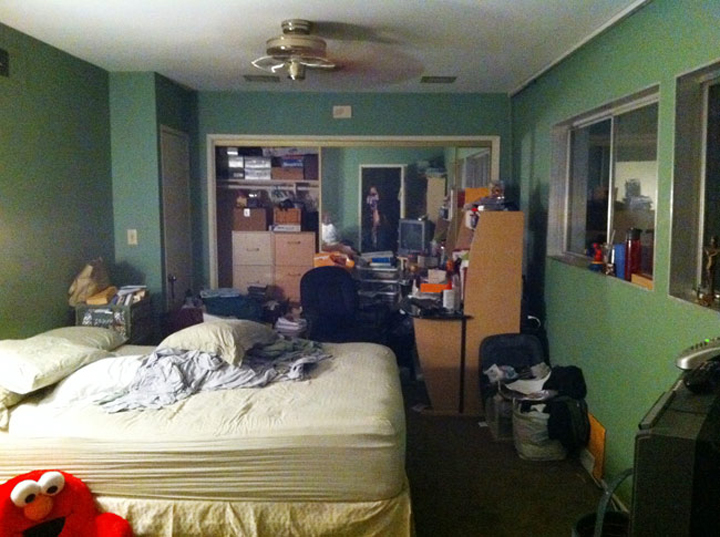
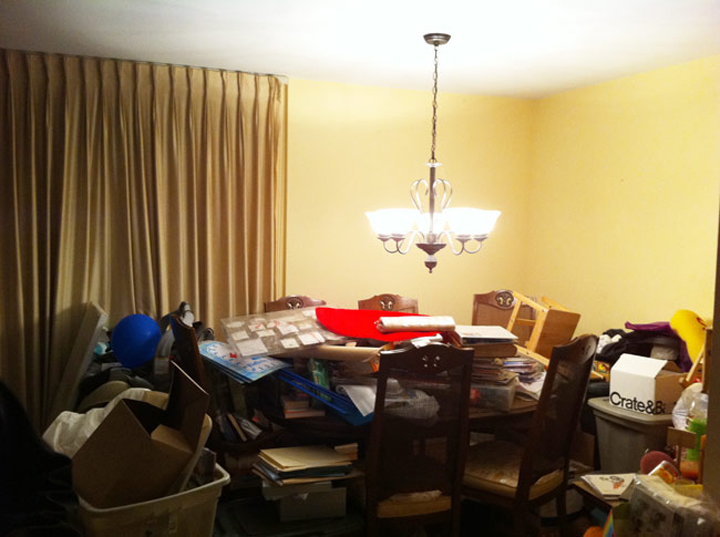
Did I also mention that the show was about organizing and designing spaces for people with “extreme clutter” issues? Not quite hoarding, but teetering on the edge of the bell curve. Above is the “before” image of the dining room that Laure grabbed with her iPhone while they scouted the home.

How it worked was that in four days we had to remove everything, sort through it all, shop for essentials, install flooring and wall treatments and then makeover two to three rooms. During that time they are also filming things as well, so logistically it was nuts.

They were long – very very very long – and exhausting days but also incredibly exciting and fun. It seriously takes a huge bunch of folks to make these sort of transformations happen that quickly and everyone was surprisingly chipper and helpful and so well organized. It was a great team to be apart of.

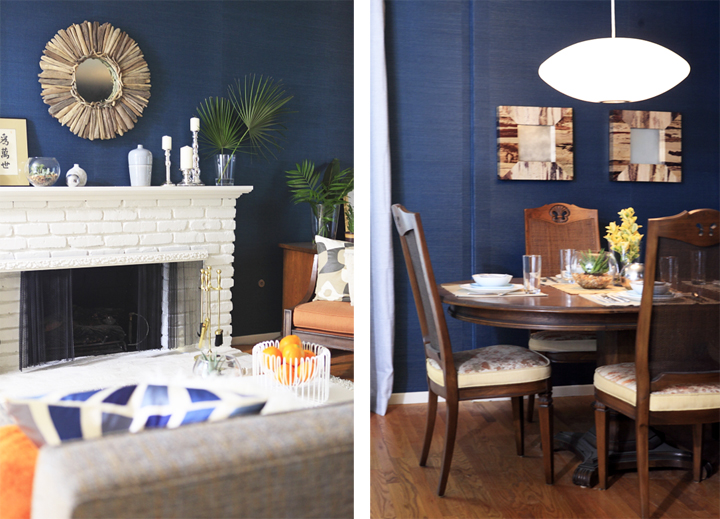
Boom. Check out that blue grass cloth.

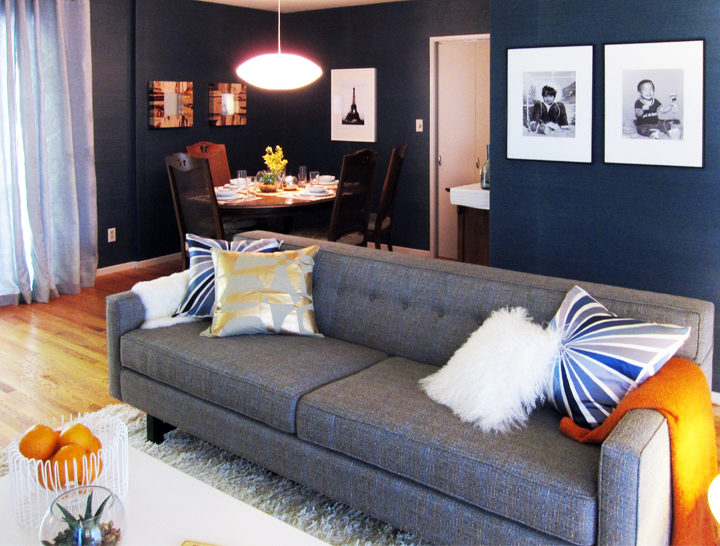
Look that’s a dining set! It was totally buried in that pile before, but now you can sit down and use it. Whenever possible we tried to reuse the owners original possessions and incorporate them in the new design. I liked that it wasn’t just about gutting everything and starting over, but that we truly did attempt to show how they could use their existing pieces to create a more cohesive and “designed” room.

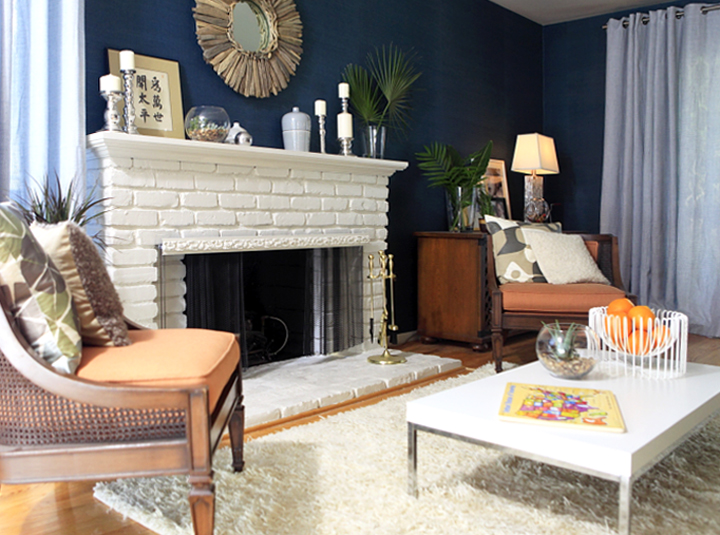
See where that clock is and that little bit of credenza poking out under that big lamp? That’s this fireplace and this credenza (to the right) after we finished:

We also reused their existing chairs and added a rug and coffee table and lots of fancy pillows.

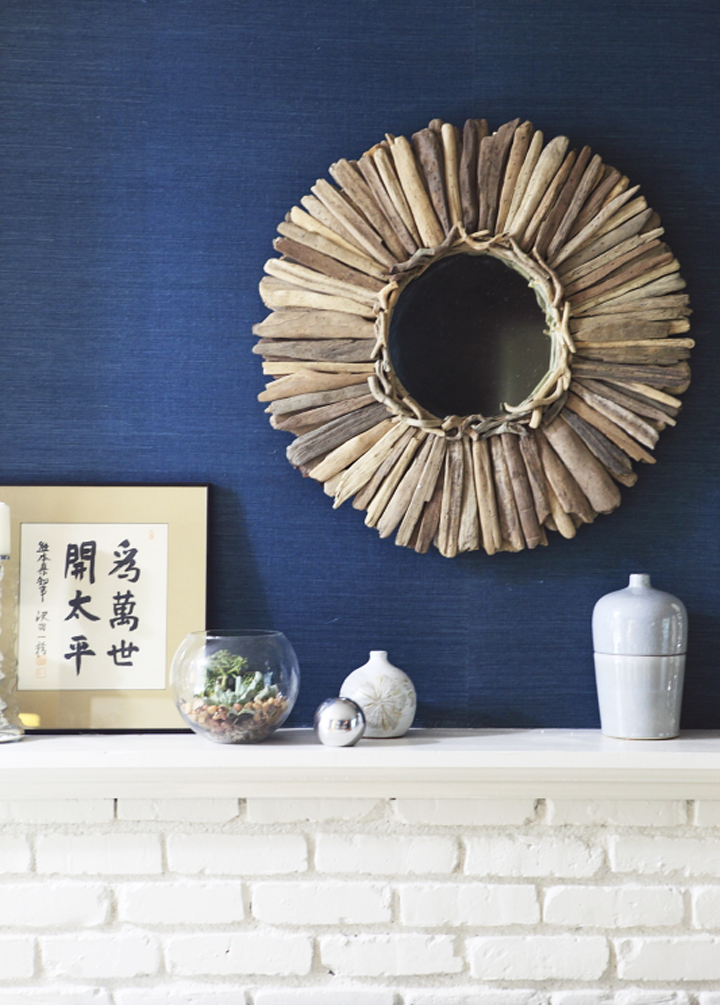
I’m proud of my fireplace vignetting – totally taking credit for that – but Laure found that really cool driftwood mirror!

With all the art we tried to take family pictures and enlarge them at Kinkos as well as reuse pieces they already had. Did you know that Kinkos can be kind of weird about that? Yeah. Seriously. I may have gotten into a bit of a tussle one late night with a Kinkos manager about enlarging a baby picture. Just be forewarned if you want to try to enlarge some family or personal photos, if the photo looks too “pro” they might freak out.

We got them this great sofa (which was a floor model from Blueprint) and a fancy new bubble lamp. Styling.

The other major room we tackled was their master bedroom. Don’t be fooled, Elmo is terrified.

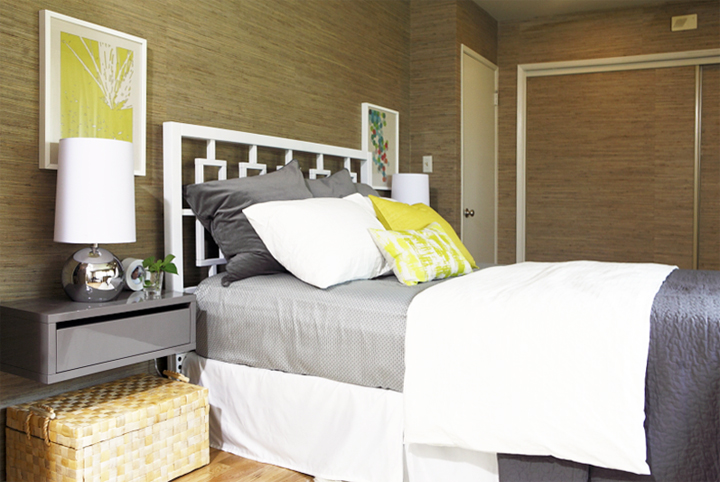
Here’s the after.

So nice right? We installed hardwood floors and obviously had a major hook-up with a grass cloth company since there’s more nice grass cloth on the walls. I think it came out pretty well. Simple, relaxing and clutter free. Not like a scary pea green dungeon.

Thanks again to Laure for letting me use her images and for letting me join the crew. It was super awesome fun crazy exhausting, but ultimately warmed the cold little modernist cockles of my heart. It was incredible to see how utterly transformed these homes could be in just a few short days.

If you guys want to check it out on the TV – Enough Already airs on the Oprah Winfrey Network, Mondays at 8pm.
Butterfly Chairs

Monday, January 31st, 2011

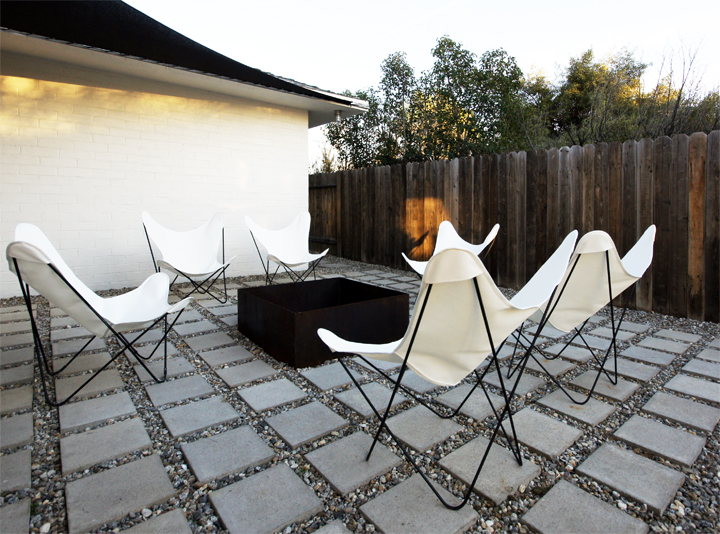
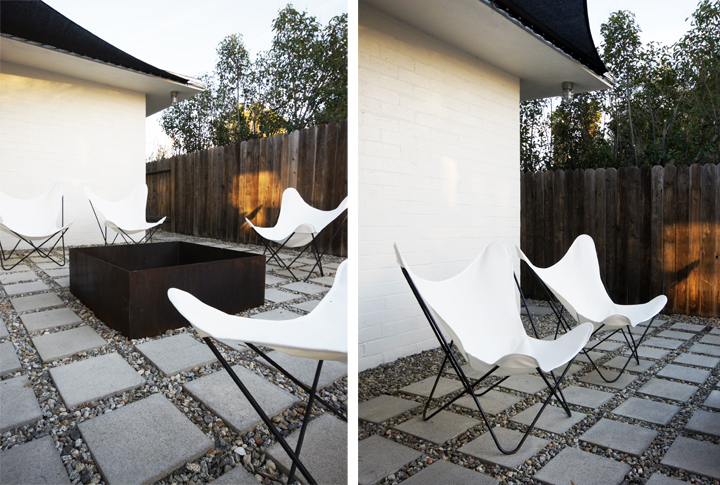
I’ve been slowly amassing butterfly chair frames to use as seating around the fire pit for the past year or so. Unfortunately, buying individual frames over Craigslist is a bit of a problem when it comes to having all the chairs and their covers match. Why won’t a bunch of unconnected strangers in different towns have exactly what I want?! So inconsiderate.

Mismatched and falling apart, the random ugly slings on each chair were making things look a tad dorm room ghetto.

I recently received an email from Steve Dunning of Circa50 whose subject line literally read “help is on the way”. He had noticed my past post and how terrible the chairs were looking and then a wave of embarrassment about the state of my ghetto chair covers hit me like a tuna in the face. With much shame, I admitted that they had been neglected for far too long.

Thankfully, Circa50 rescued me yet again.

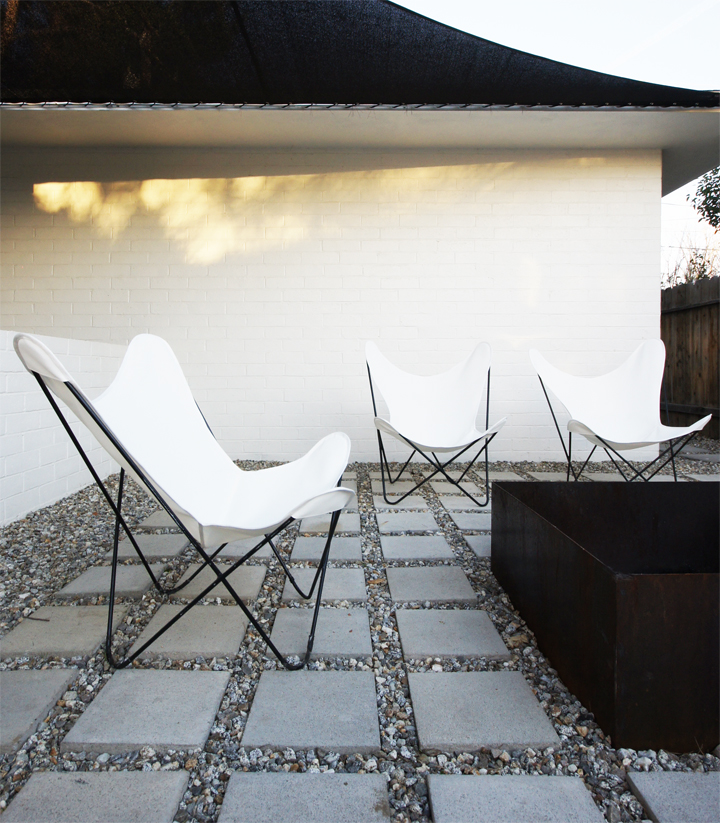
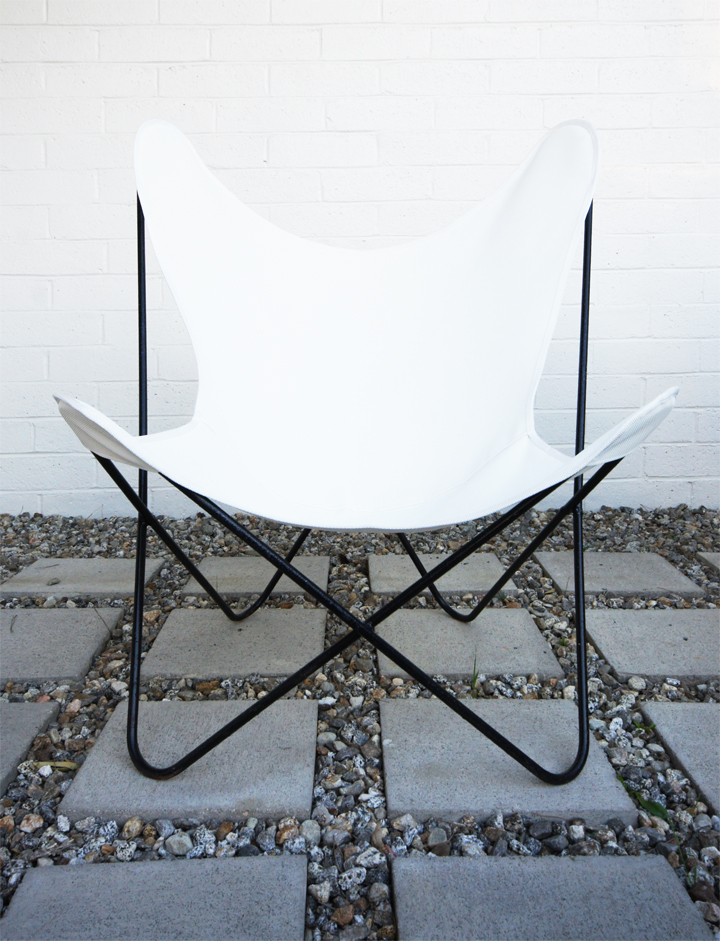
They sent six white indoor/outdoor vinyl weave slings in size D. The heavy duty exterior vinyl is a Circa50 exclusive and so very thick and fabulous to sit in – they are like white clouds of slingy heaven.

I can’t decide if six chairs may be a bit much around the fire pit, but once we install the stock tank pool I have a feeling that a pair will navigate over to the other side of the yard. Then it shall be decided…do I need still more? Probably…because I am obsessed with butterfly chairs…

It’s amazing how a matching set of slings instantly changes the patio area. It’s like the whole thing just went up a thousand notches in the über fancy design category.

Honestly, I kind of don’t want anyone to sit in them since they look like the hotness.

Thanks again, Steve and everyone at Circa50! These really did save the side yard. Now everything else needs to get better to keep up.

Front Slat Fence

Monday, January 24th, 2011

When we first moved to the house almost three years ago, all of the fences were mismatched and falling apart. Very slowly (very very slowly) we’ve been reconstructing and redesigning them.

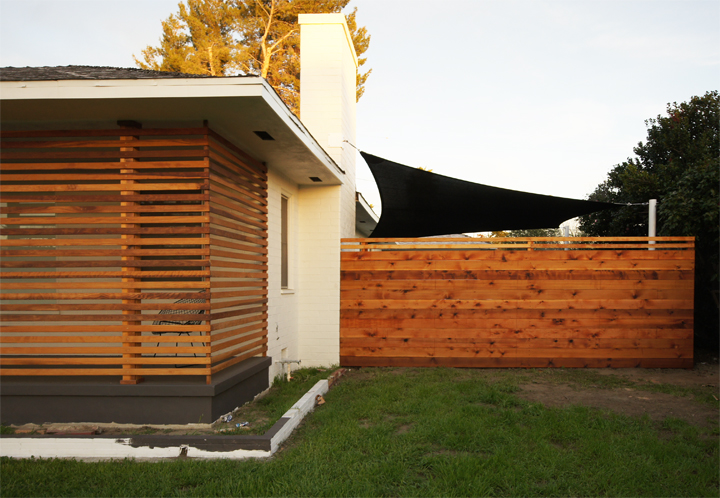
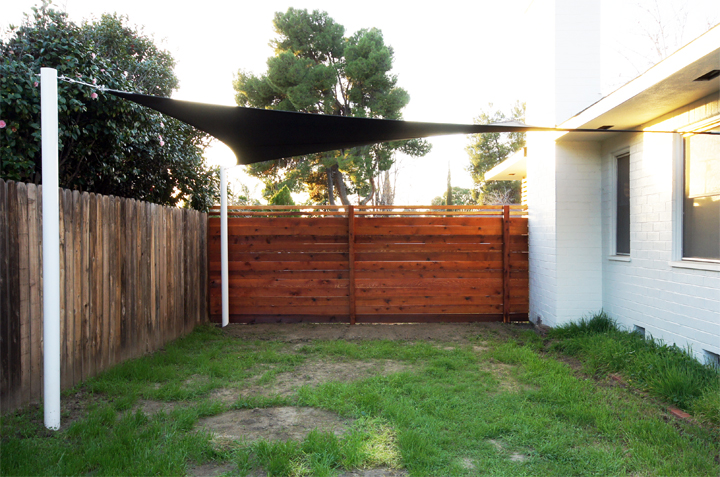
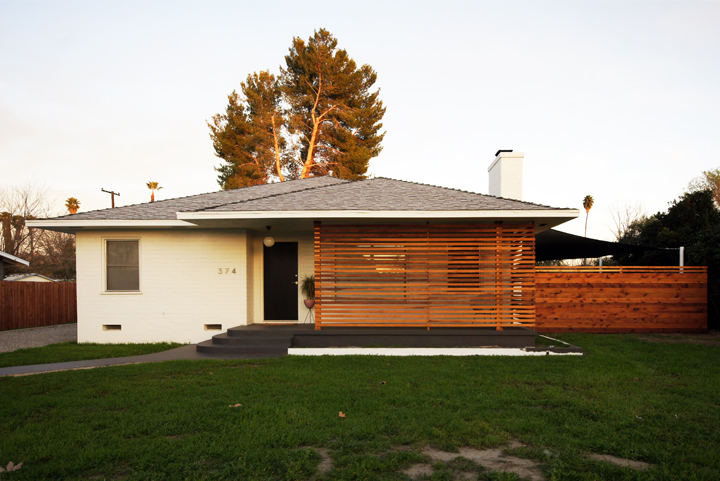
The front fence is one of the bigger eyesores round these parts and divides the street from the side yard. It poses an especially difficult design dilemma with a number of annoying problems to address. I’ve been thinking about how to span the weird 16’10” gap with as little wood splicing possible and the lowest overall cost, while still maintaining privacy and staying sympathetic with the horizontal front slat screen.

There is also the whole ugly backside issue with the added bonus of having to meet up with the vertical posts problem. All in all, lots of odd issues to deal with.

I called around and got tons of quotes for different materials and sizes and ended up having a semi-local lumber yard custom mill twelve 1 x 6″ x 20′ rough cut cedar boards. It ended up being about $200 for the material and was the cleanest looking and least expensive method of spanning that wide space that I could figure out.

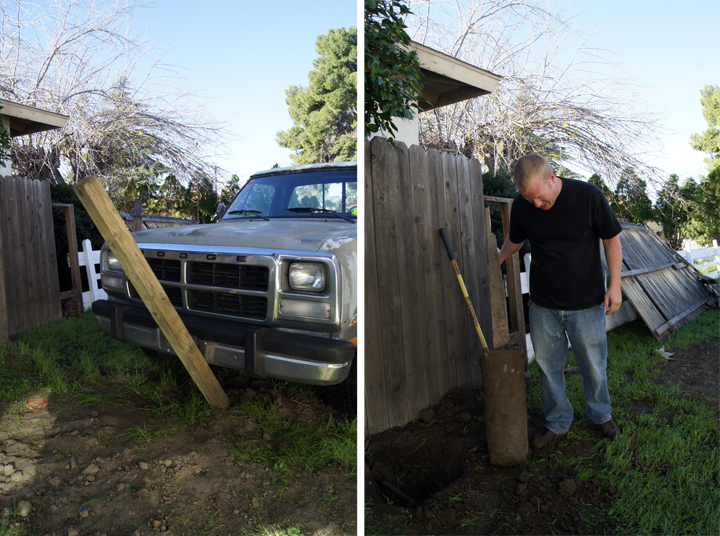
One of our many talents as DIY home owners is being great at demo. Maybe the methods are a little ghetto at times, but in the end we are very good at destroying things.

It was unbelievable how huge and heavy the cement footings for the fence supports where. These things had to be knocked down and drug out by the diesel truck and everything hacked apart. Although, nothing goes to waste around here…

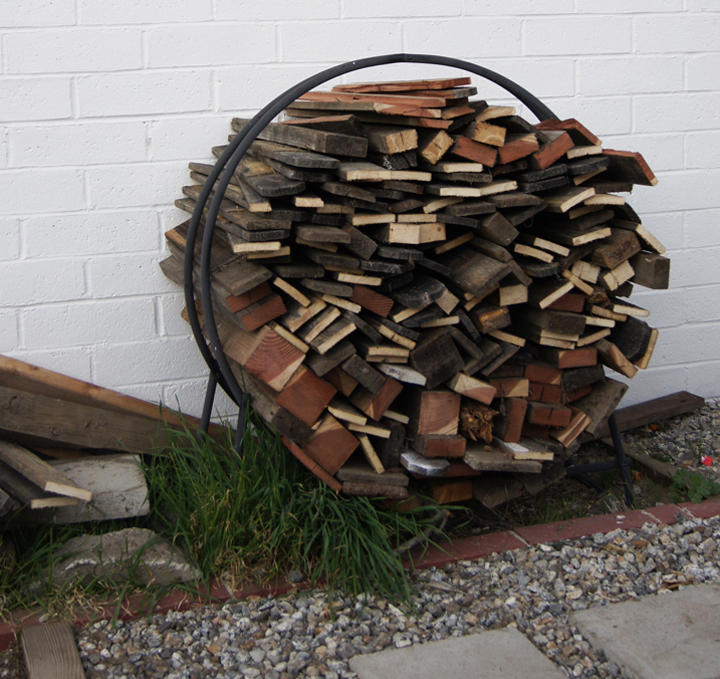
We cut up all the old fencing material and are now flush with firewood.

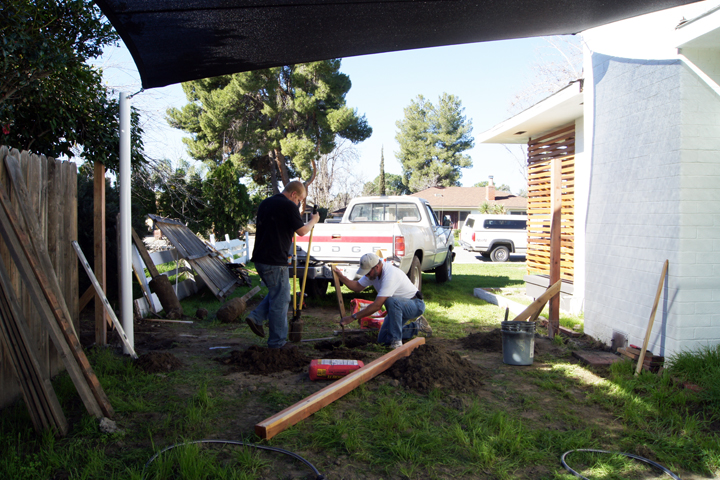
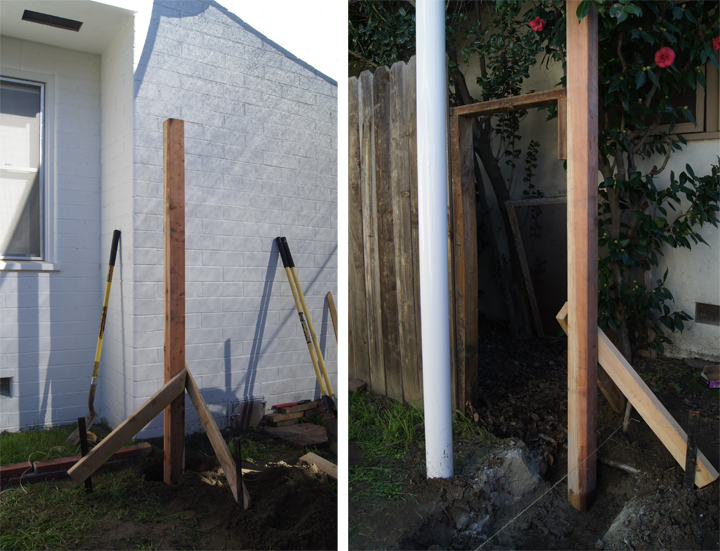
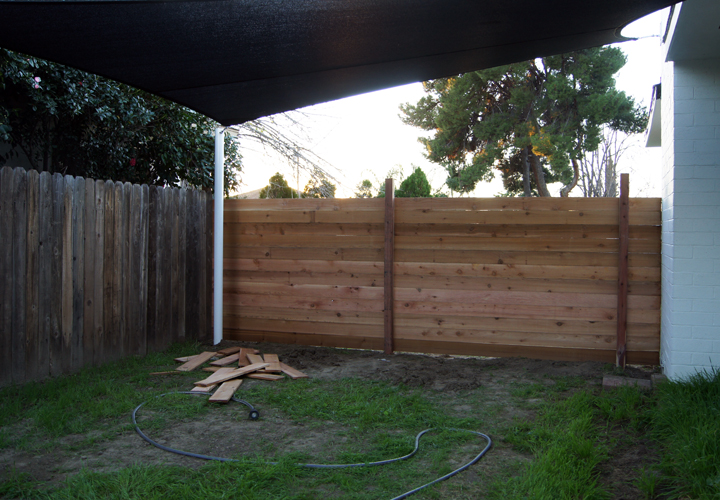
After everything was demolished and removed, we needed to start rebuilding the supports. Initially, I wanted the far right post to be flush with the wall, but unfortunately, there is a huge chunk of the houses foundation and lots of pipes to contend with in that immediate area. Our first big compromise was moving the support post over about a foot instead of flush to the wall.

The far left support post also had to support the rest of the perpendicular fence, so we had to compromise again by moving it all the way to the far left. This move caused the center support to be centered off the two supports, which is not quite center to the yard.

Funky old houses. I’m telling you, nothing but redesign and compromise constantly. With Every. Single. Project.

Maybe if we weren’t so cheap we would have devised some crazy scheme to make it work – but then we probably wouldn’t be building it ourselves either…

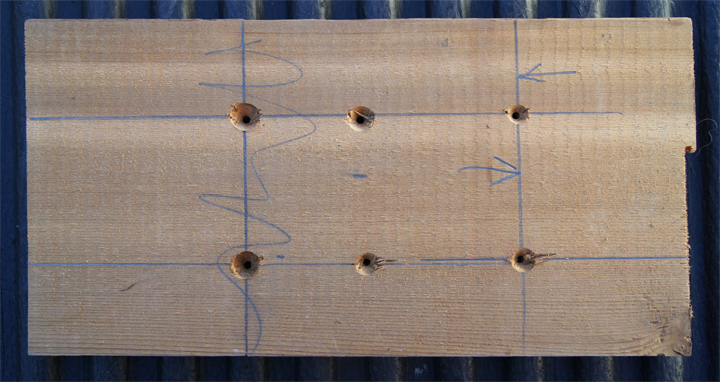
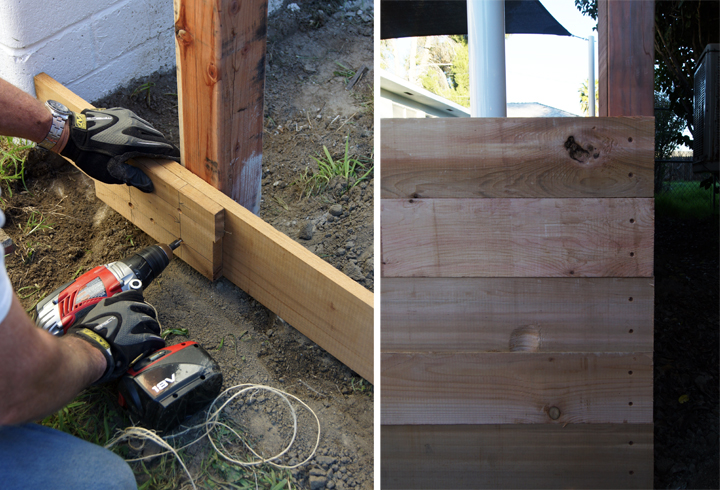
Once all the support posts where cemented in, we made a template to keep our screws square and centered on the horizontal face boards. It appears that the third attempt is the charm.

With the template in use, installing the front boards was a breeze. We’ve been slowly learning how to build this stuff a lot cleaner, more efficiently and a tad more pro looking…slowly. After screwing up a bunch.

Here is where you can see the support post compromise assert itself. Didn’t really solve the ugly backside problem, but it doesn’t really bother me that much. If in a year it does bug me, maybe I’ll clad the backside with some cedar boards to hide the supports.

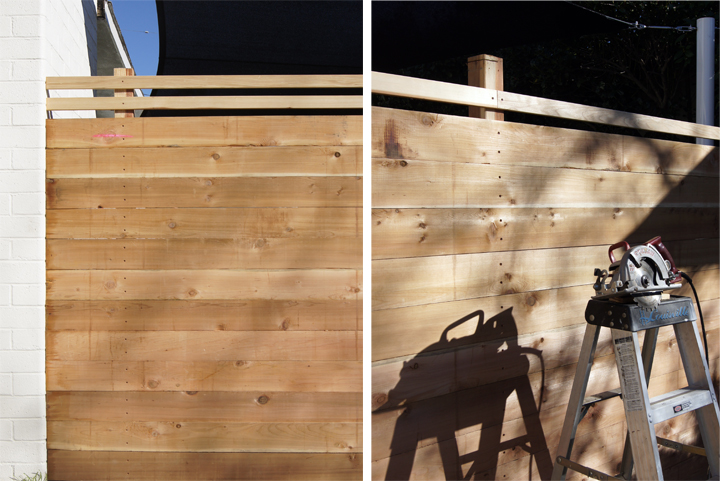
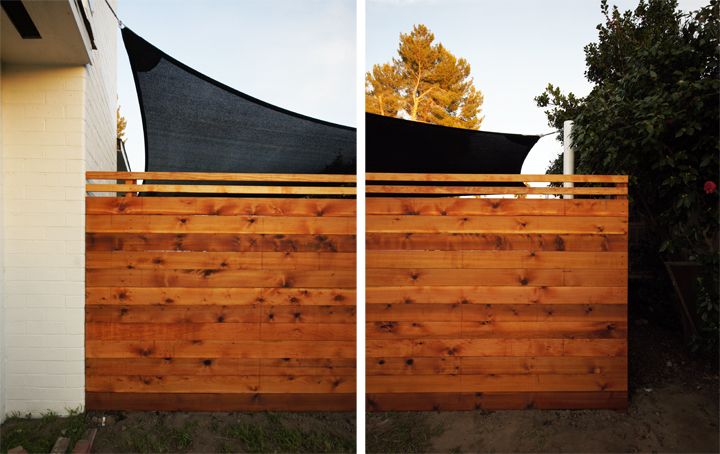
To finish off the top of the fence, we used the same 1×2″ redwood boards we used for the slat screen. After we measured out the same 1-1/2″ spacing and installed the smaller boards, we marked out how high the supports posts needed to be and then unscrewed the top run and chopped off the top of the support posts with a skill saw. Custom fancy stuff.

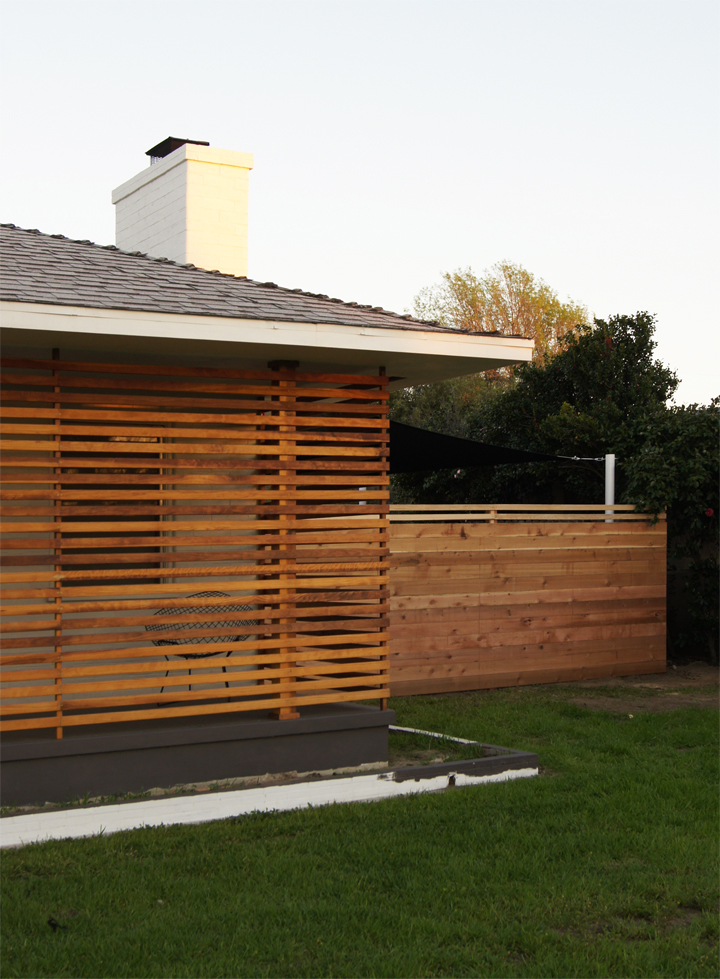
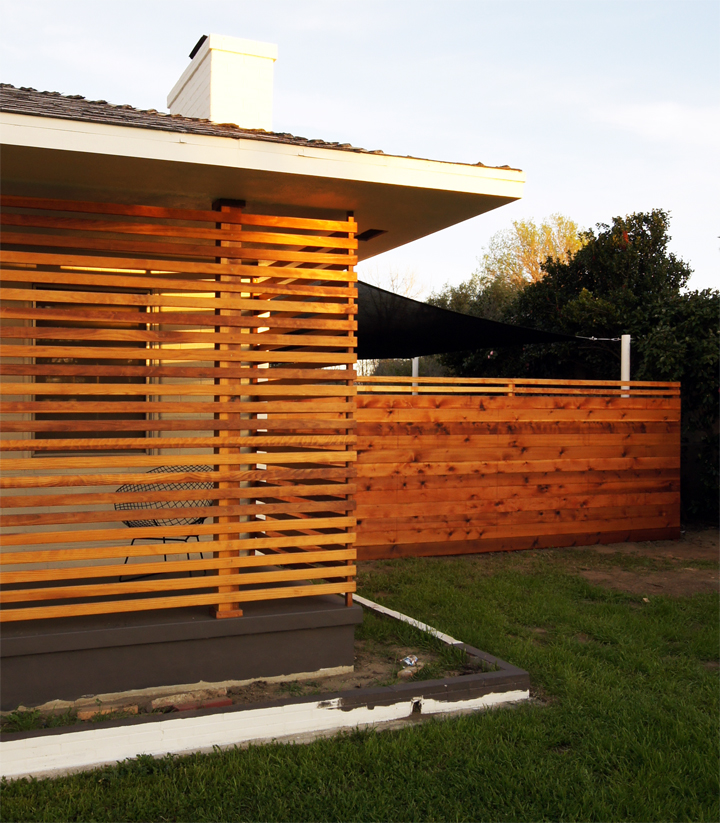
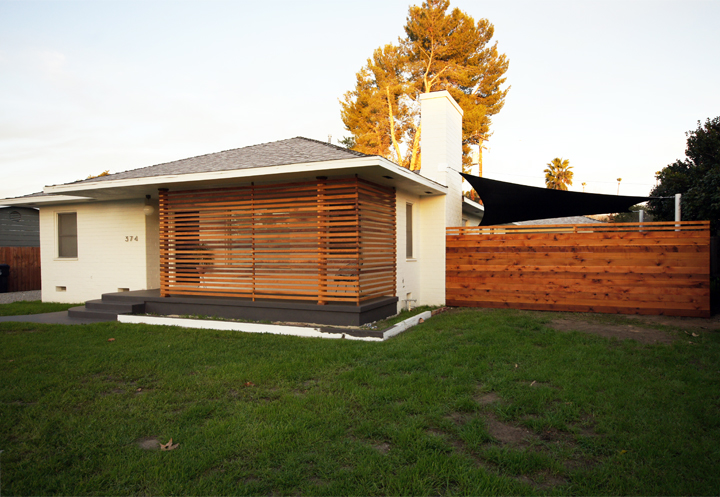
Here it is all finished up with the construction phase. The next step was to oil the wood down and seal everything against the weather, bugs and chaos of the outside world.

Through the power of internet immediacy, here it is all oiled up. We used Penofin for the slat screen and then Superdeck for the fence. The logic being? Superdeck is easier to find? More options? I don’t really recall.

They are pretty much the same stuff – oil that binds inside the wood and protects it from UV, water, termites, ect. Just roll it on and wipe it off after twenty or so minutes.

The broken down front planter looks terrible. This must be the next big project and it’s totally getting the steel edging treatment.

So fresh! So clean!

After a little while in the blinding desert sun the color is going to mellow out. The slat screen was similarly bright when we first treated it.

BEFORE:

AFTER:

We tested a patch of the oil on the weathered wood of the side fence and it looks really good. So that solves the question of what to do with that.

BEFORE:

AFTER:

Now, we just need to redo the planter then build a gate then hardscape then build a side fence then irrigation then landscaping then lighting then mailbox then roof…arrrgggghhhhhhh. This is going to be the Decade of the Exterior.