Archive for the ‘after’ Category

Fire Pit : Redux

Thursday, June 10th, 2010

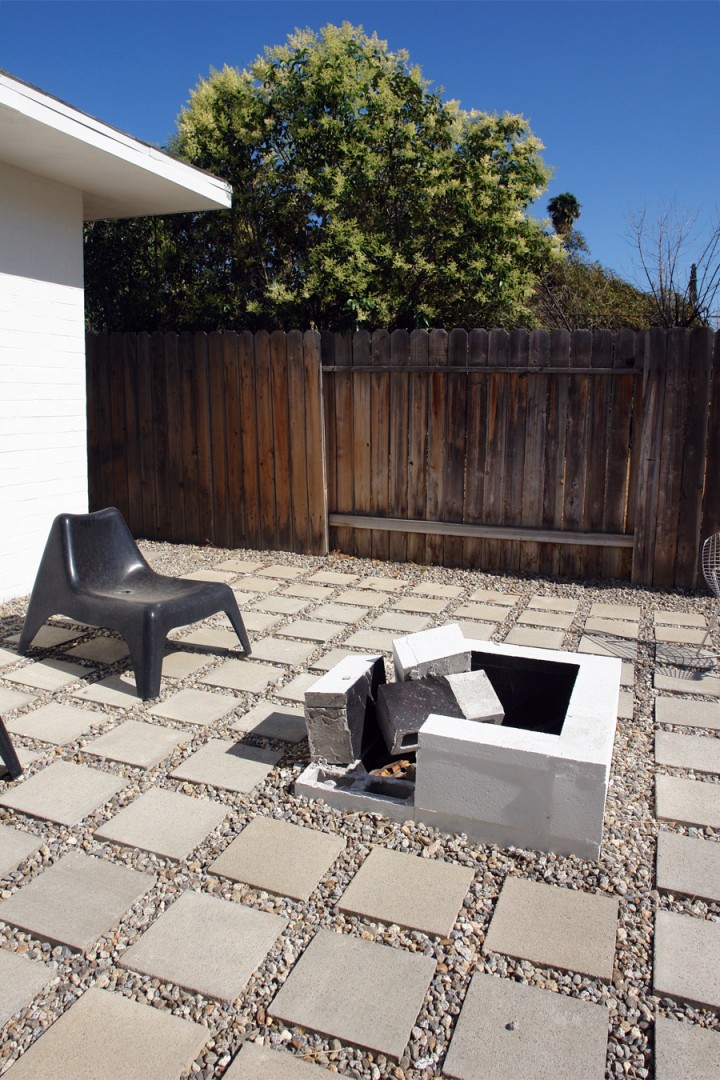
The old cinder block fire pit did not work. Whoops! (That’s why I never posted a true DIY). Good thing it was dirt cheap to build.

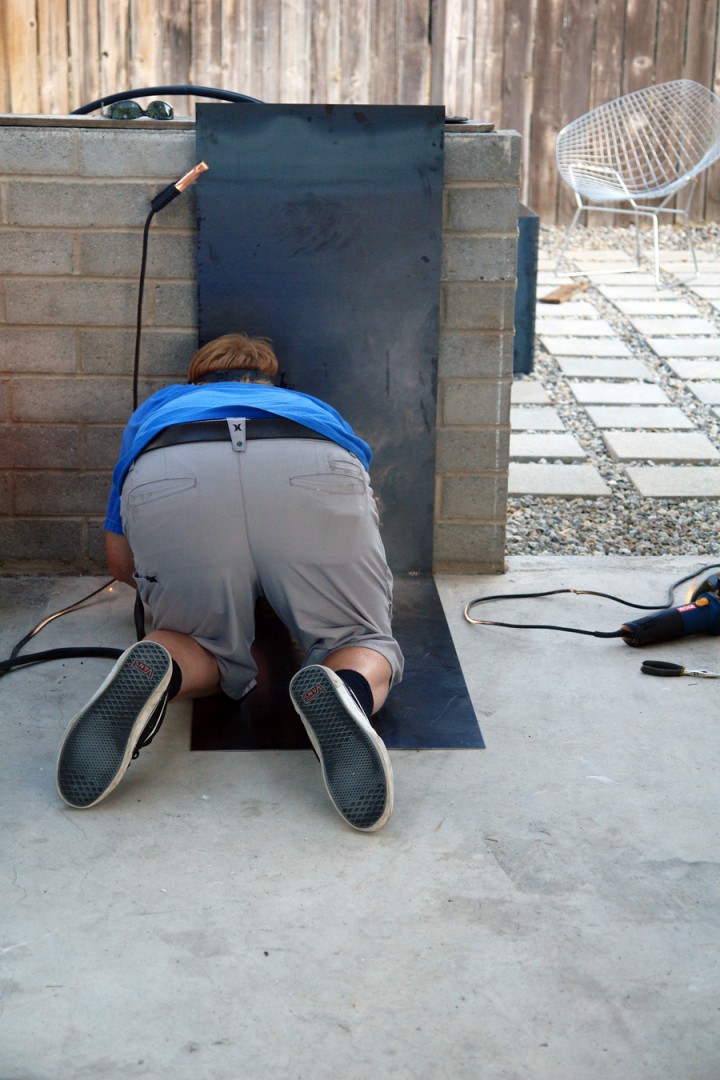
When we visited T.K. and Jill’s house in Joshua Tree, T.K. gave us a little introduction tutorial class in welding. Now we are putting that new skill to use to rebuild our crappy fire pit. We will build it better, stronger, more metal-y than before.

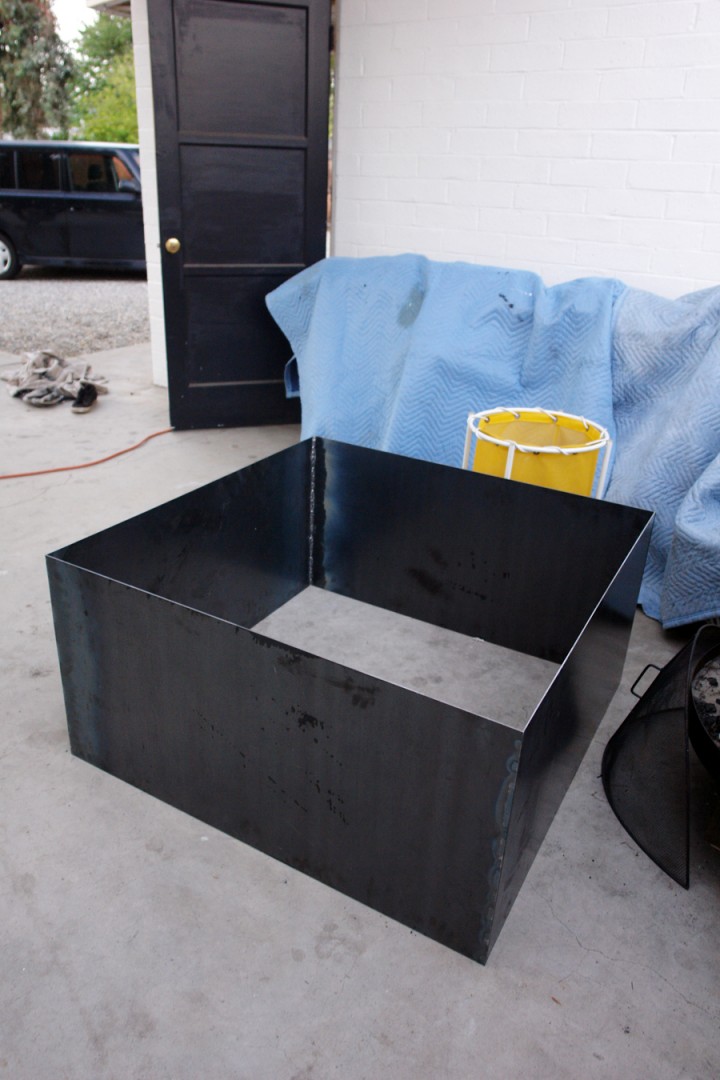
We bought four 40″ x 20″ sheets of 12 gauge hot rolled steel from Riverside Industrial Metal Supply.

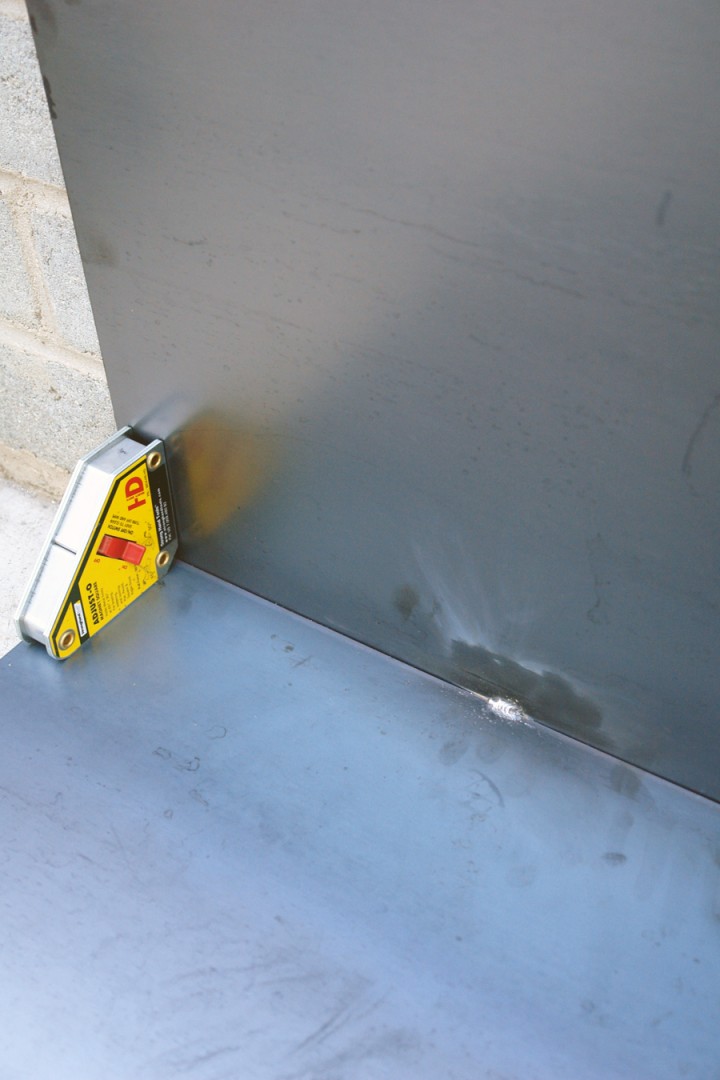
Our new fancy magnets were very useful for holding together the two pieces of steel in order to get them tack welded at a 90 degree angle. Best tool ever.

The first half got spotted in place and it started to look like something…

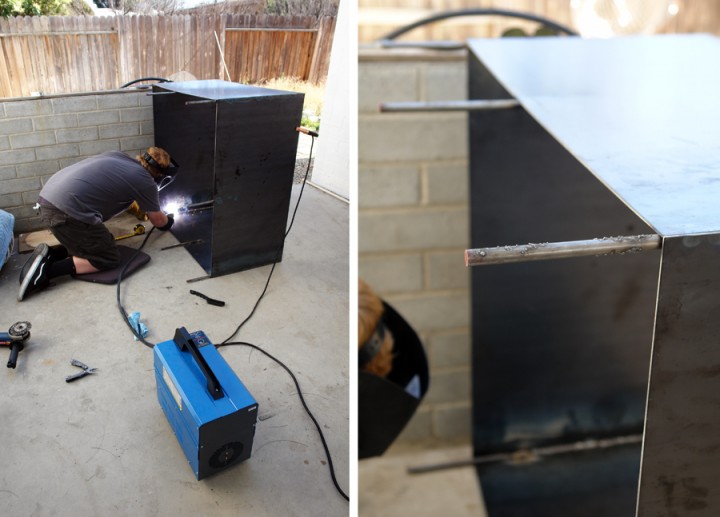
The metal fire pit will be sunk into the ground with eight cold rolled steel rod supports to hold it square and add strength.

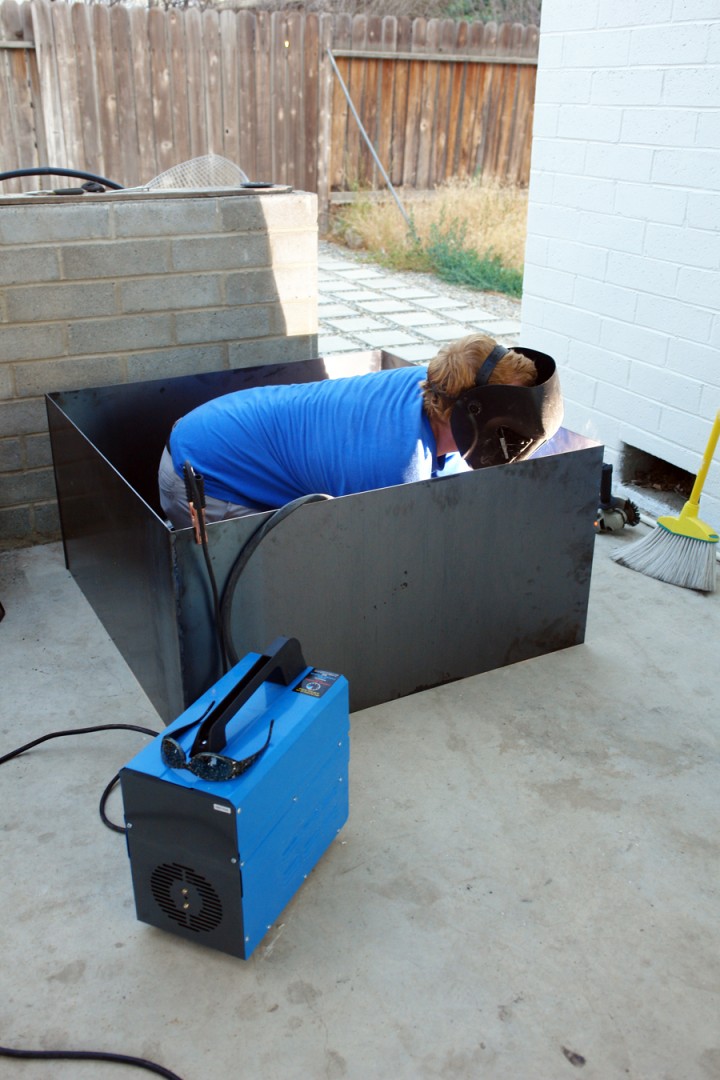
It’s a big metal square!

We added foot long cold rolled steel rods to the corners and in the middle of each panel. They aren’t pretty but they are getting installed underground – so they don’t really need to be.

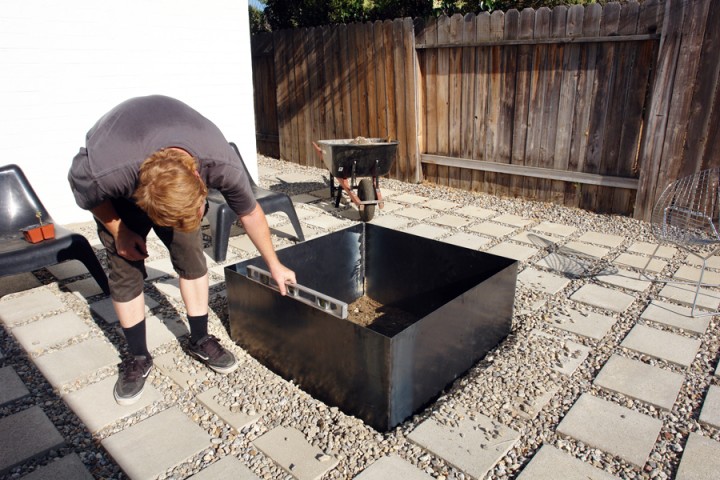
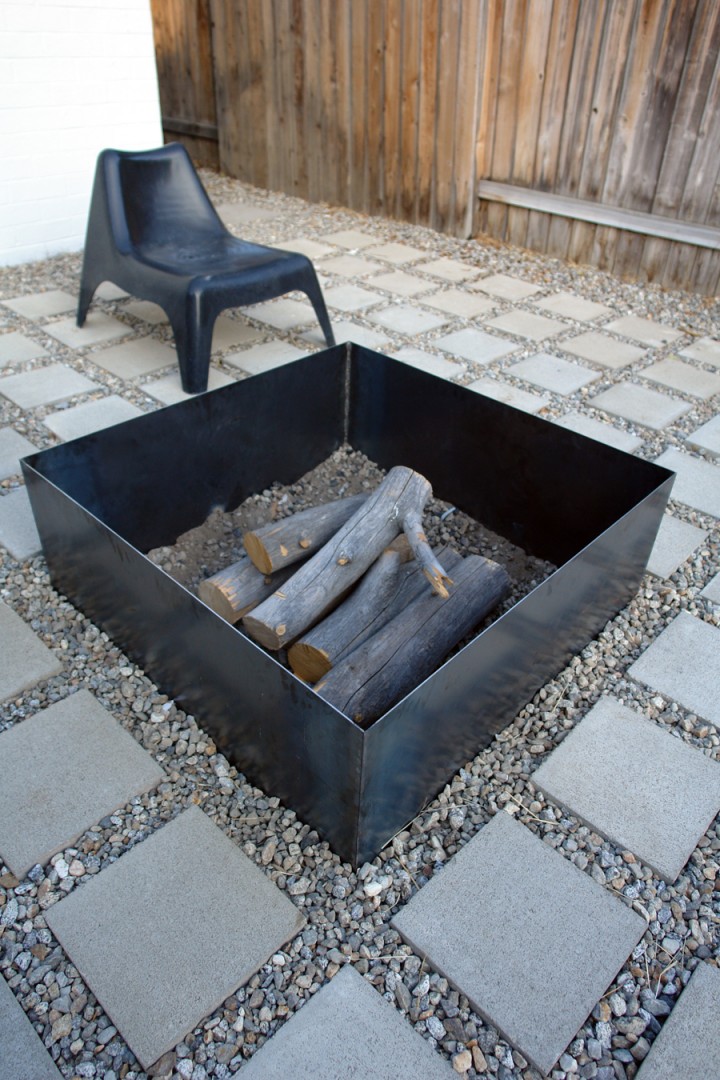
Installing the larger metal pit where the old cinder block fire pit died it’s horrible death was kind of a pain. Everything got ripped out and a larger, deeper hole had to be dug out. A sledge hammer and plank of wood helped sink it level into the soft soil. In the end we left about 14″ of steel above ground.

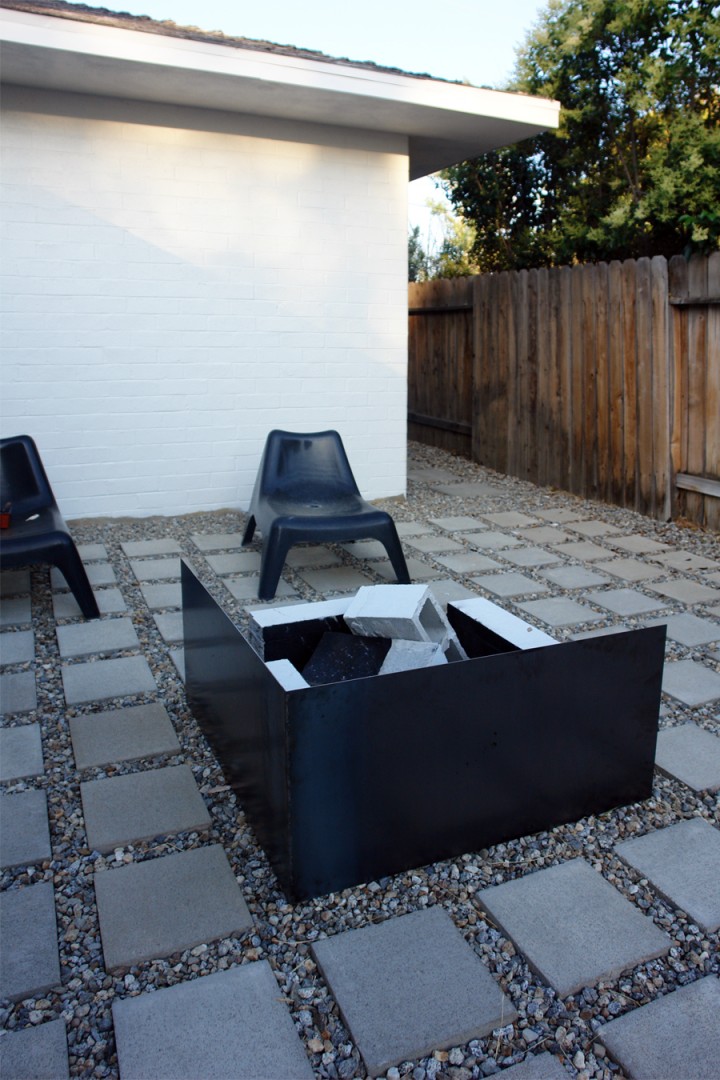
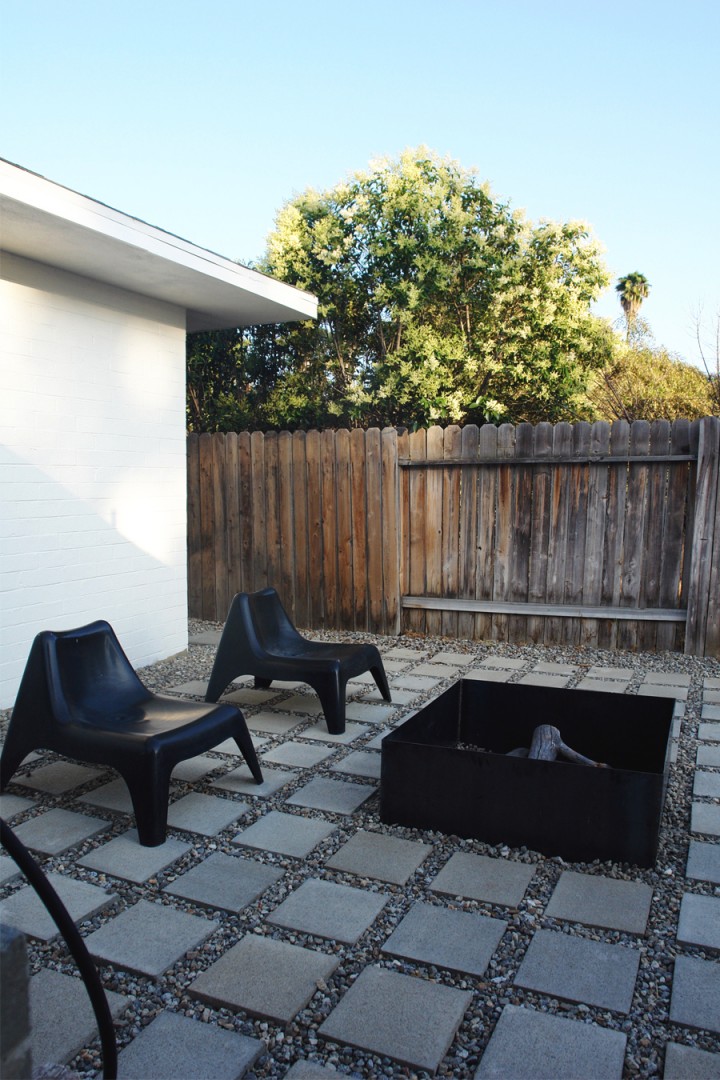
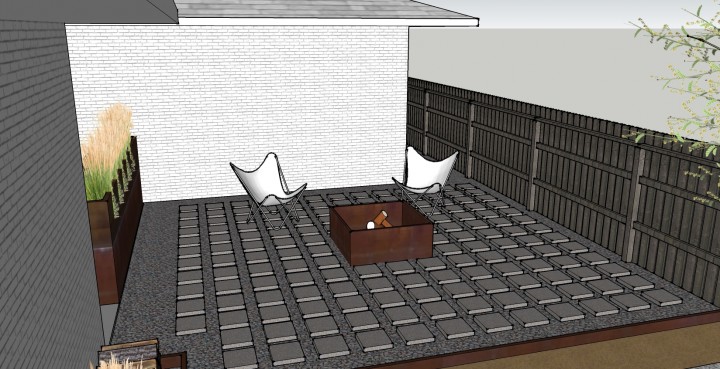
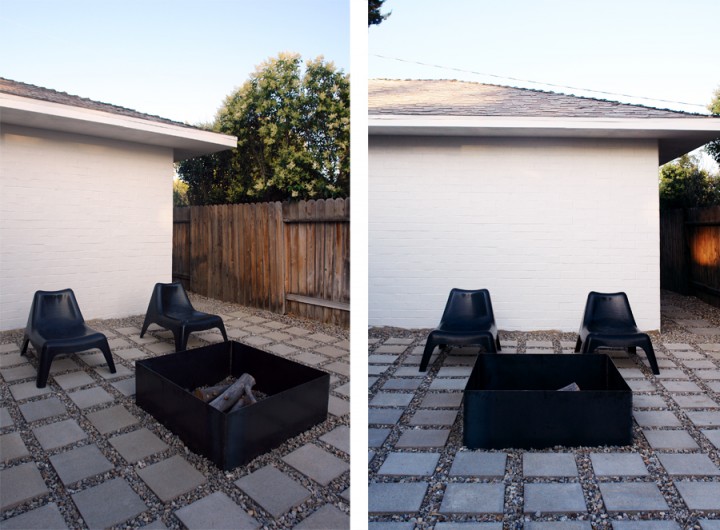
BAM! DONE. Indestructible fire pit. I want it to rust up a bit to match the sketch up version:

I think for our first welding project that it turned out really great! It was about $100 for all the material and took us three or so days to put it together with a bit of a learning curve. The Boy ended up doing most of it after falling deeply in love with welding and telling me my welds suck. Good thing, because we have a lot more metal to slap on this house and I’m going to put him to work.

Ready to go for fire! Much, much better.
Windows

Wednesday, May 26th, 2010

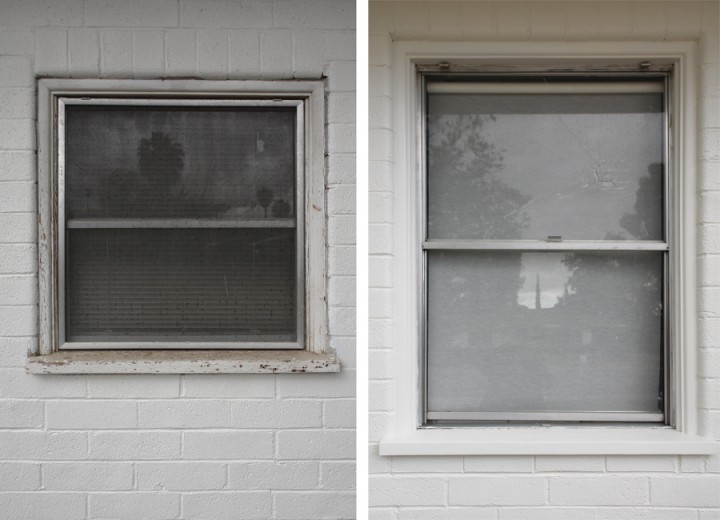
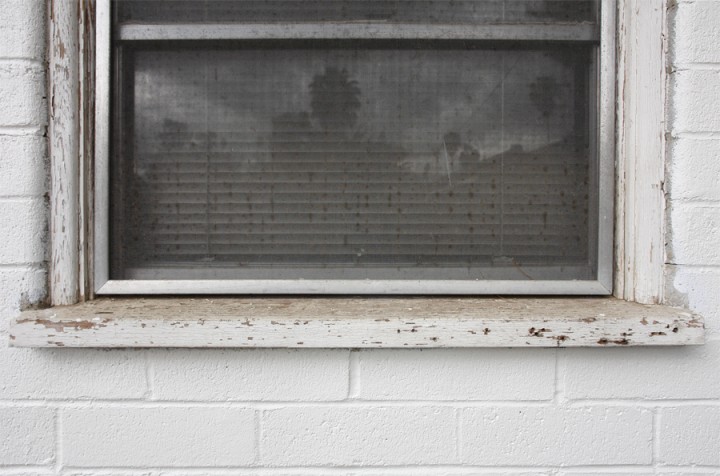
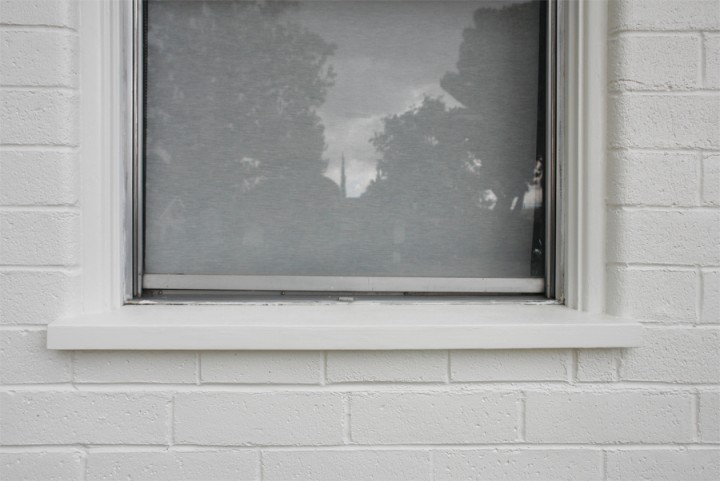
Long before we even started priming the house The Boy took a good long chunk of time to restore the rotten and decrepit window sills. He sanded, patched and primed the wood long before we decided on a house color…well, except for two. There are two windows left on the garage that haven’t gotten the restoration treatment (somewhat luckily since I never got a good “before” image of the untouched sills).

Yes, they were all this crappy.

This weekend was the first time I got to paint over the primer and check out our fully restored sills. It’s been about a year and a half long process to get to this point, but its probably been over 50 years since they were first painted. During all that time since the house was first built it seems like no one ever thought to give them a second coat of paint. There was only one thin off-white coat of paint that was just completely flaking off. Probably better than having to sand down years worth of gloppy paint jobs.

We did recently hear from a neighbor that The Brick House used to be a halfway house for a good long while. Awesome. Go Hemet!

Now what to do about those crappy aluminum windows…

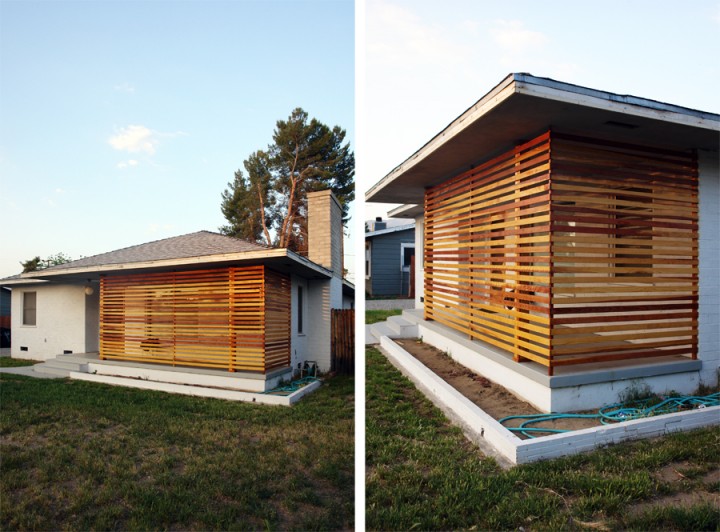
Slat Screen Finished

Wednesday, April 28th, 2010

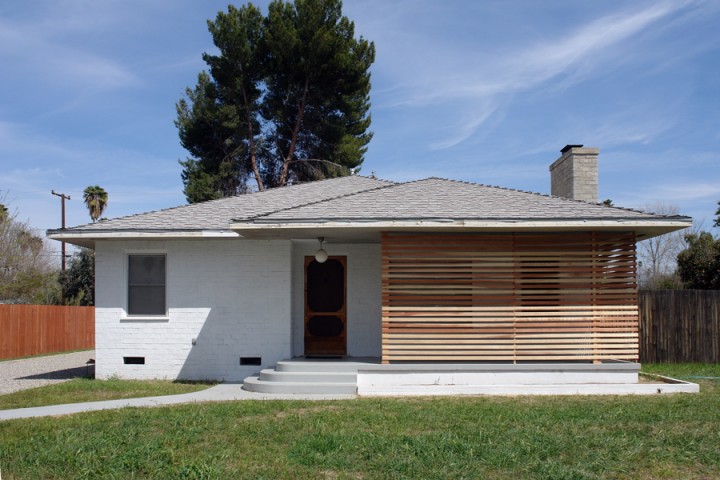
Before

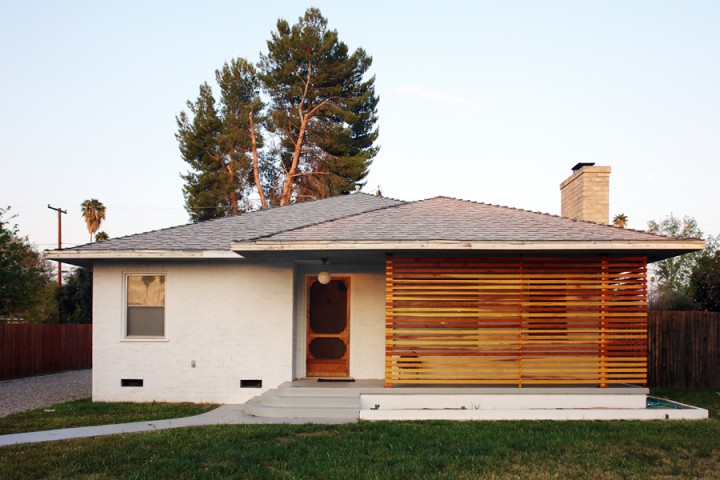
After

The slat screen is about 90% done. I took some pics while the sun was setting and the color seems to appear a little more yellow than it normally does especially compared with the pre-sealing color.

A few small finishing touches, a little sanding, a little more oil and we will be set to move on and start painting the rest of the exterior. We used Penofin Brazilian rosewood oil (an idea gleaned from this redwood deck) to seal and protect the wood from graying and the elements. The redwood does get a lot of protection from the overhang, but we really want to make sure this installation lasts. It’s been working wonders on the late afternoon heat in the living room.

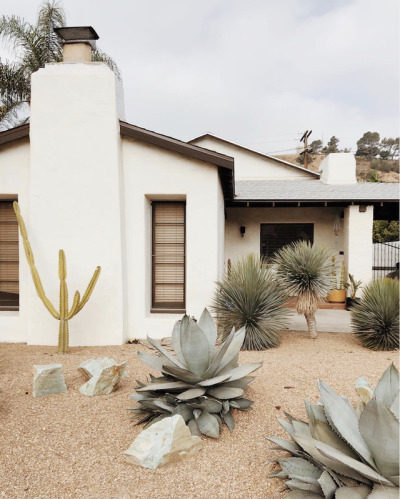
We finally decided to use Amazon Paint in Whipped White (WHIP) in a satin finish. Well I think…we still have to check it out in person.