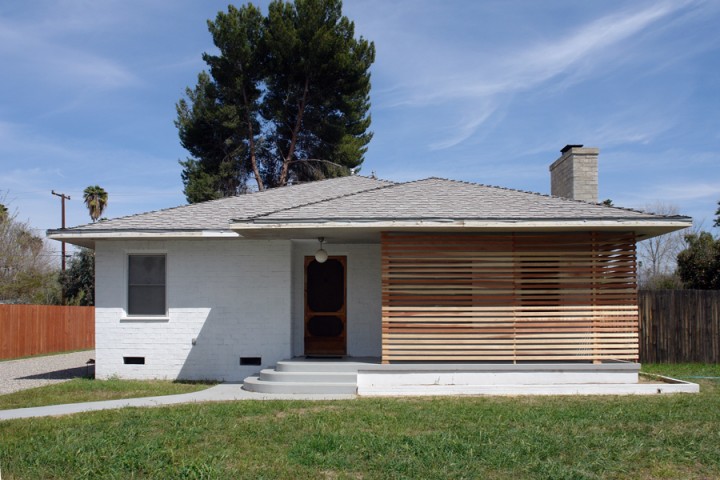
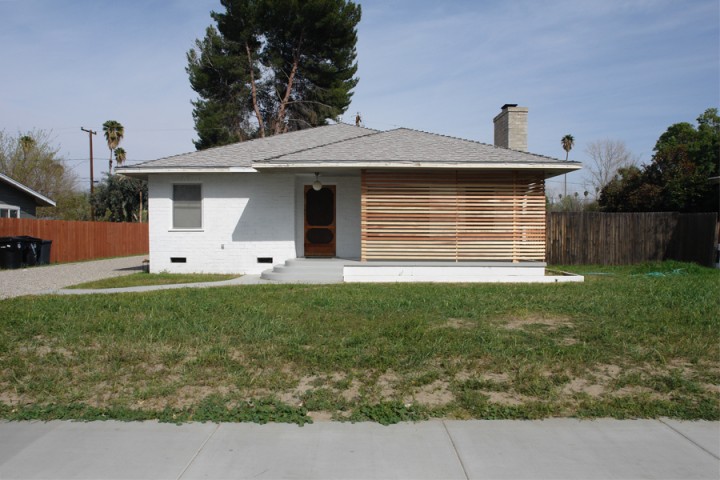
BAM. SLATTY.
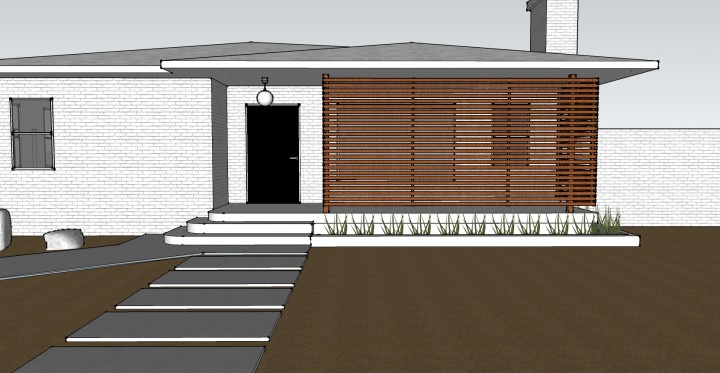
From Sketchup fantasy to Brick House reality.
Over three days with help from Carpenter Craig and my Mother we banged this bitch out. We ran into a few hiccups along the way and learned a some new skills (like how important a countersinking bit is and when to compromise) and in the end I’m super happy with the result. We still need to do the finishing – like sanding, staining, sealing – which should happen over the next week, but the brunt of the construction is over!
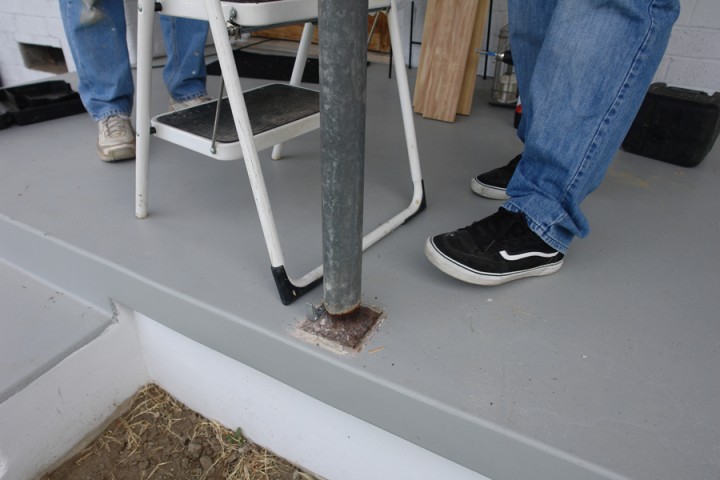
First thing first. We had to wrap the ugly structural poles with wood. When we first moved into the Brick House these poles were wrapped with wood, but it hadn’t been taken care of and was totally split and rotting. It was of the first things we tore down over two years ago…
The entire horizontal slat structure is made of finished redwood – the slat parts are 1 x 3″ / 8′ and the supports are 2 x 2″ / 8′ (that we cut down a bit to fit vertically). The big structural columns are built boxes made with 1 x 6″ planks that we had to rip down to a little under 5″ wide.
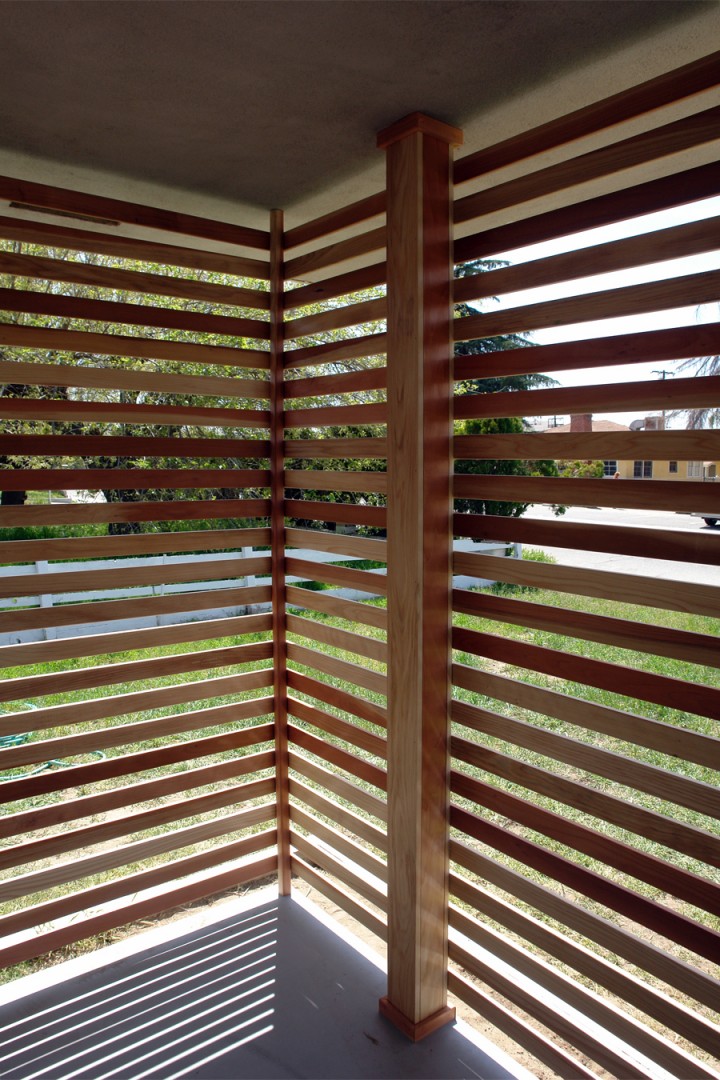
The big columns wrapped in new wood.
Day One:
Whoops.
We screwed up a bit. The left side was supposed to be flush, but we were having difficulty dividing the spacing into thirds and tried to center the middle support. BAD IDEA. It was way short on the right side and much arguing resulted on how to fix this design error. We had 16 feet to cover and I wanted the least amount of splicing. The math wasn’t adding up on how to achieve this…
The compromise was to install the middle support off-center to rest between the two front windows and then move the slats over to the left to be flush with the end of the patio.
Day Two:
We fixed the problem. Not the “ideal” Sketchup look we wanted, but it was the best compromise for our weirdly placed structural supports.
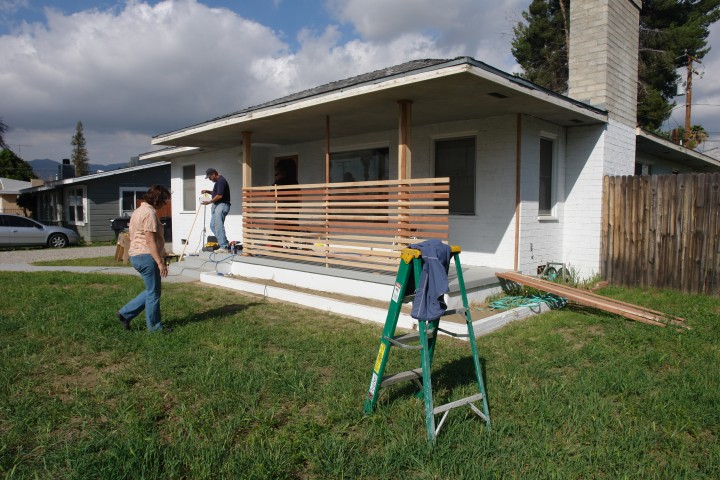
We got a little over half of the front slats installed and the side support attached to the crazy hard cement exterior wall.
Day Three.
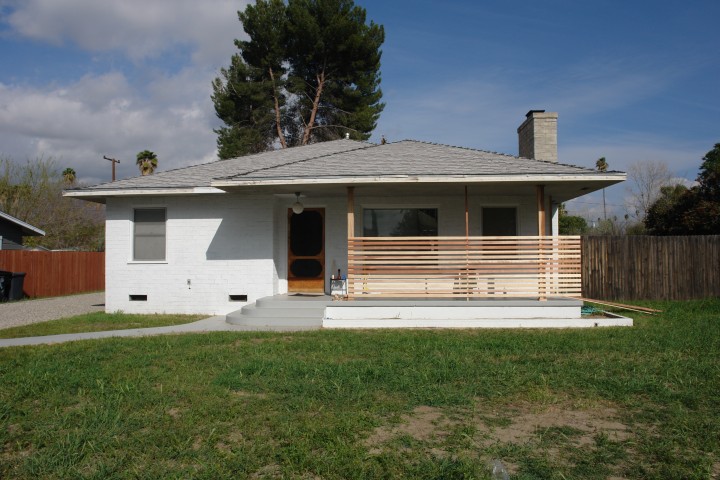
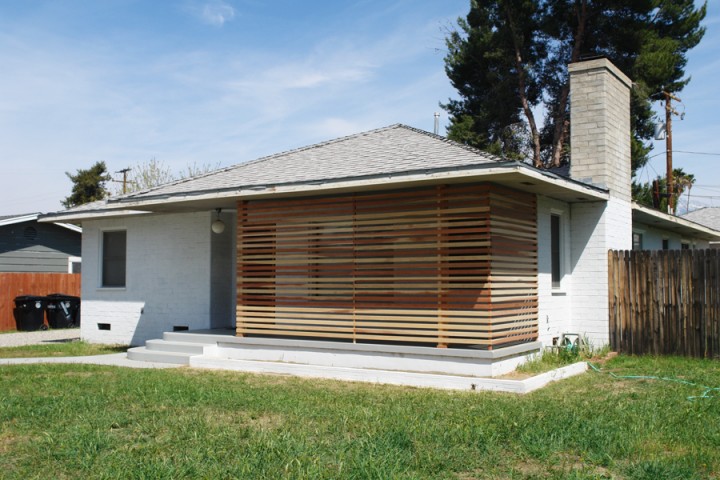
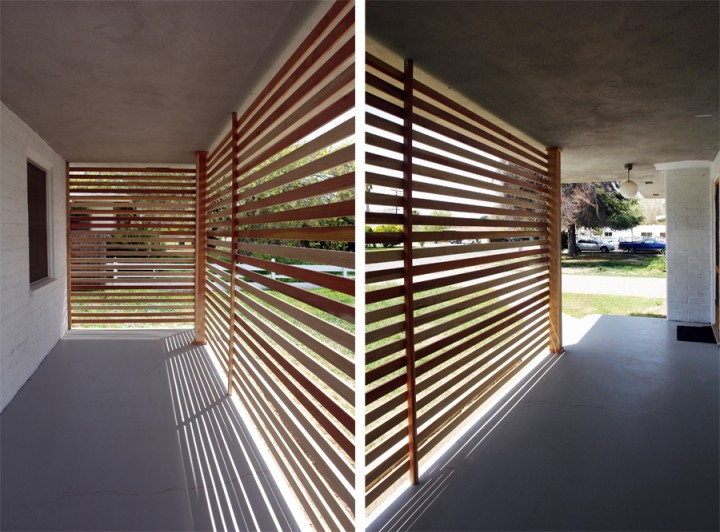
Construction finished! Once we got a little assembly line setup to install the slats they all went up pretty quickly. We chopped each piece to fit and used spacing blocks and drilling templates to keep them all uniform. That’s some custom shiz.
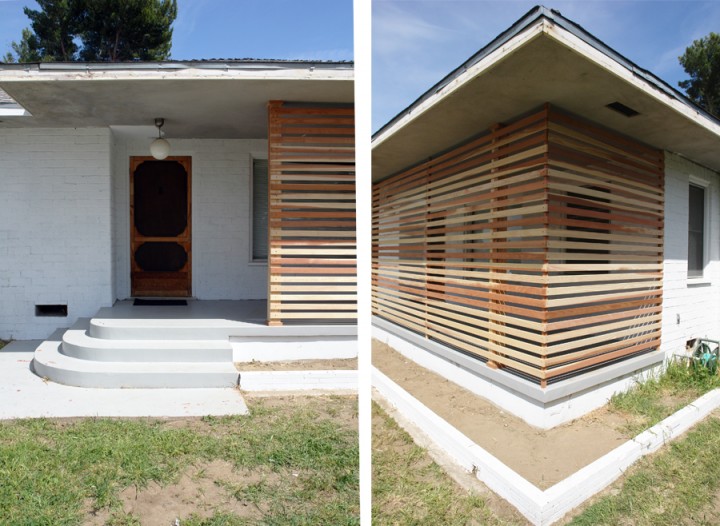
Here is a close-up of the interior structural beam. We had to cover up the nasty (uneven) steel plate supporting the posts with a little bit of molding. The wood post couldn’t sit evenly on the ground and has a bit of breathing room at the base, so the compromise was to wrap it with some molding at each end.
Now we need some chairs or plants or something to jazz up our new shady porch. Our living room is so much cooler without the late afternoon sun beating straight into it, we get a bit of privacy and the house has some actual architectural interest from the curb. Win, win, win.
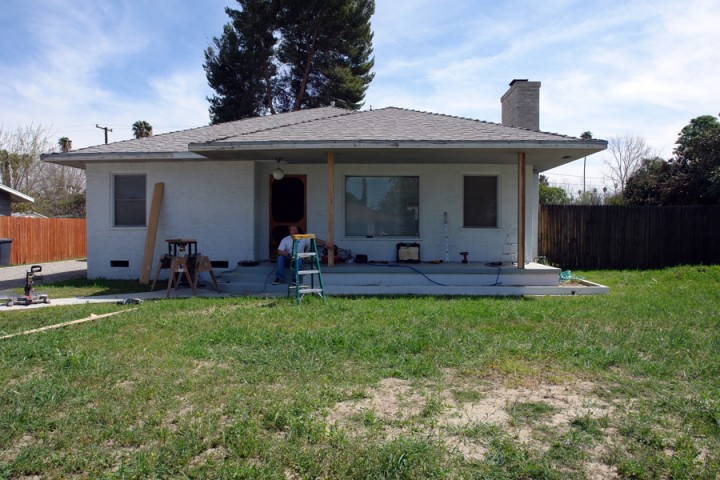
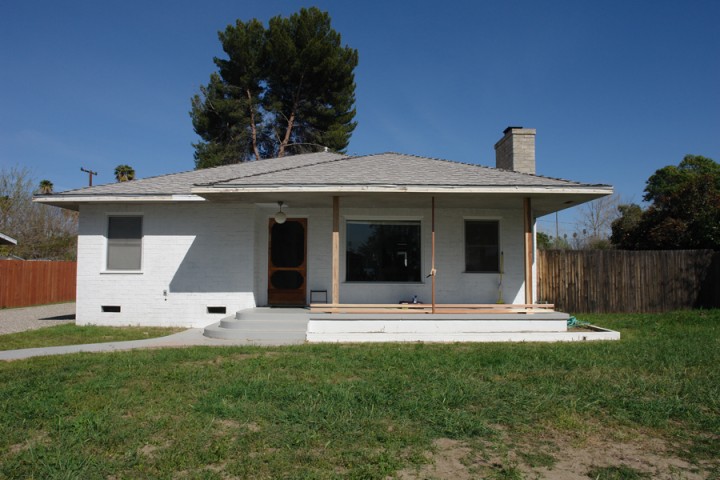
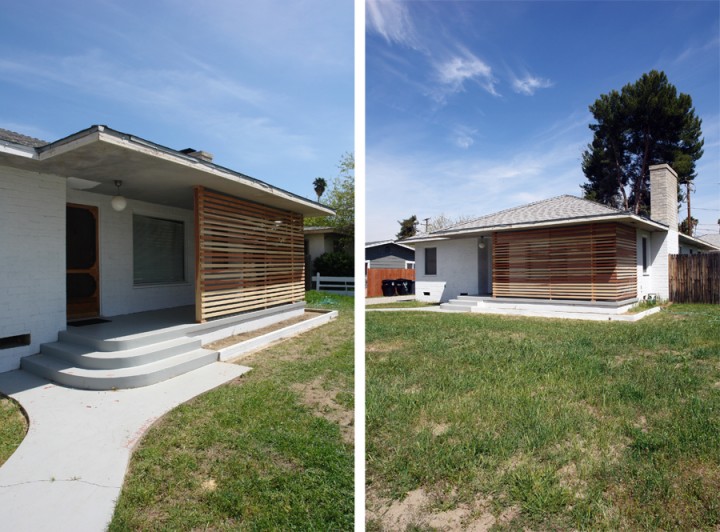
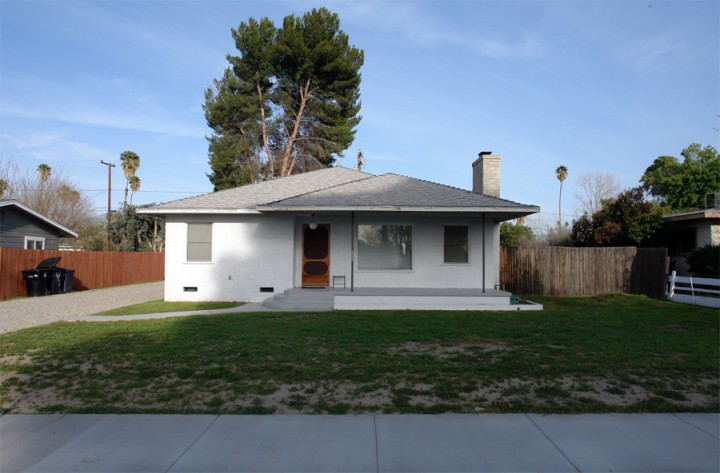
Here is a reference for how it looked…
BEFORE:
AFTER:
Horizontal Slat Patio? CHECK.
2010 : The Year of the Exterior is progressing along nicely. Next up? Paint. PAINT THE HOUSE.
