Archive for the ‘after’ Category

Front Door

Wednesday, August 18th, 2010

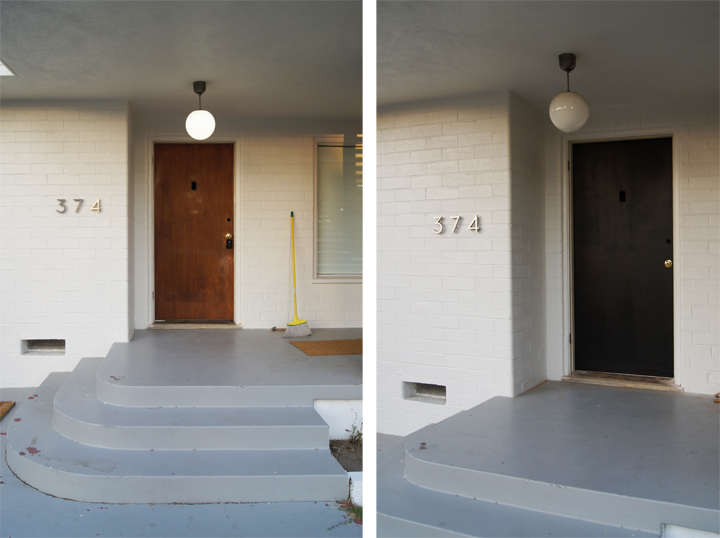
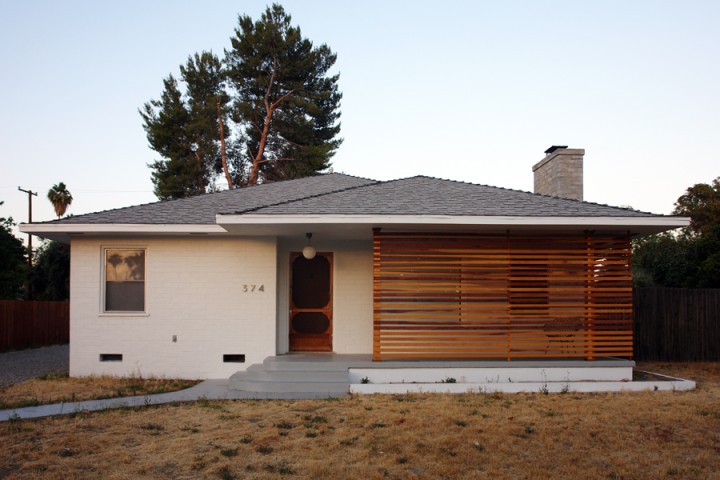
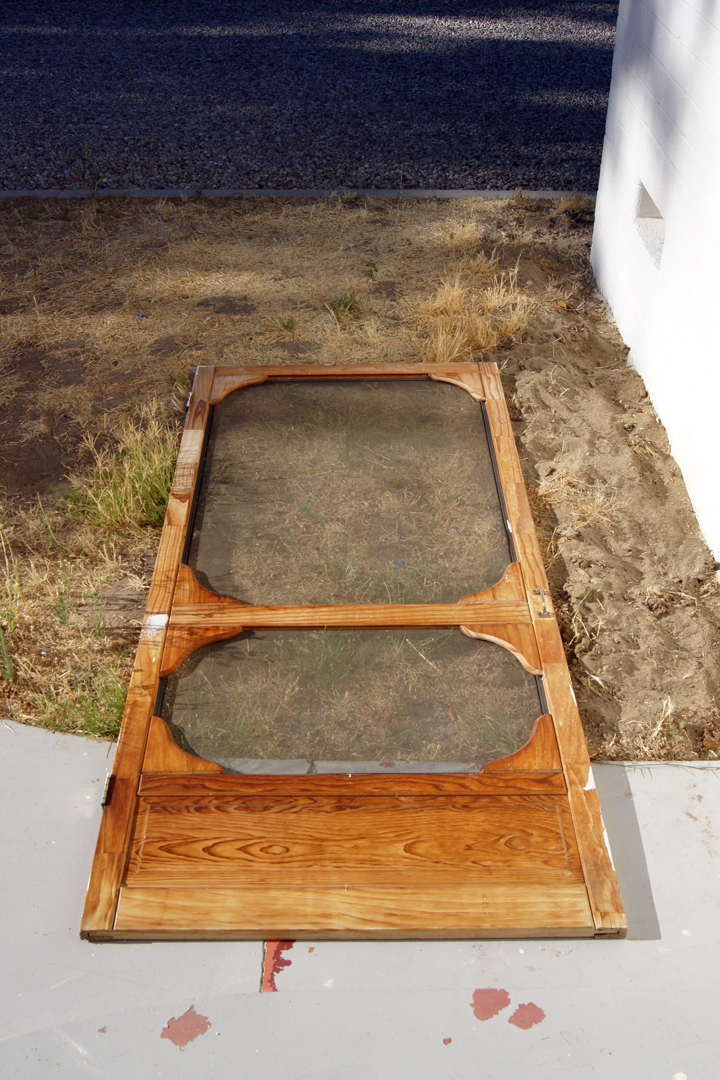
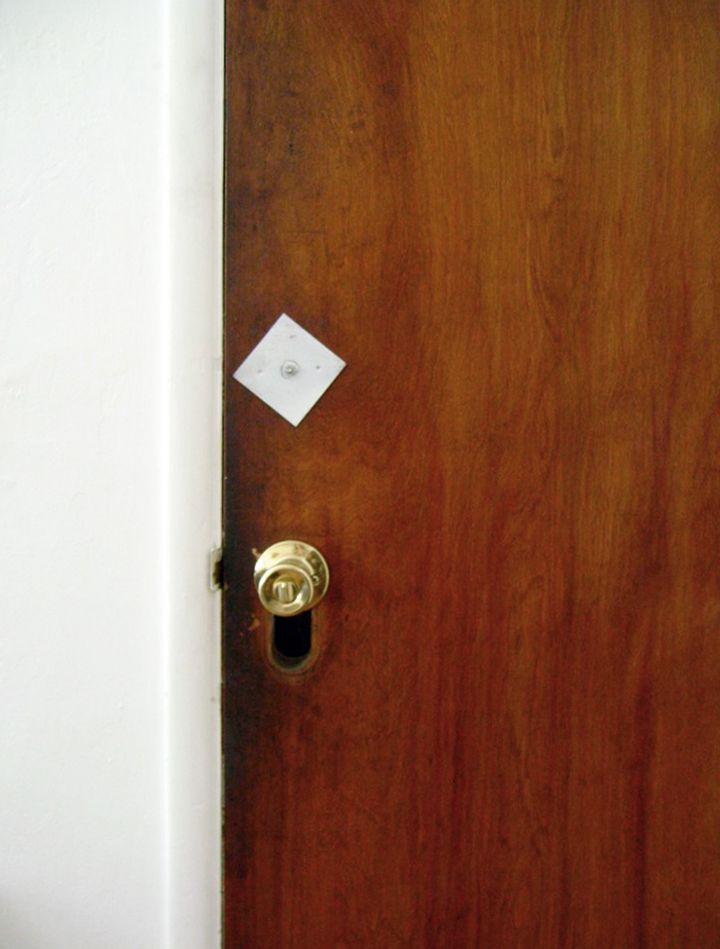
Screw you ugly screen door. Screw you big weird hole.

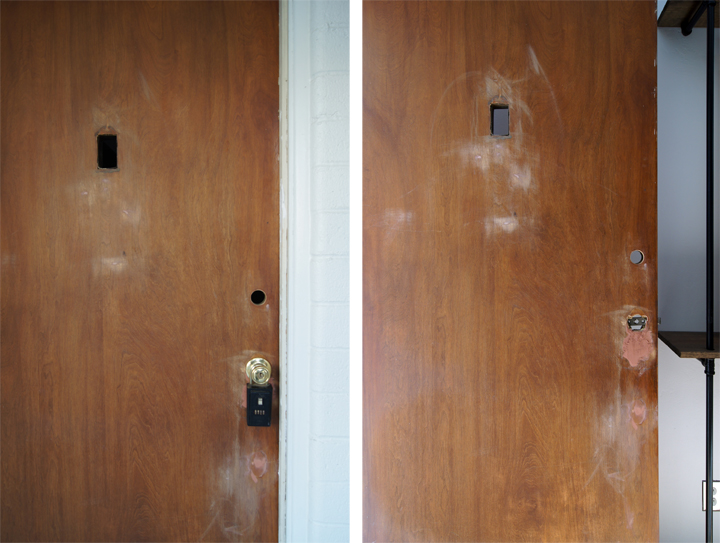
We finally got motivated and figured out how to fix the big hole in the front door – which means the front door is going to rehab.

Screw you as well stupid Realtor lock box.

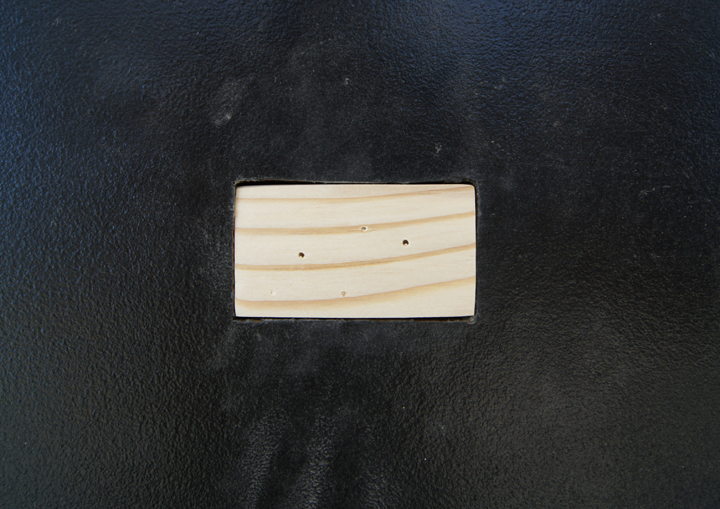
The Boy made a little custom wood chunk to fill the giant hole below the doorknob. He puttied it up with some wood filler and then proceeded to fill a bunch of wonky holes throughout to get it primed for painting.

Sand sand sand. Patch patch patch.

Then we tried painting the door and…disaster.

It looks terrible.

Smooth roller + Behr exterior True Black in a semi-gloss = WTF. It’s ugly finish city. It was the same combo we used for the garage doors. So what went wrong?

I don’t know. I googled and googled to no avail.

As a last resort I spoke with the paint guy at Home Depot. He said it was a drying problem; the paint was drying too quickly and we weren’t putting enough paint on the roller as well as pressing too hard. Therefore, bad finish.

Since we were sanding things down and calling a do over, I decided we needed to patch up the peep hole. We had a big ornate brass thing that just wasn’t going to work with the more modern hardware we were installing. The Boy and I argued back and forth about its inclusion, and in the end The Boy cut and fit another custom chunk of wood to seal that eyesore up forever. More wood filler, more sand sand sand and BAM, solid door.

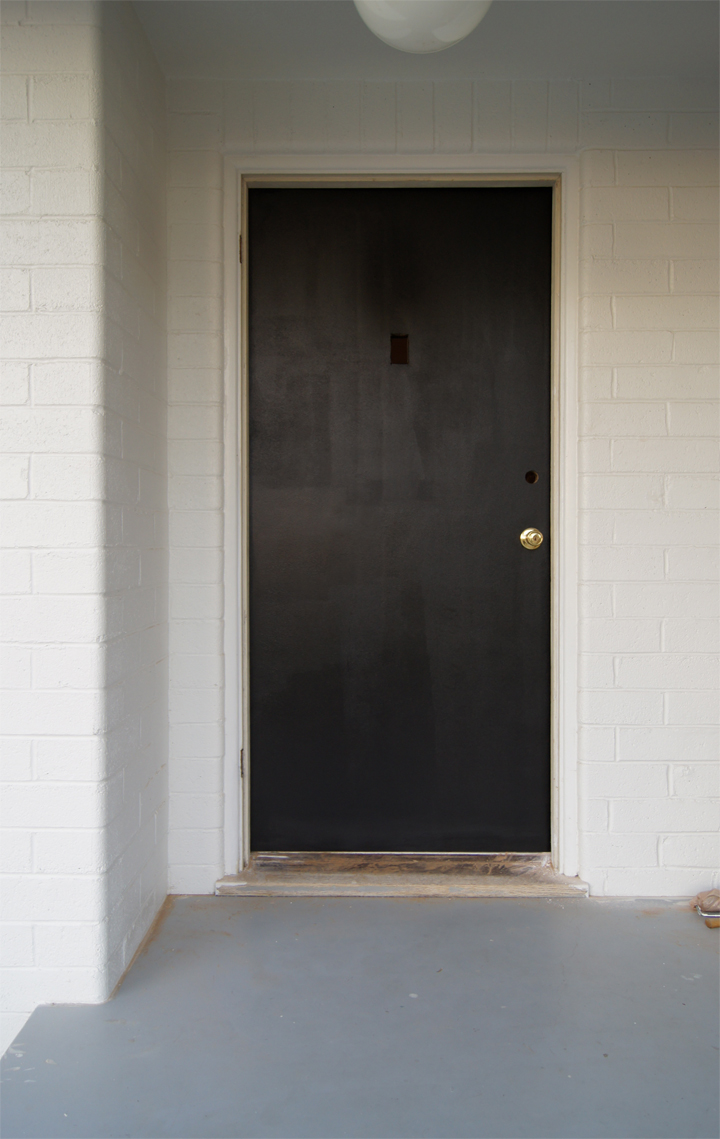
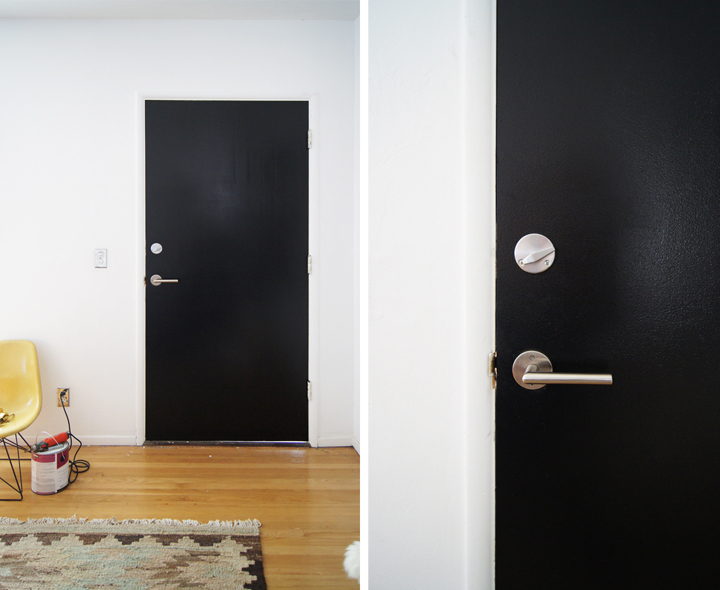
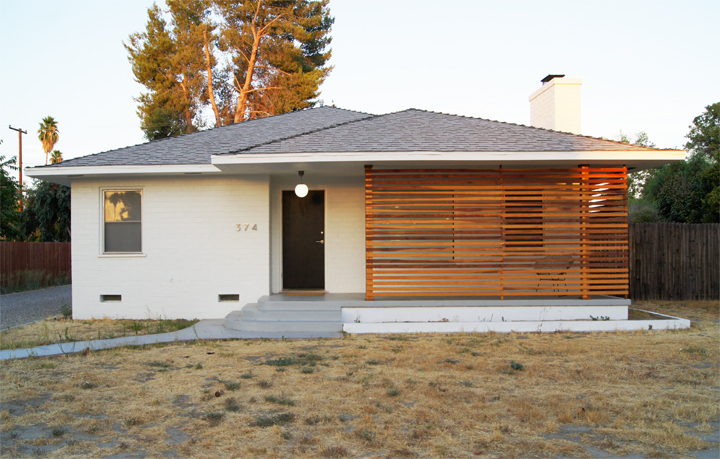
Here is the final interior after repainting and installing the new hardware. I settled on Emteks Stuttgart Lever which was $55 and a specially sized 1-1/2″ Schlage B560P deadbolt for about $35. Why the weird small deadbolt that is super expensive? Well, we tried to bore out our other exterior doors to fit a standard deadbolt and it was a complete nightmare. A nightmare I swore we would not repeat. Too bad I forgot that satin nickle is not the same color as satin chrome. Both the handle and deadbolt only offered either finish, so that means no shared finish color. Damn this door and all its stupid complications!

The deadbolt did fit like a dream, BTW.

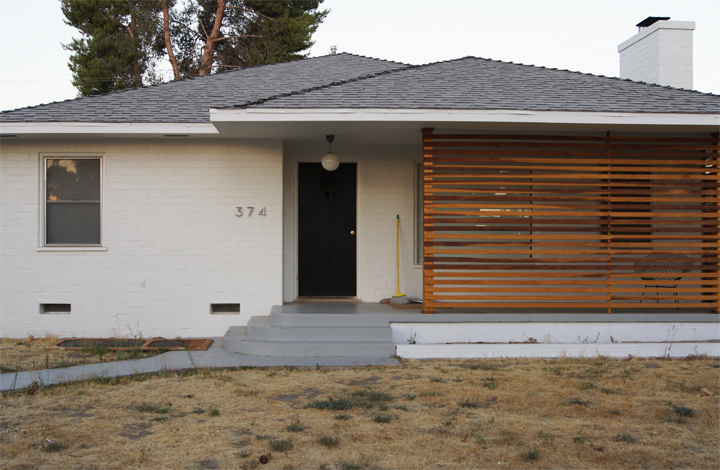
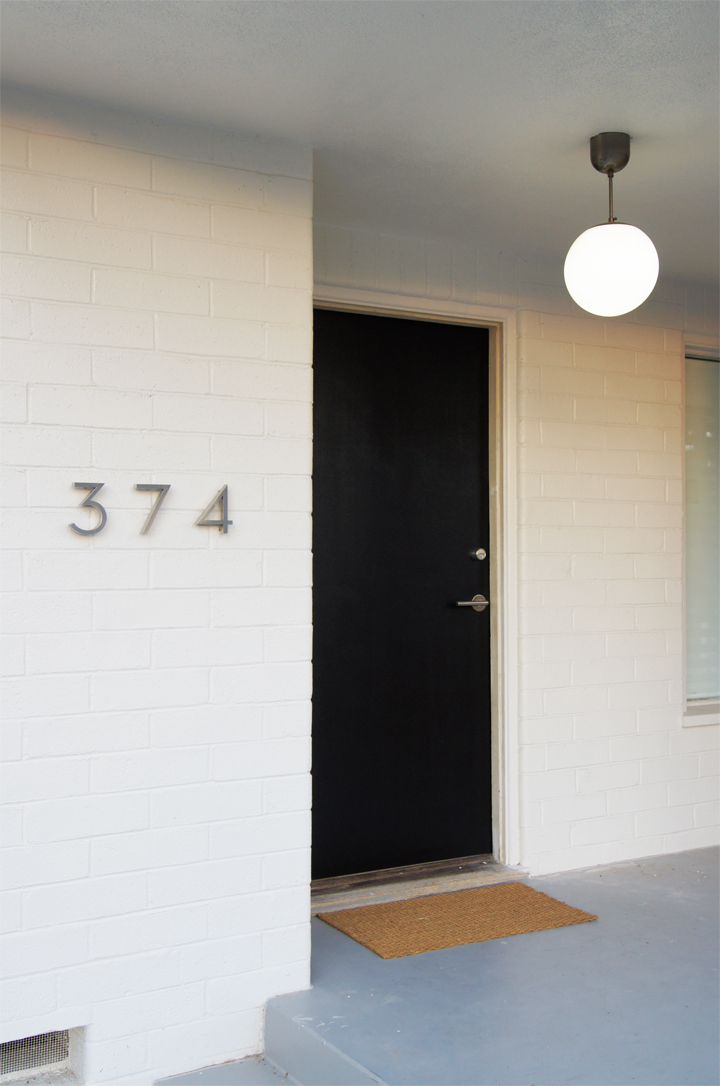
We still need to patch and paint the exterior molding and door jamb. Oh, and paint the cement porch. At least that screen door is dead and gone.

See the lovely lumps on the upper left of the door reflecting all weird? You can totally feel them undulating under your hand. UGH. These were yet another thing contributing to the weird finish. They are not lovely lady lumps, but bizarre rolling mounds. They make me crazy.

I give up, we are calling it done. Stupid old fucked up door.

BEFORE:

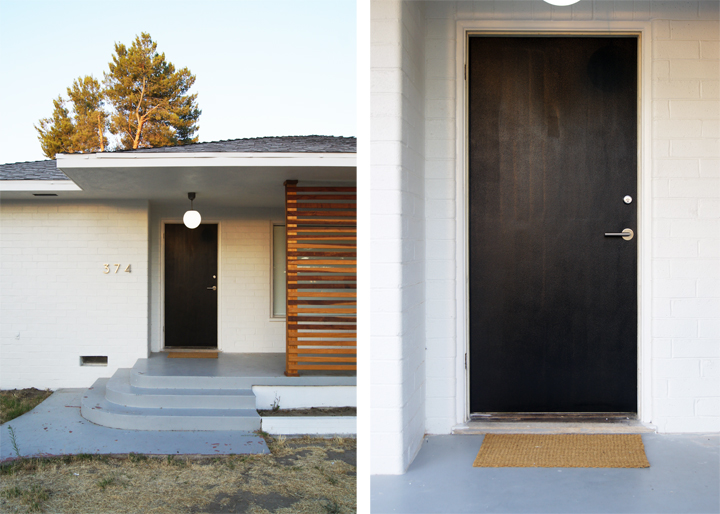
AFTER:

It works. I am so done screwing around with it. Better this than a big stupid hole in the door filled with spiders.

Now we need a large modern planter next to the door with some sort of cactus. Then porch paint. Hardscape. New fence. Gate. Landscape. Mailbox. Edging. And then on and on and on and on…
Garage Doors

Tuesday, July 27th, 2010

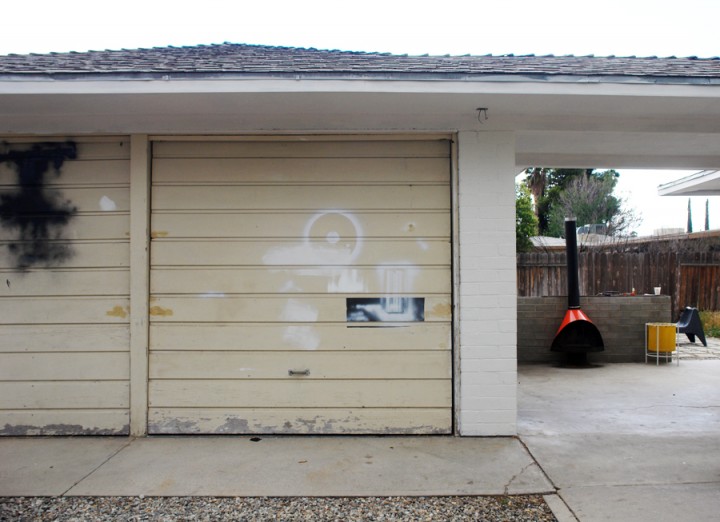
Hey look! Remember when our garage doors were awful? Yeah, I sure do.

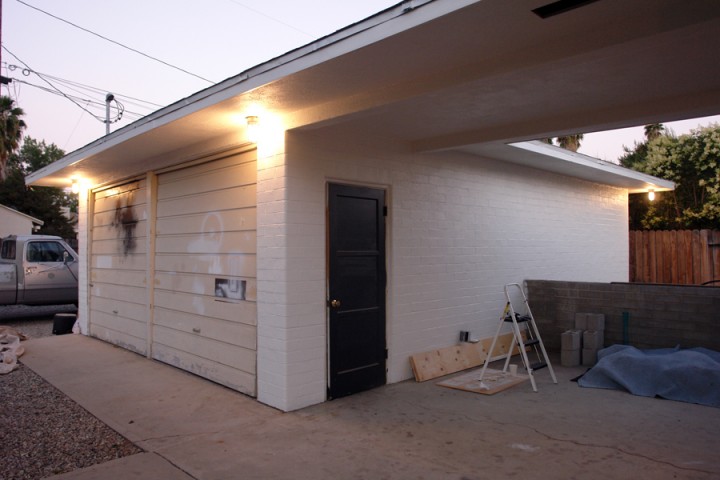
Original to the house, they haven’t been taken care of at all over the years. Peeling paint, giant holes, ghetto closures, warped wood…pretty much every horrible thing possible. They were in rough shape.

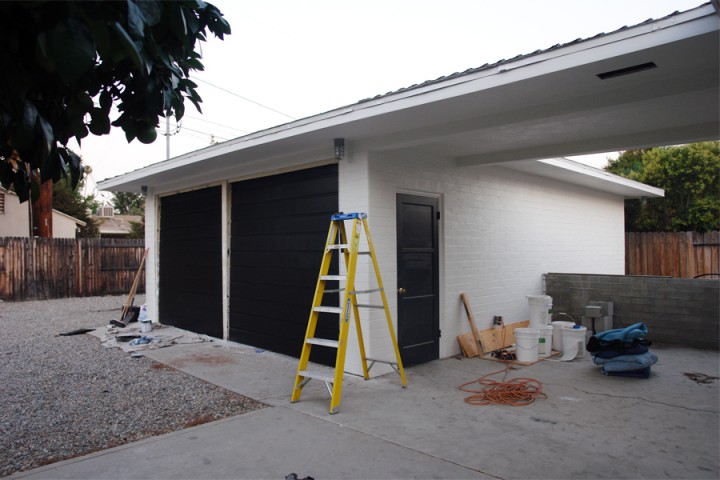
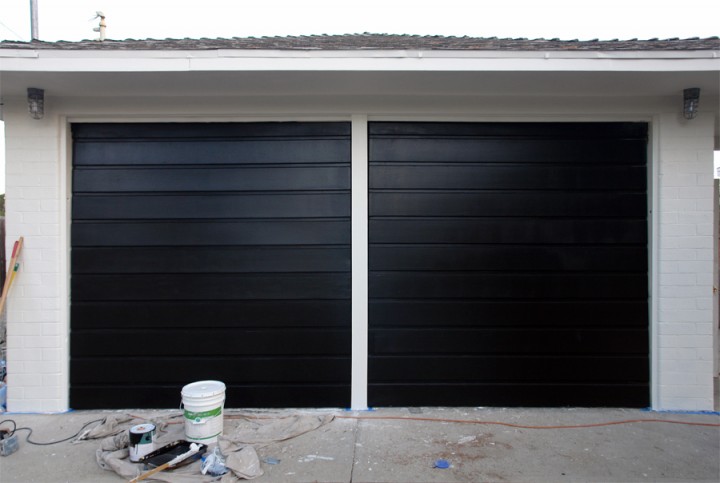
Now that most of the exterior painting is almost complete it was time to address the garage doors. We can’t afford new garage doors right now, but we could afford about $50 worth of materials to patch them up and paint them black. Behr Ultra Pure Black for the curious (in a semi-gloss).

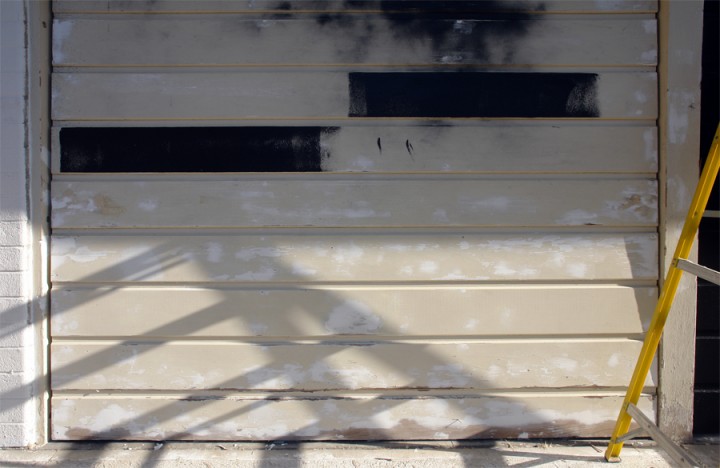
First thing first. The Boy removed all the hardware, extra nails and broken bits of rotted wood. He sanded down the paint and patched all the damaged nooks and crannies. Seems like sixty years can fuck a door up.

All that white. That’s the exterior wood filler. Each door needed a couple of coats of patching and some major sanding work.

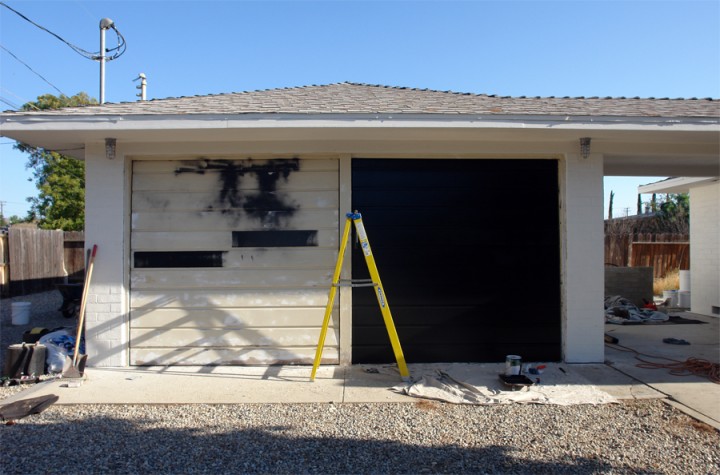
He got the first coat of black on the right door to see how it looked and then it was time to patch up all the wood edging (which was equally as damaged).

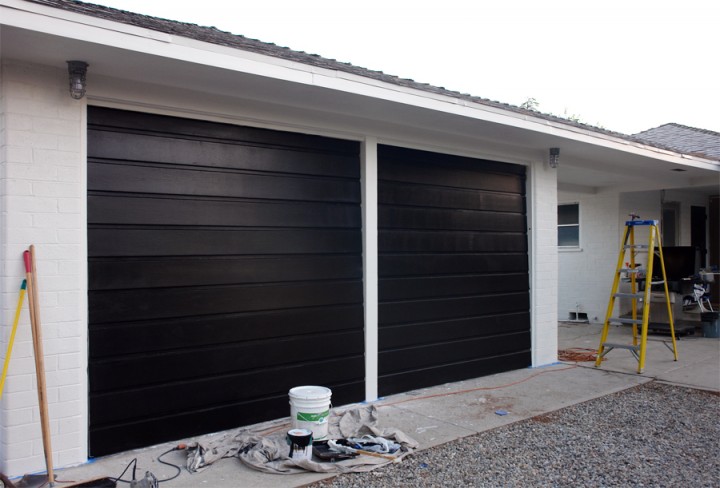
Here it is about halfway through. One door done, the other ready for paint. The trim was also getting patched up.

BEFORE

AFTER

The doors are painted and the trim is patched and ready for more of the white paint we’ve used on the entire house. Six five gallon buckets of it so far.

Bam! Sort of done. Almost.

There is still a bit of touch-up and a couple of spots that need paint. The Boy sort of gave up after he stepped in the five gallon bucket of paint while climbing down the ladder.

Yeah.

Seriously.

Like up to his calf in white paint.

Ruined his flip flop and everything.

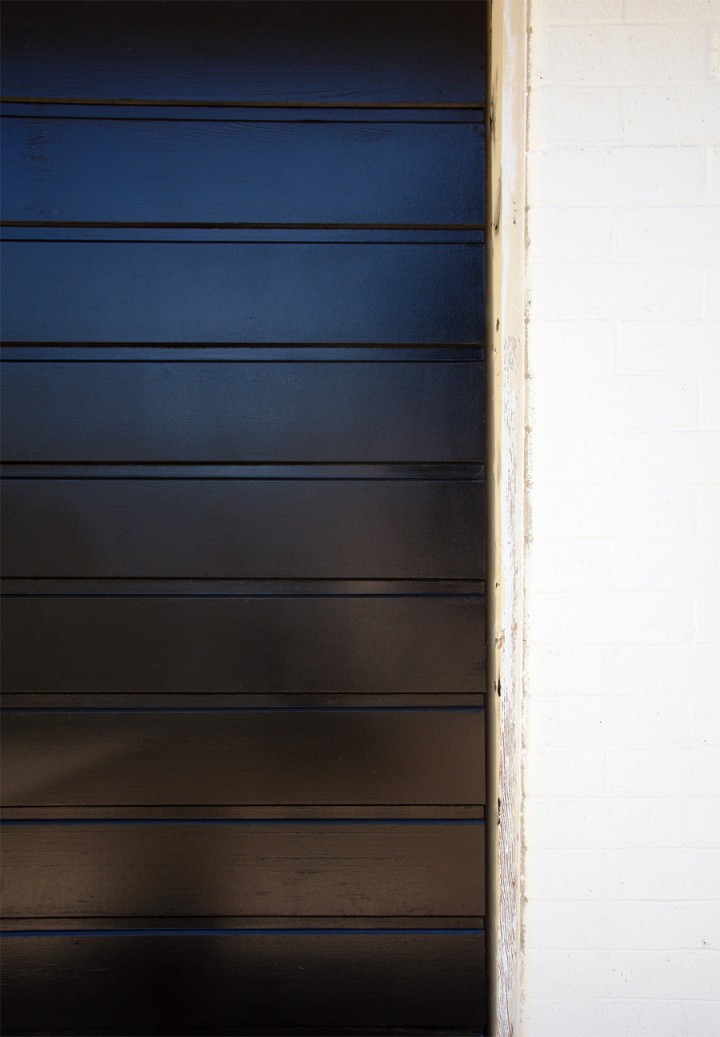
Gotta say the painted doors are much better than the before though. All that boring prep work was really vital to get the shiny black looking killer. Now I’m thinking we don’t need to replace the doors after all. You know what I can’t wait for? I can’t wait till we are done with exterior projects and all the ugly tools and buckets and STUFF that accumulates can go away forever. I can’t remember a time when the exterior was clean and truly free of clutter or weeds or ugly crap just scattered everywhere. One day. I hope. Before this house kills us.

Last One

Thursday, July 15th, 2010

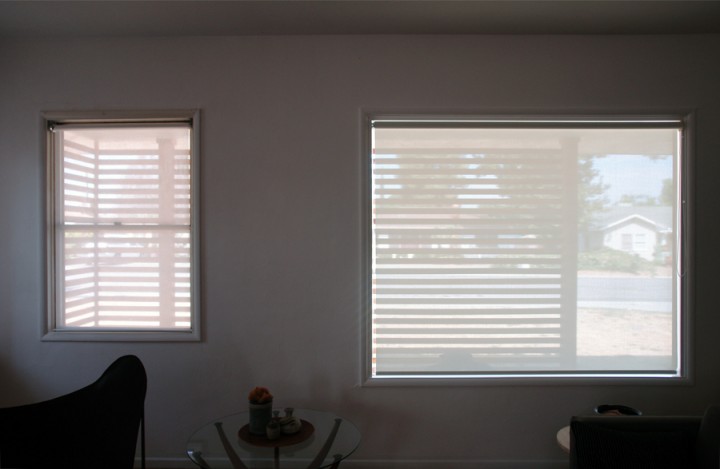
The last major window treatment that needed to be handled is handled. Against all advice I cheaped out and got the Enje roller shade from Ikea. And I’m glad – GLAD.

Besides the window trim needing a bit of a paint touch up you can barely tell the difference. Gotta say I am quite happy with those Enjes. Just wish they made them in wider sizes…

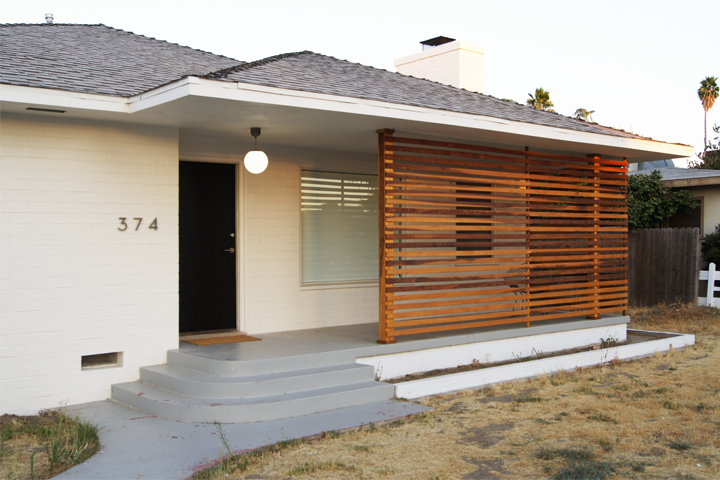
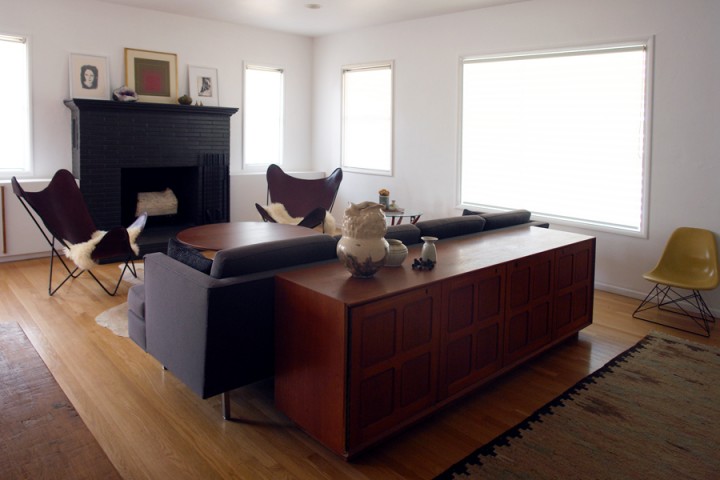
We have been holding off on replacing the two jacked up front living room mini blinds for a couple of years since I knew I wanted something a little shear there. Once the slat screen was built it afforded us enough privacy to allow for the shearer roller shades which in turn let in more light and keep the place feeling bright.

Feels good to have it done…finally. No more crap mini blinds to try and hide in photos!