Archive for the ‘sketchup’ Category

Bathroom/Laundry Remodel

Tuesday, July 13th, 2010

With all our new found sale cash The Boy and I have been discussing how best to spend it. One HUGE item that is in desperate need of a fix up is the back bathroom/laundry room. It’s the last big interior project at the house and I’m hoping with a little over $3,000 and a lot of kindness and help from our friends/family (who remodel bathrooms for a living) we can whip this thing into less ugly and more functional shape.

Wonder what it looks like right now? Brace yourself. Check it out HERE.

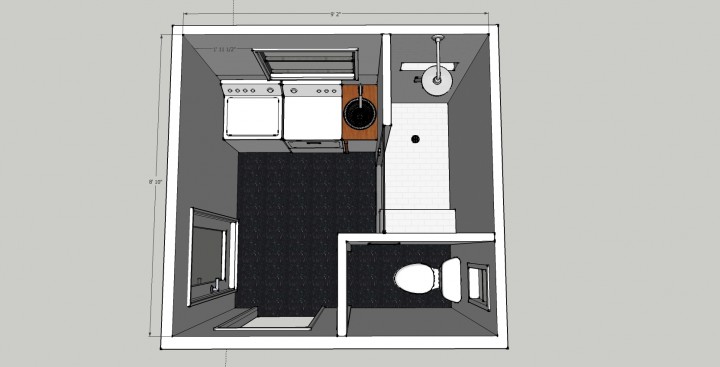
One potential hurtle is the laundry hook-ups and current plumbing. In order to keep costs down, we want to keep everything installed as closely to the current plumbing as possible. So that means…

-The shower needs to stay in that area for the drain and fixtures.

-The dryer needs to go as close to that weird exterior door as possible to reach the 220vlt (which will need to be shortened and dropped down through the attic and INSIDE the house instead of how it’s run through the door frame now). We also need to figure out a way to vent the dryer…

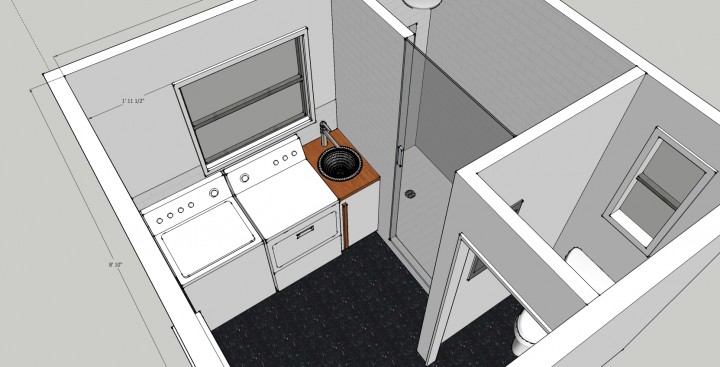
-The electrical, drain and two sets of hot and cold facets are located underneath the window. The sink and washing machine therefore need to be installed in that area.

-The electrical panel needs to be flipped into the toilet “poopicle” closet.

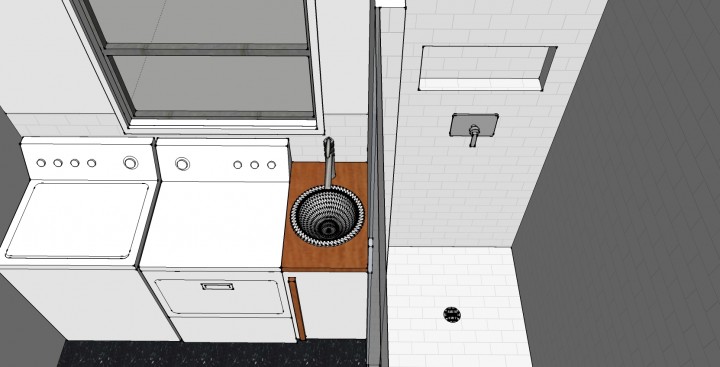
Another way for us to keep costs down is to keep our current dryer and buy a new washer (our vintage washing monster from the 80’s is getting GROSS). Squeezing both the washer and dryer in that area doesn’t leave a lot of room for a sink (remember – it’s already plumbed for a sink in that space) so we need to build a custom cabinet and install a tiny bar sink. I love this simple Lagan one from Ikea, and at only $26.98 it seems to fit in the space and the budget. Combine it with a simple modern faucet and you got a sink to fit in an impossibly small area! I’ve been going a little crazy trying to wedge everything in that space, but I have all my measurements figured out correctly (finally) and it looks like it will fit.

Underneath the sink we would need to build a simple custom cabinet to hide all the plumbing and store cleaning supplies, extra toilet paper, soap and other ugly laundry room stuff.

Oh, and another way to keep costs down is to stick with the VCT floors that are already there instead of replacing them with something else.

For the shower we would need to completely gut the original corner shower structure and storage closet next to it to expand the space and make it functional (since it totally isn’t now). This is where the bulk of the budget would go…

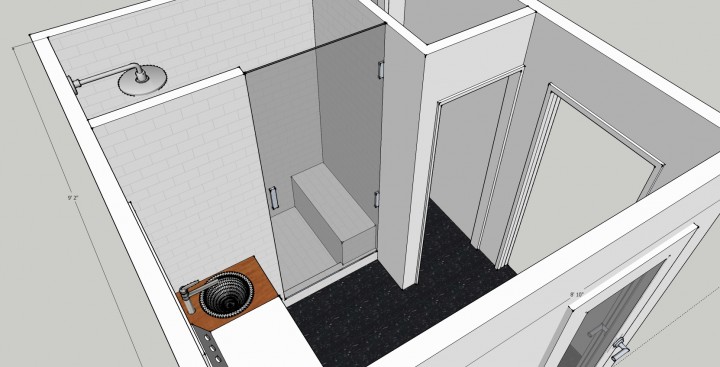
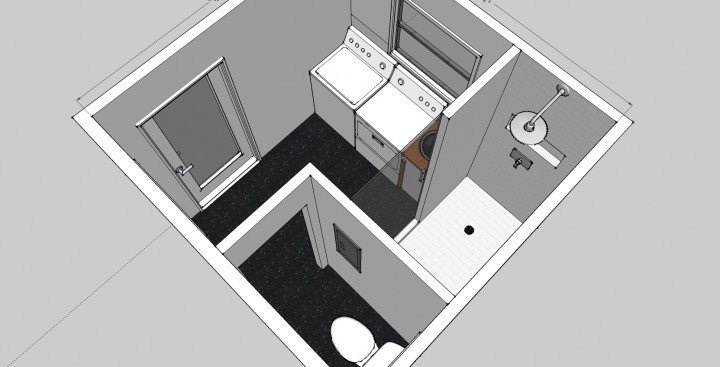
I want to build a little half wall to divide the shower fixtures from the sink and then install a glass door to help stop water spray and leakage on the VCT floor. A glass door would also help let some light into that dark shower corner. I think it would also be great to have a little bench so that – for once – I could shave my legs in comfort.

Hopefully we could do a simple rain shower head with a simple/modern shower control. The drain wouldn’t have to be moved, which is a plus, but we would have to slightly adjust the plumbing for the shower head and control.

The shower and back splash behind the sink / laundry would get tiled in super simple white ceramic subway tile in either a vertical pattern or stacked in a grid (instead of the offset pattern in this sketch-up version). I would probably just go with that cheapo white subway Daltile or American Olean from Lowes in order to save some $$$. Hopefully we could install a little inset shelf area on the wall to put shampoo, soap and other shower things.

We would also need to buy an exterior door, but I guess that could wait if we totally run out of funds.

The big thing for us to watch out for (and if you came out to the house for the sale, you saw it first hand) is that we CANNOT over improve for our neighborhood. In reality, we already have – but – trying to make this laundry/bathroom actually functional and aesthetically pleasing on a tiny budget is going to be a huge challenge. We can’t just gut and redo everything, so we need to be smart with our cash, work with what is already there and keep it simple enough to fit with the style of the rest of the house. My dream would be to totally gut it and lay it out better than than this, but this project is going to be a compromise from the start. I want to be able to do laundry in that room without being a gymnast and take a shower without having to duck down the whole time and be frightened of the flesh eating disease I might be contracting from the disgusting beige tile that won’t get clean.
Fire Pit : Redux

Thursday, June 10th, 2010

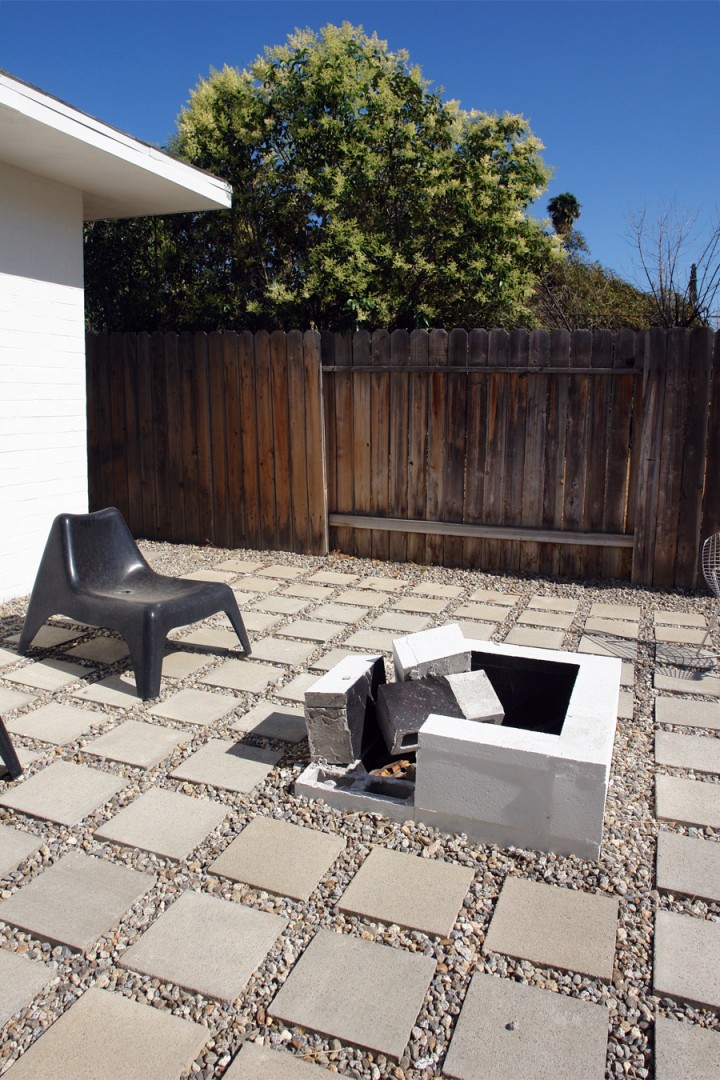
The old cinder block fire pit did not work. Whoops! (That’s why I never posted a true DIY). Good thing it was dirt cheap to build.

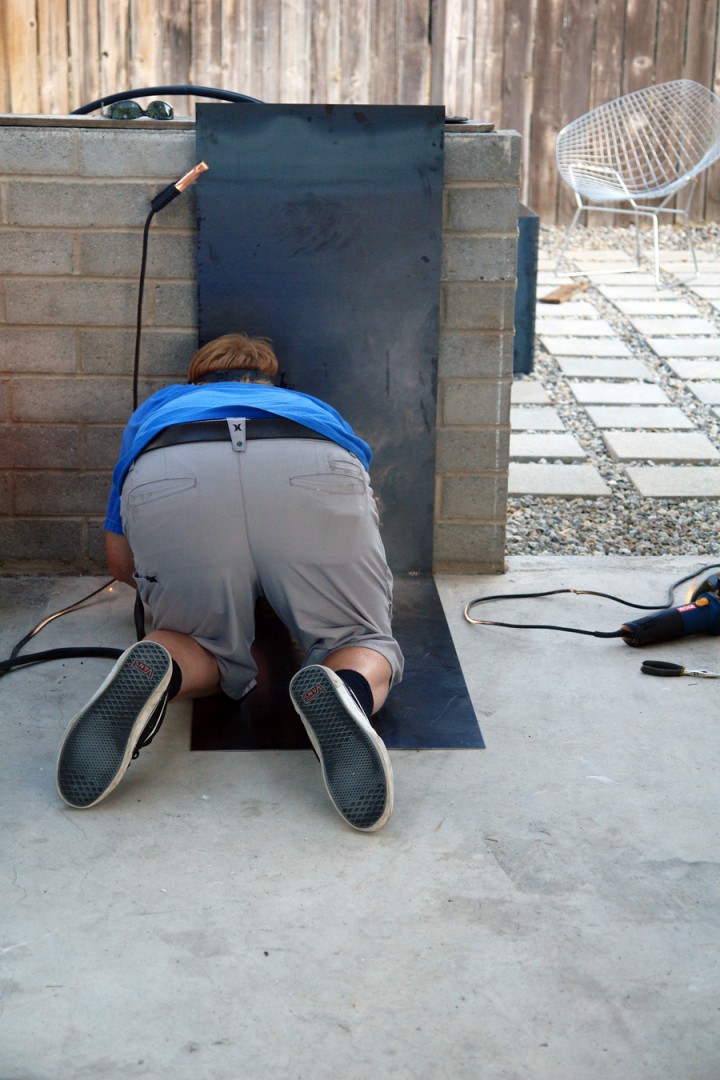
When we visited T.K. and Jill’s house in Joshua Tree, T.K. gave us a little introduction tutorial class in welding. Now we are putting that new skill to use to rebuild our crappy fire pit. We will build it better, stronger, more metal-y than before.

We bought four 40″ x 20″ sheets of 12 gauge hot rolled steel from Riverside Industrial Metal Supply.

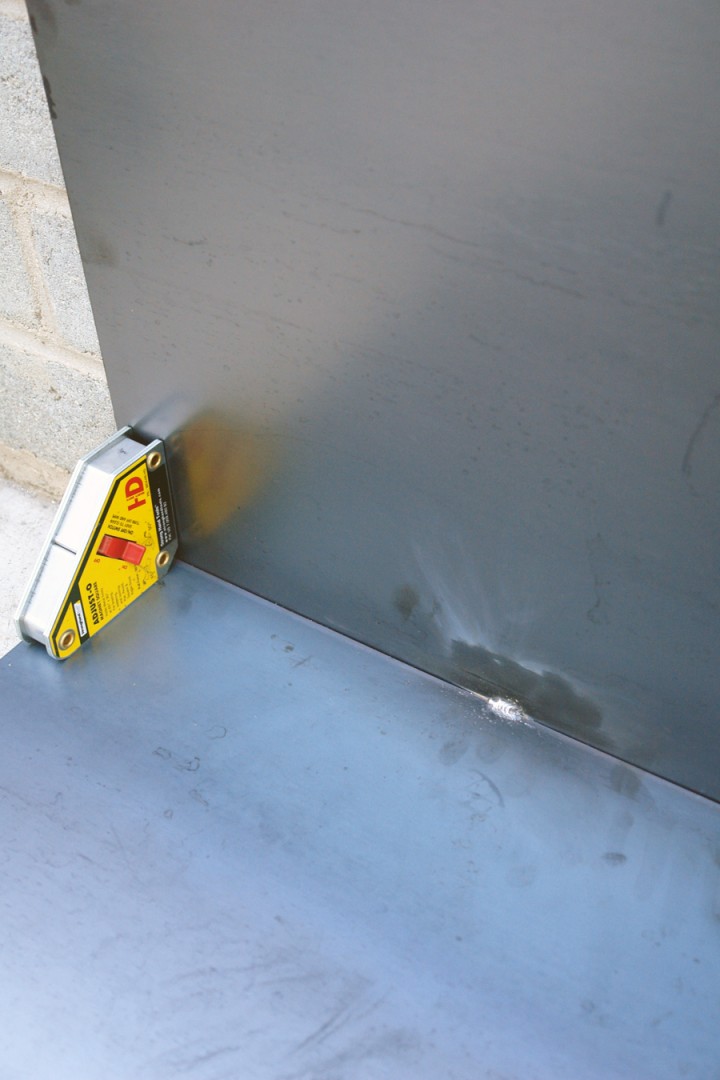
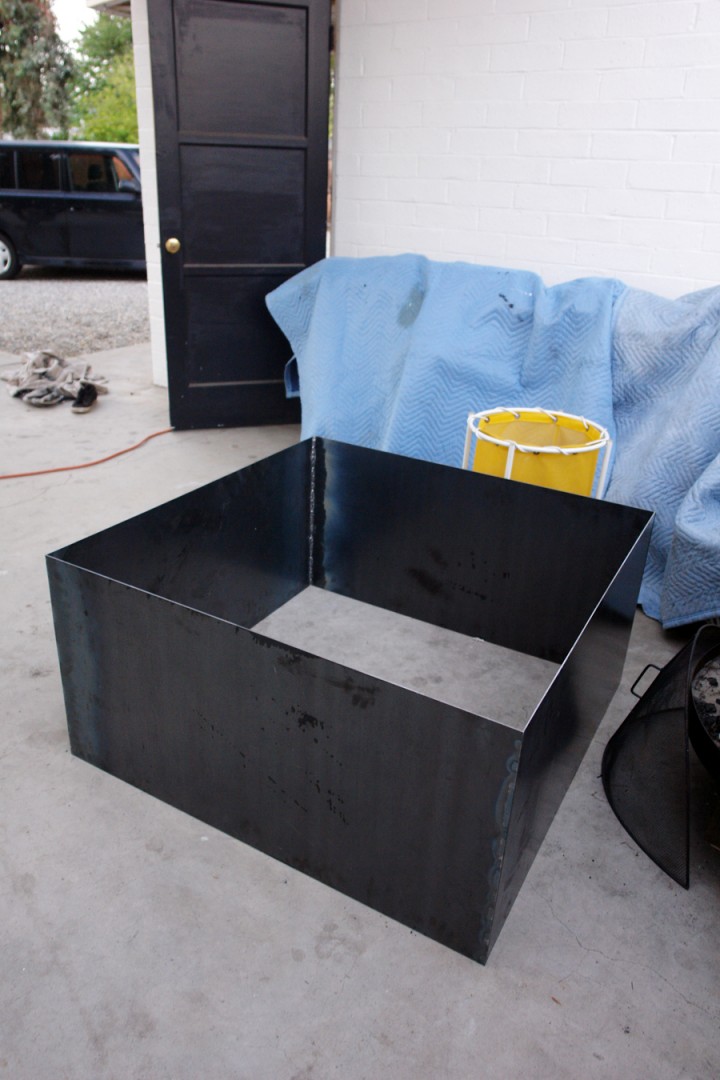
Our new fancy magnets were very useful for holding together the two pieces of steel in order to get them tack welded at a 90 degree angle. Best tool ever.

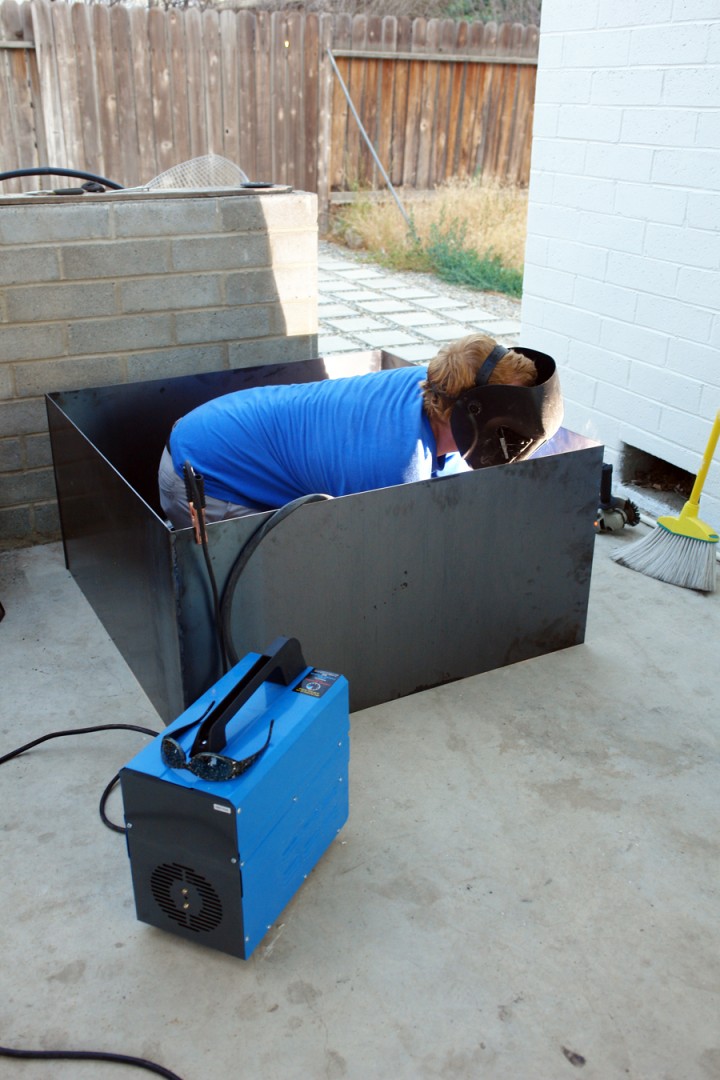
The first half got spotted in place and it started to look like something…

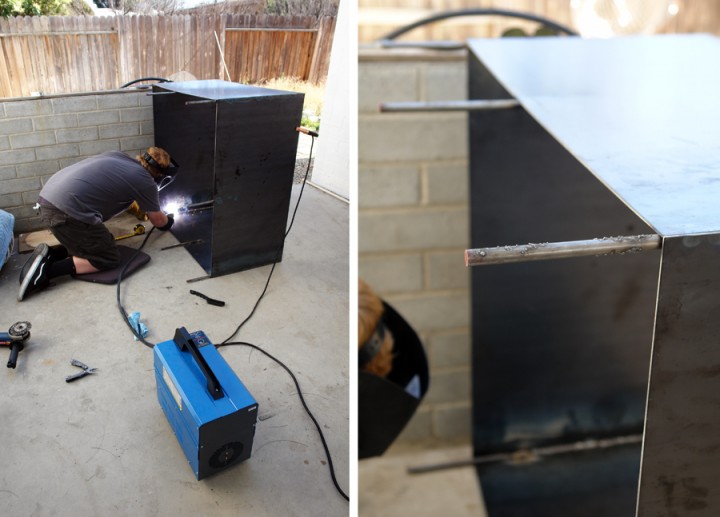
The metal fire pit will be sunk into the ground with eight cold rolled steel rod supports to hold it square and add strength.

It’s a big metal square!

We added foot long cold rolled steel rods to the corners and in the middle of each panel. They aren’t pretty but they are getting installed underground – so they don’t really need to be.

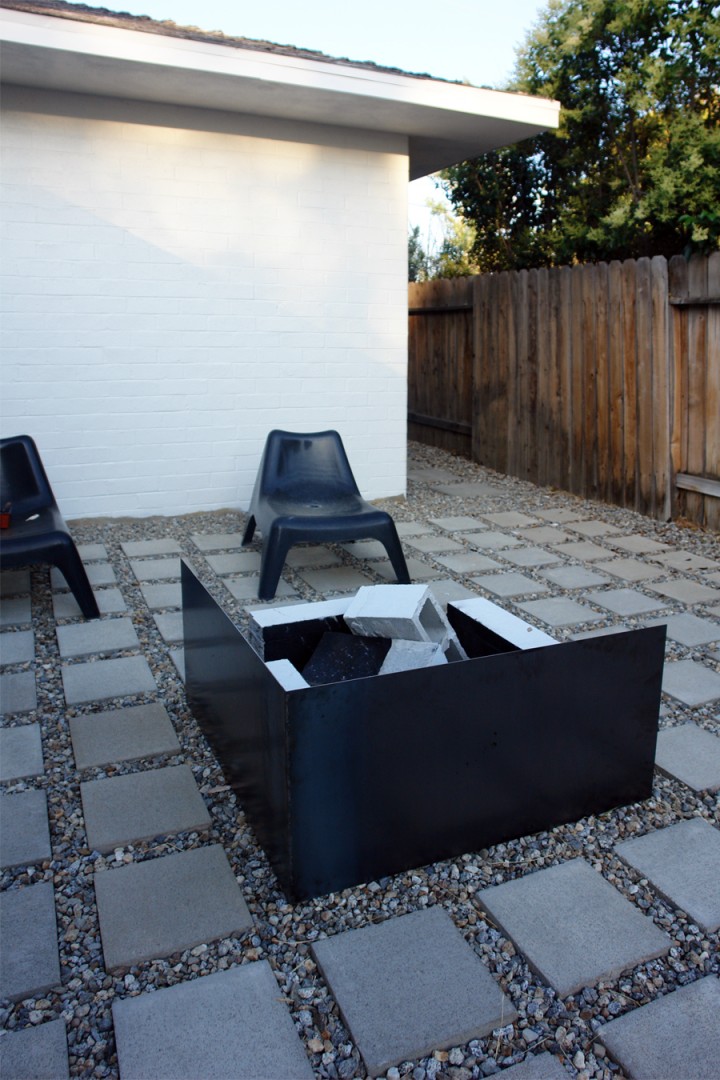
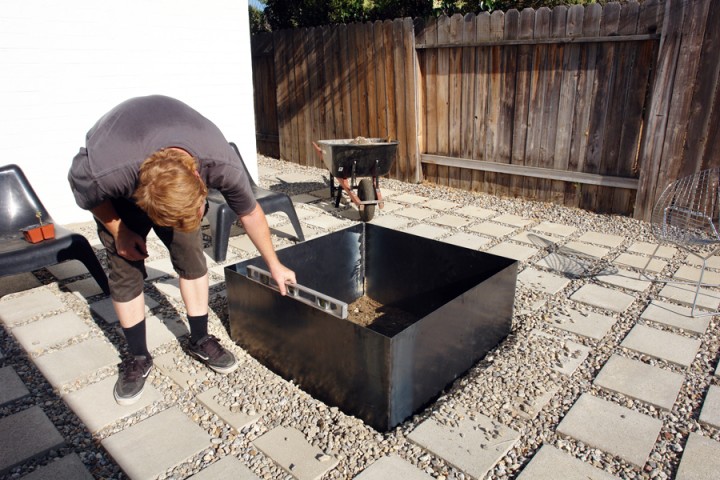
Installing the larger metal pit where the old cinder block fire pit died it’s horrible death was kind of a pain. Everything got ripped out and a larger, deeper hole had to be dug out. A sledge hammer and plank of wood helped sink it level into the soft soil. In the end we left about 14″ of steel above ground.

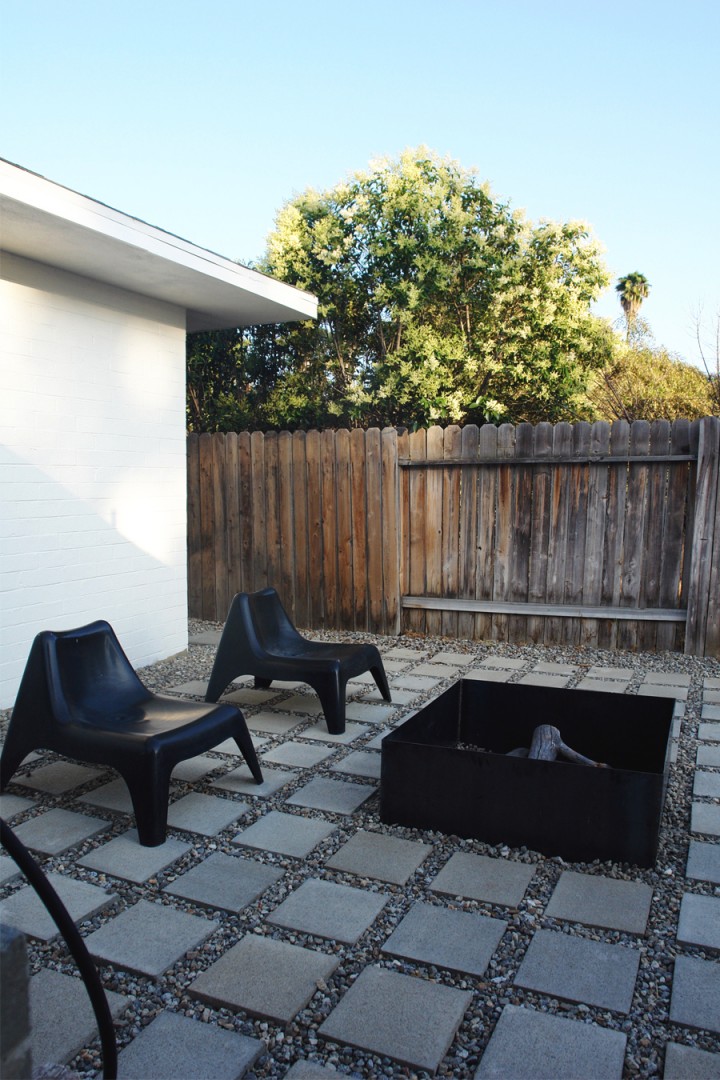
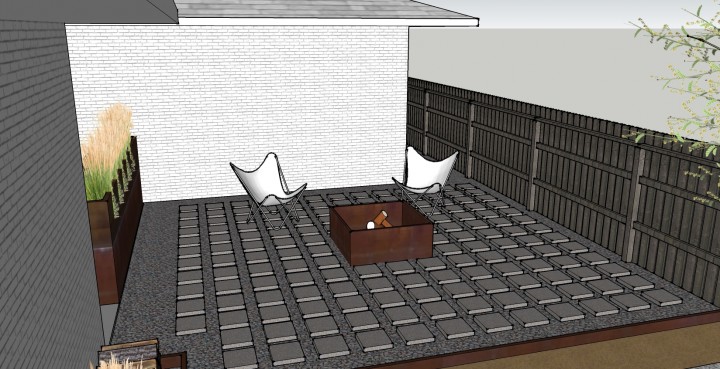
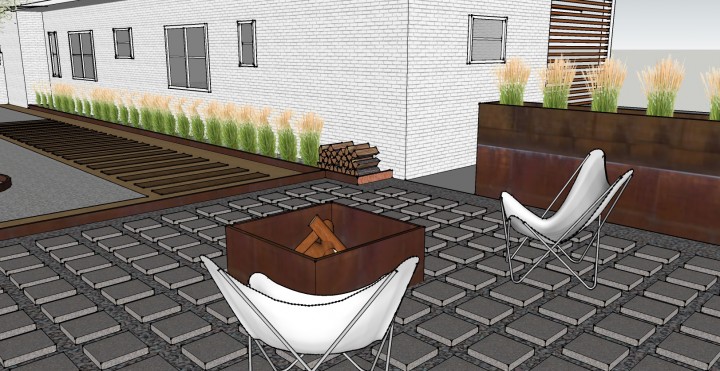
BAM! DONE. Indestructible fire pit. I want it to rust up a bit to match the sketch up version:

I think for our first welding project that it turned out really great! It was about $100 for all the material and took us three or so days to put it together with a bit of a learning curve. The Boy ended up doing most of it after falling deeply in love with welding and telling me my welds suck. Good thing, because we have a lot more metal to slap on this house and I’m going to put him to work.

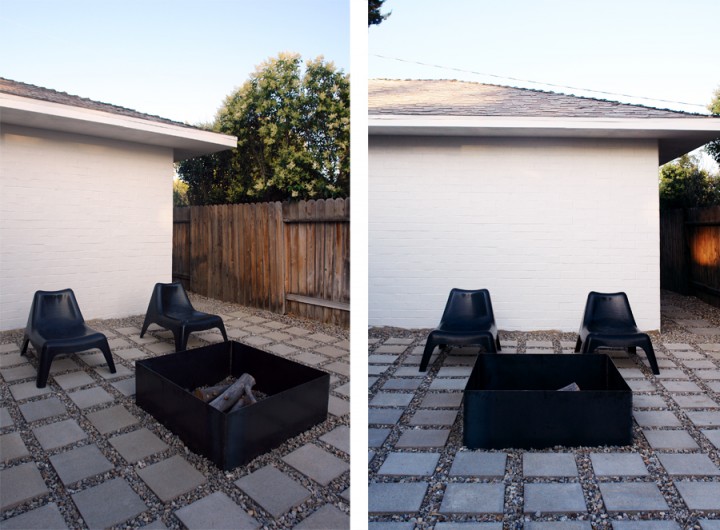
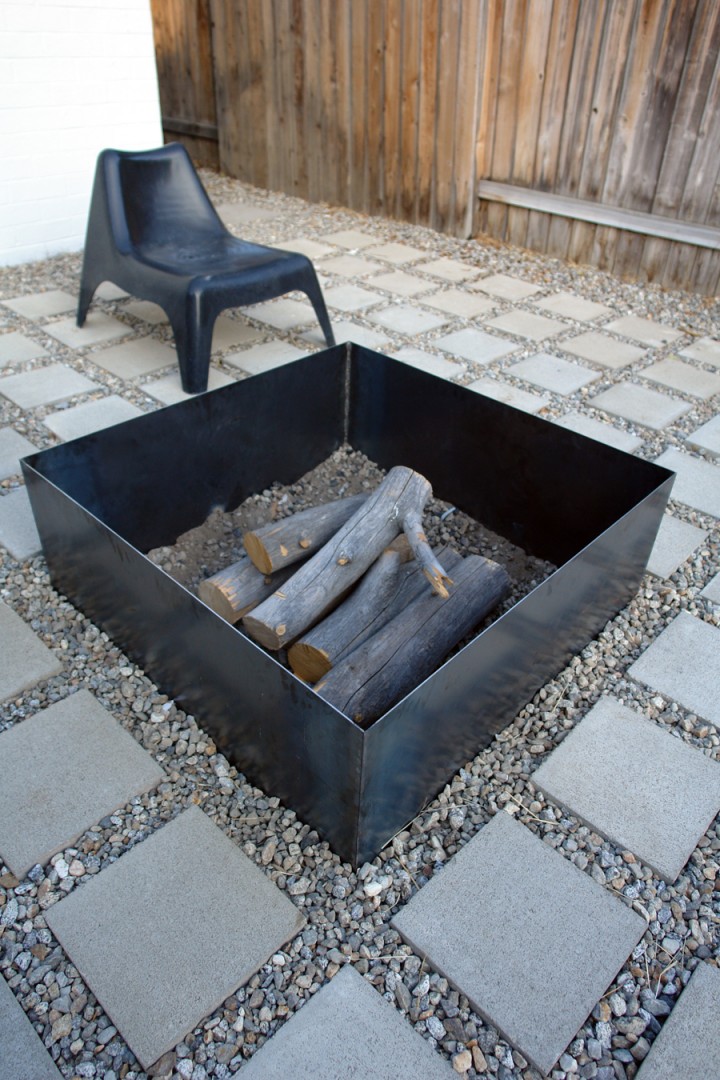
Ready to go for fire! Much, much better.

Side Yard

Monday, June 7th, 2010

With my new found welding powers I am psyched to start welding up a fire pit, edging, shade structure and a planter for the side yard. Ambitious yes. Impossible? Maybe. I’m going to start with the fire pit and go from there.

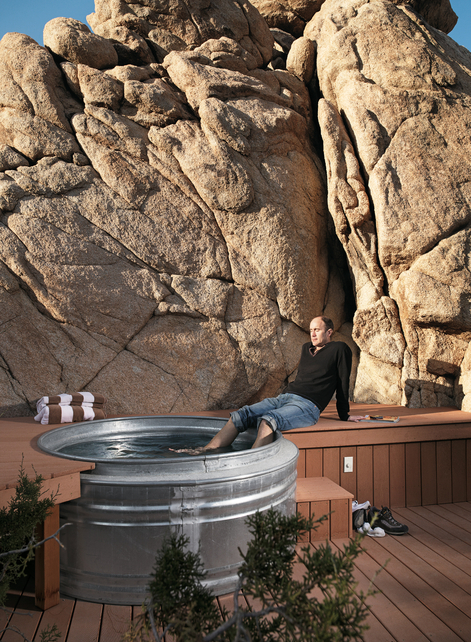
Unfortunately the summer heat that has finally hit Hemet and with it I’ve started to wonder how we can add a small cheap pool to The Brick House. A tiny pool, just big enough to get wet and cool down in but not ambitious enough to need to meet codes and require professional installation. My sister suggested this puffy thing, but while we were in Joshua Tree last week I saw a really amazing DIY galvanized livestock tank pool. A similar version can be seen here at Waldorf Modern.

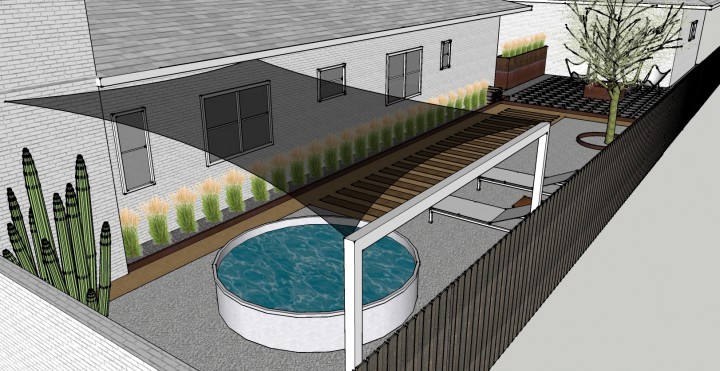
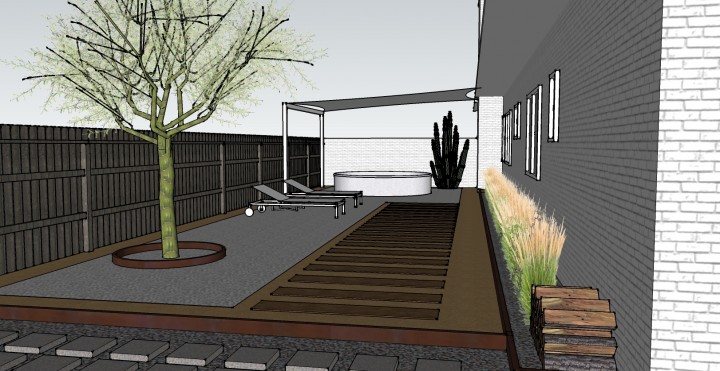
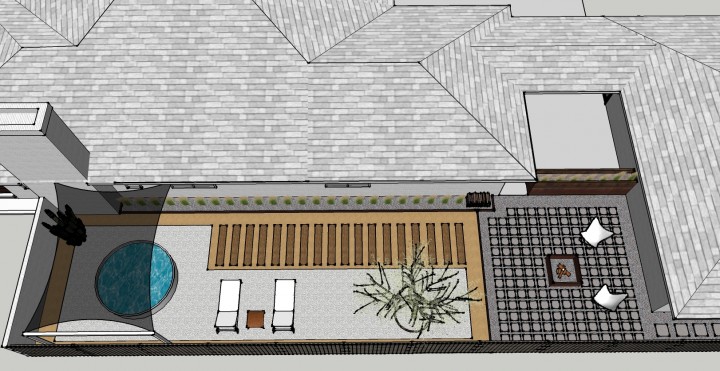
I was never really happy with what we had going on in the landscaping of the side yard, so I redesigned around the idea of installing a little DIY livestock tank pool.

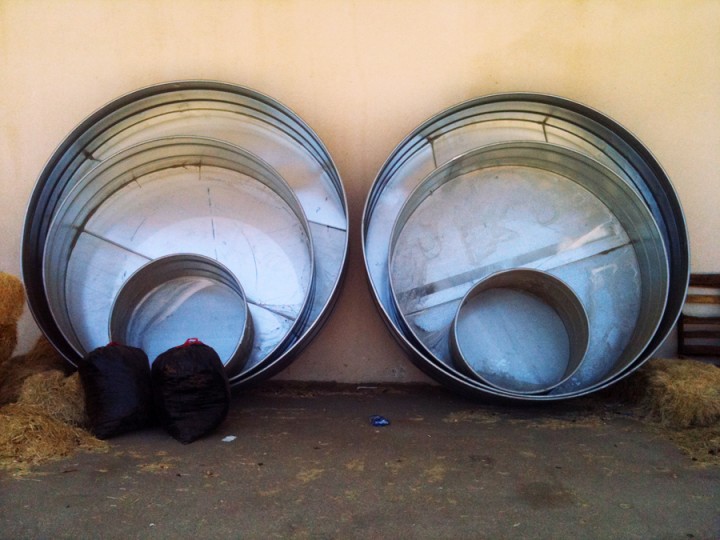
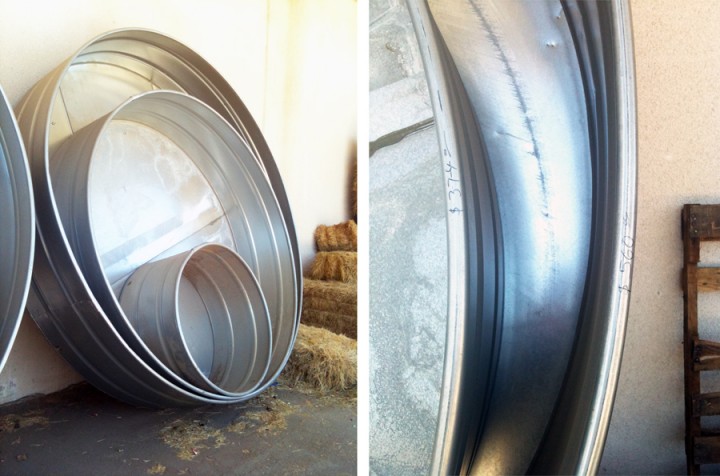
I visited my local livestock supply and found that they had a 10′ and an 8′ version of the round tank.

The 8′ version is $374 and the 10′ is $560. Ouch, pricey. Delivery is only $10 though! Our house is literally right around the corner from this place and yeah, it can be a little rural around these parts. When I called the other 15 or so livestock supplies in a 50 mile radius I found that this local place was the only one that stocked a 10′ version, and surprisingly, had the best price.

Sorry for the crappy iPhone pics.

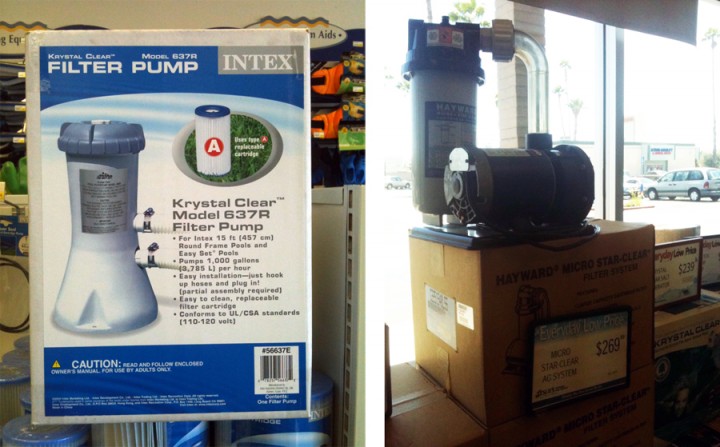
I also went to the local pool supply place to check out pumps/filters. I found this small one for about $50, but it seems like a pretty temporary solution and the filters would need to be changed every two weeks. At $10 a pop, that seems like some pricey maintenance. This Hayward unit is $269 and the filter needs to be changed yearly. This more expensive unit seems like a bit of overkill for the size of the pool. I want something in the middle, something to filter 750 gallons easily and that can be installed on a pretty permanent bases. I was also thinking of doing this whole pool with salt water instead of worrying about chemicals and such.

Needless to say the pool store workers though I was a fucking idiot. I felt like one. I’m not sure how to solve the filtration / salt water / pump situation.

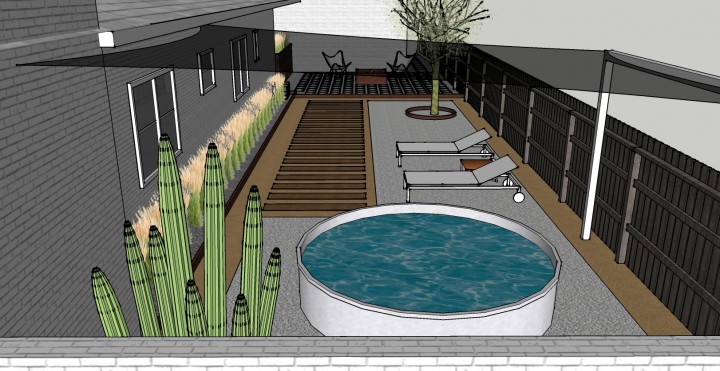
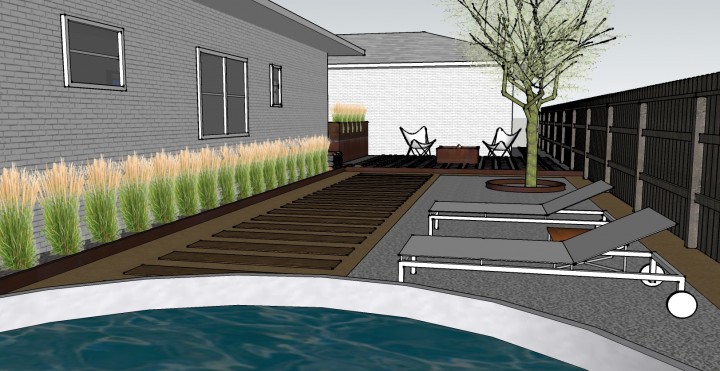
If this pool idea somehow works out then we would adjust the rest of the landscape. I want to throw down pea gravel in a big L shape over a base of decomposed granite. I also want to add a Palo Verde tree with a hot rolled steel ring around the base to echo the pool shape and a big cactus in the back. Then we would use railroad ties as a stepping pathway to the pool. I found this great image of a railroad tie driveway that inspired the idea but have totally lost it. Damn you internet!

This is what it would look like when you are floating comfortably in the pool. We could get a couple of loungers to relax and sun bath nude on. No tan lines! Horrified neighbors!

We would still have a sun shade over the pool to keep it all cool and shady and the masonry wall for privacy.

I think a small pool would be really great and usable thing to have out here in the desert. It’s hot like 75% of the year and we’ve been just so desperate to take a cool dip for the last few years. So for $500 – $700 we could probably build this thing. Is it worth it? Or do we go the ugly doughboy route?

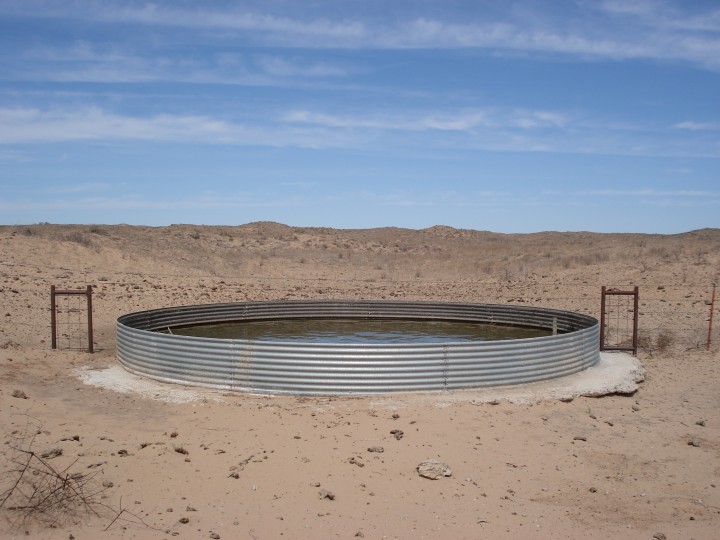
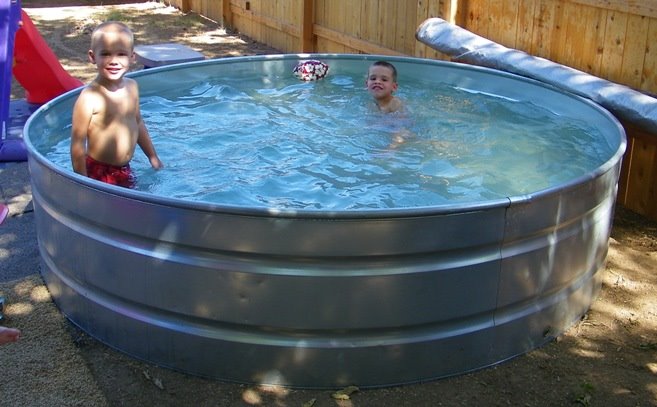
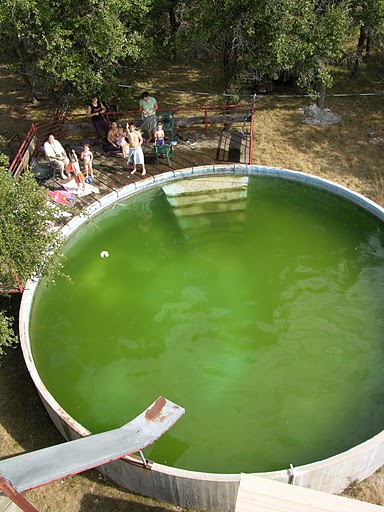
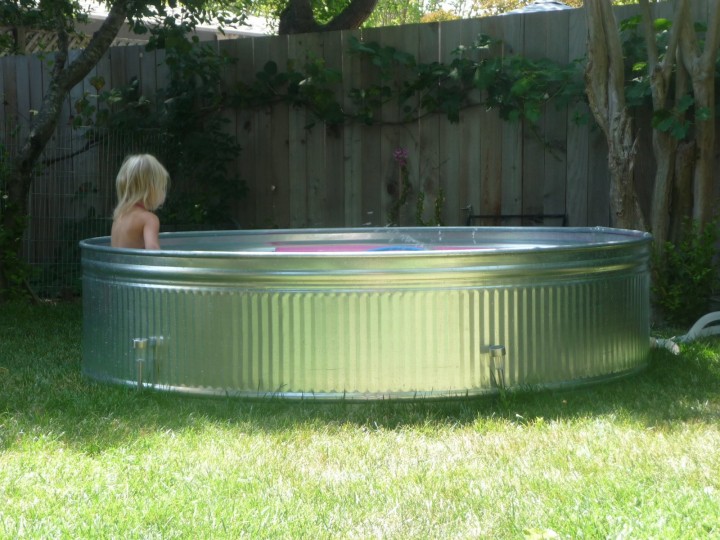
Here are some tank pool images I found over the week. I totally didn’t keep track of where I found them at because I’m a terrible blogger. I haven’t been able to track down a whole lot if info around on how to build one of these things…

That green one looks horrifying. But its got a slide!

Stupid idea or brilliant? I can’t tell yet. There is a whole lot of potential for failure.