
This is the next step in the side yard project and I have a feeling we may get some crap for this. We are making a little fire pit! Don’t mind the weird black strip, it’s not staying. I checked out the city codes and technically this is a “cooking” pit. And yes, I do need an outdoor “cooking” pit – don’t mind the BBQ over there.
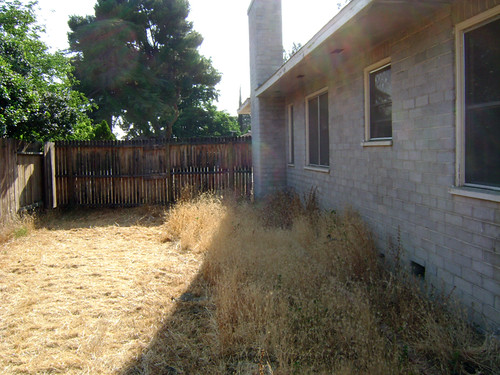
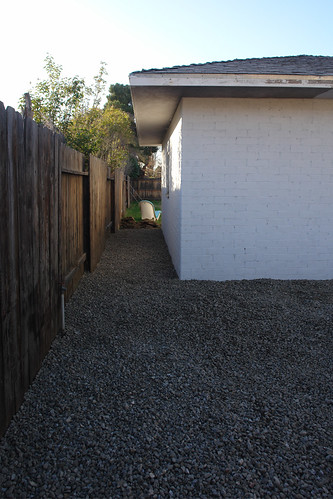
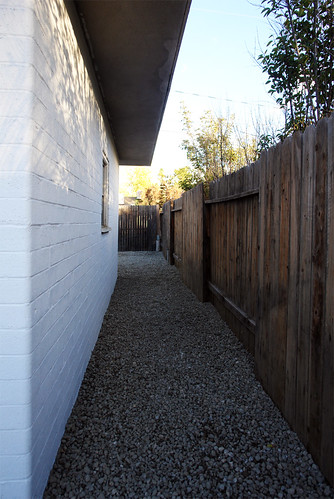
I did my research rounds around the interweb (cause I’m lazy and the library is only open like two days a week now) about DIY’ing a fire pit or cinder block cooking pit. We just started finalizing the plans for our little gravel patio and are currently at the laying it out and trouble shooting stage.

Cinder block is not a great fire pit choice. It can crack and degrade over time and some say even EXPLODE (well, under extreme heat and moisture). Upside? It’s cheap, temporary, industrially modern and goes well with the architecture of the house. It’s also small enough to meet code.
I’m nothing if not a risk taker.
We dug down about 6 inches to inset the base and still need to dig a center hole and fill the bottom with gravel for drainage and air flow. Another three inches of gravel are going down around the exterior to level out the rest of the patio. The blocks still have to get mortared and leveled out as well as possibly have interior firebricks installed.
After it all cures completely in a couple weeks we could have a small quaint fire. For cooking of course.


