Archive for the ‘before’ Category

Coffee Table

Monday, February 7th, 2011

At this point I don’t even know how to say that I found another coffee table without feeling deep pangs of guilt and embarrassment. It’s turned into a bit of a sad joke, this whole switching coffee tables every month thing, but I just can’t stop myself when I spot something I really dig.

I’m addicted. I love coffee tables. Probably even more than I like sofas.

But, it could be worse, I could be addicted to eating a “household cleanser” or sofa cushions like those folks on My Strange Addiction.

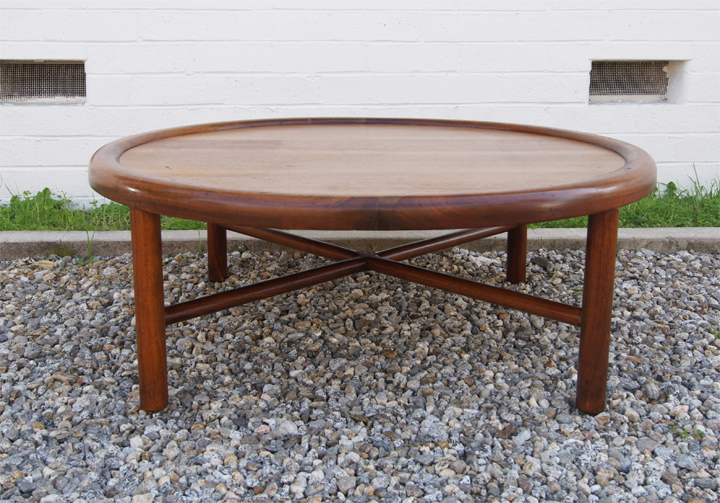
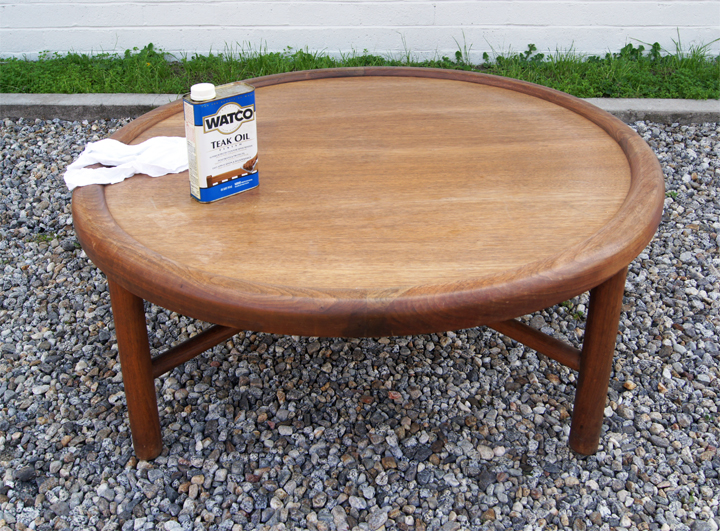
Amazing what teak oil, Feed ‘n Wax and some elbow grease can do. Seriously, if you find a piece of wood furniture and it looks shabby and neglected but is structurally fine – GOOD. Ask for a discount and then get your oiling on! Trust me, it will look perfectly amazing with just a little bit of effort.

Curious about how to spruce up furniture? Check out this tutorial.

The Boy gets mad when I freshen up furniture on our patio since oil and debris get everywhere. Now I’m trying to do it out in our driveway to avoid the mess, which I’m imagining is such a great show for the neighbors. As if we weren’t weird enough already.

Come on. Give. It. Up.

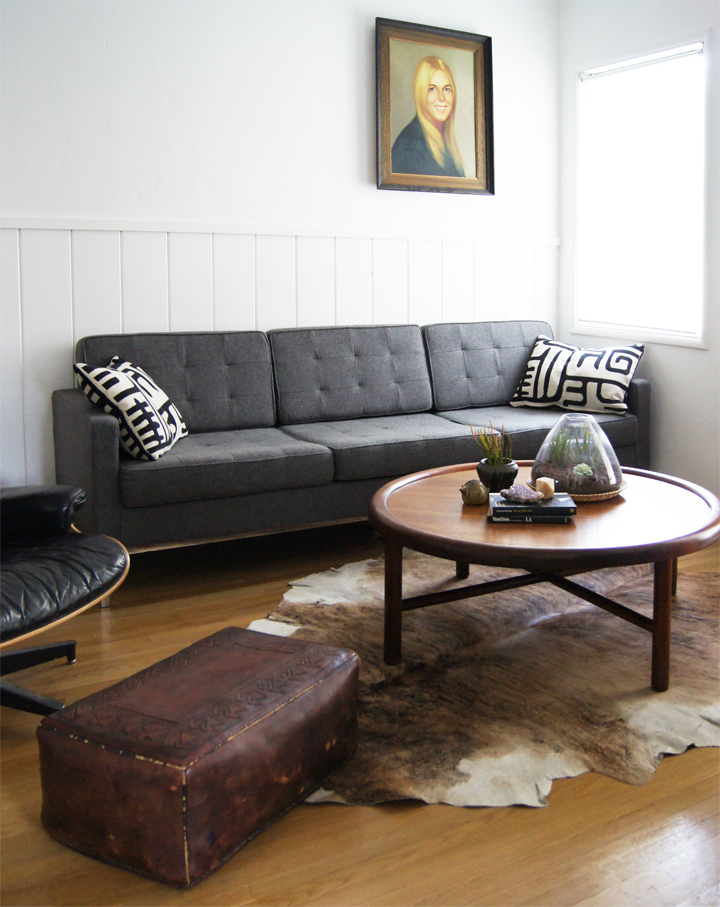
This is a pretty incredible table.

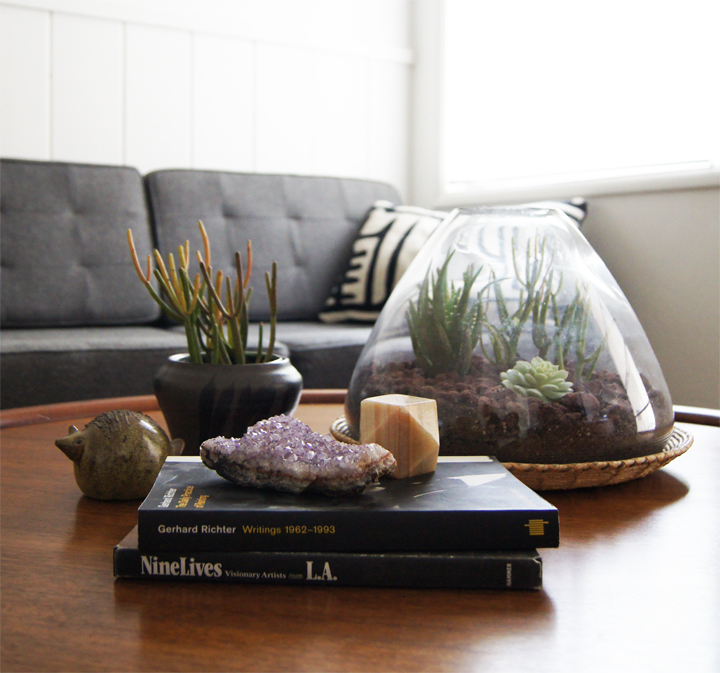
I even vignetted it up like a proper stylist.

I can stack books! With things on top of them!

Are you guys coffee table vignetters?

I’m normally not. I don’t like a bunch of stuff cluttering up a table I use everyday since I like to put my feet up, have drinks and other things strewn about that are frankly, fairly ugly. I noticed that the first batch of pictures were looking kind of sad, so I thought “styling” would help liven this table up. Don’t expect my coffee tables to be like this if you come over.

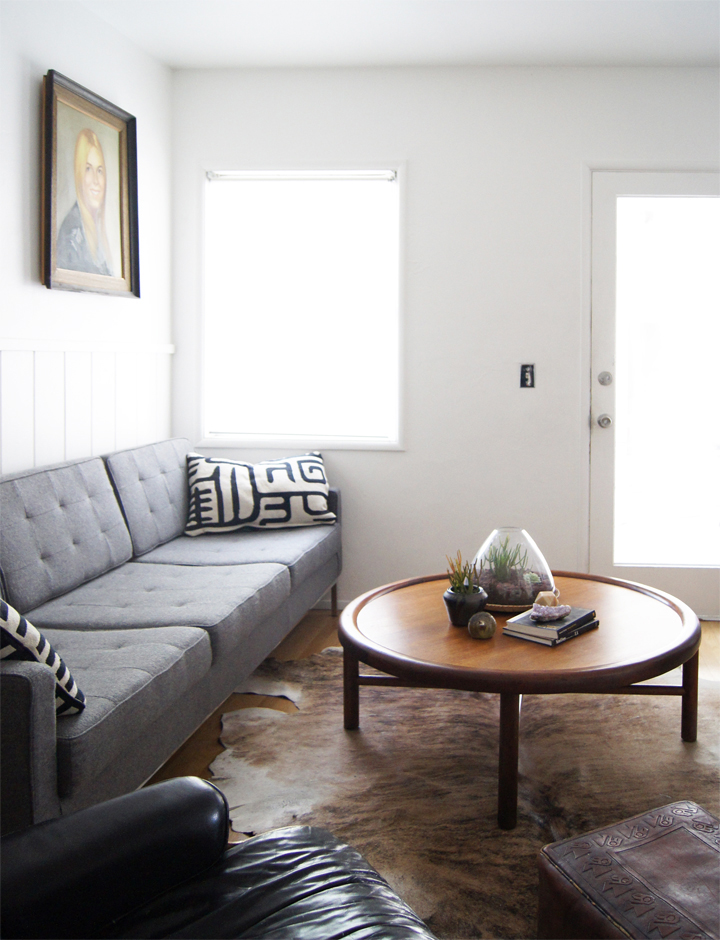
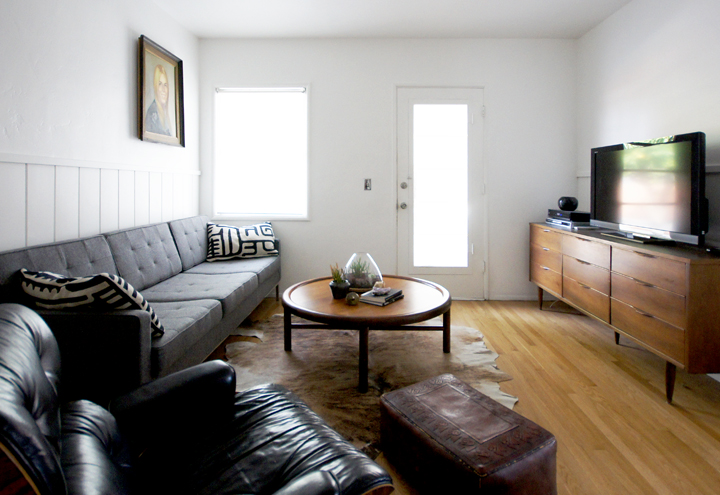
I imagine there is this question of why the den’s furniture is laid out the way it is. It’s a weird little room. Difficult to photograph and harder to understand in pictures. It’s kind of like a big L with a built in desk on the other side and an entrance to the kitchen smack in the middle. Definitely challenging to space plan.

Oh, did you notice the old sofa is back. I know, I foretold it.

I also know that the portrait of what people like to refer of as “Lindsay Lohan” should be way lower. As a former gallery director and curator, I am ashamed that I’ve let this hang way above eye level  for years. Art hung too high or improperly is a giant pet peeve and I am a complete hypocrite for letting this happen.

Problem is, that if the painting hangs at the proper mid line it hits the wainscoting and hangs all wonky…then you hit your head on it when you sit on the sofa and it falls on you and hurts you and then people sue me. It’s one of those things I don’t think about in real life until I see it in a picture. Different art for above the sofa is a must, but I haven’t found anything appropriate so “Lindsay” stays super high. Tee hee.

Also, screw the wainscoting. It ruins my life.
Front Slat Fence

Monday, January 24th, 2011

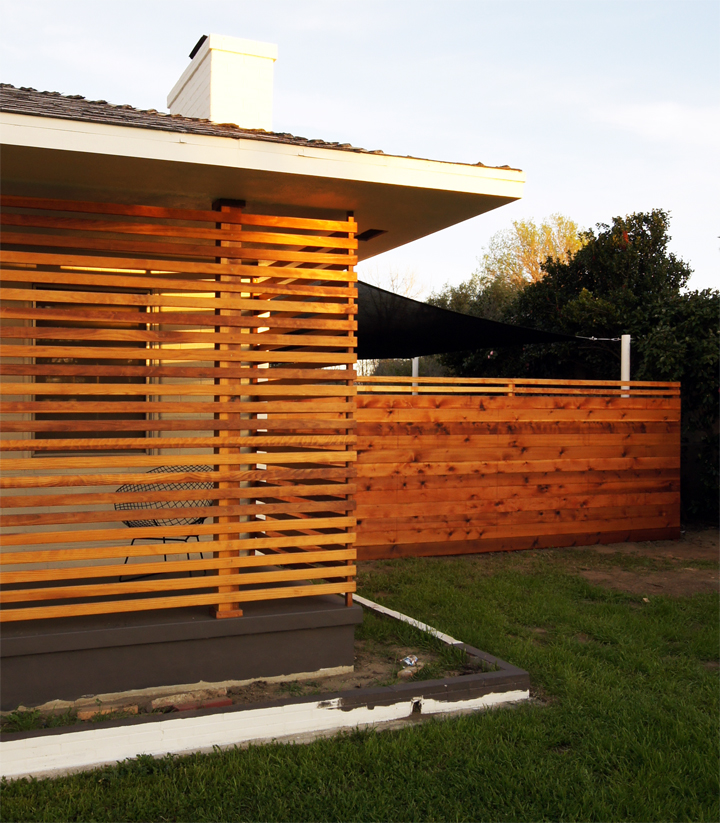
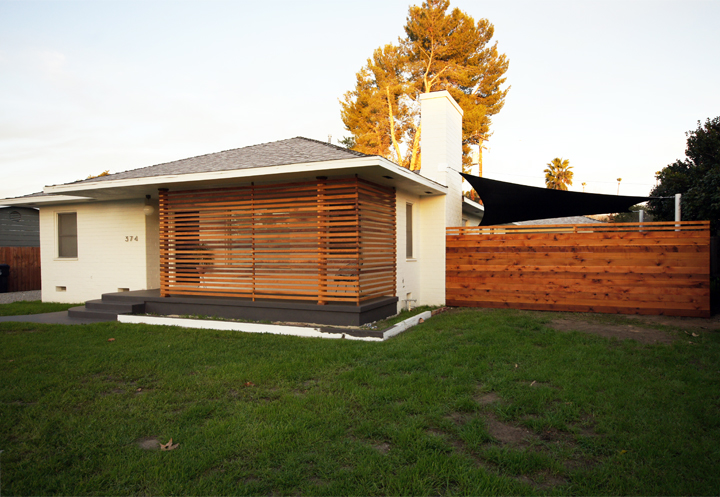
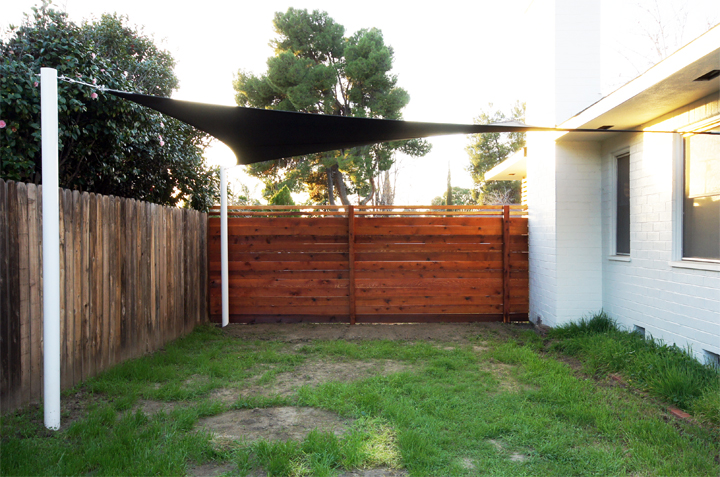
When we first moved to the house almost three years ago, all of the fences were mismatched and falling apart. Very slowly (very very slowly) we’ve been reconstructing and redesigning them.

The front fence is one of the bigger eyesores round these parts and divides the street from the side yard. It poses an especially difficult design dilemma with a number of annoying problems to address. I’ve been thinking about how to span the weird 16’10” gap with as little wood splicing possible and the lowest overall cost, while still maintaining privacy and staying sympathetic with the horizontal front slat screen.

There is also the whole ugly backside issue with the added bonus of having to meet up with the vertical posts problem. All in all, lots of odd issues to deal with.

I called around and got tons of quotes for different materials and sizes and ended up having a semi-local lumber yard custom mill twelve 1 x 6″ x 20′ rough cut cedar boards. It ended up being about $200 for the material and was the cleanest looking and least expensive method of spanning that wide space that I could figure out.

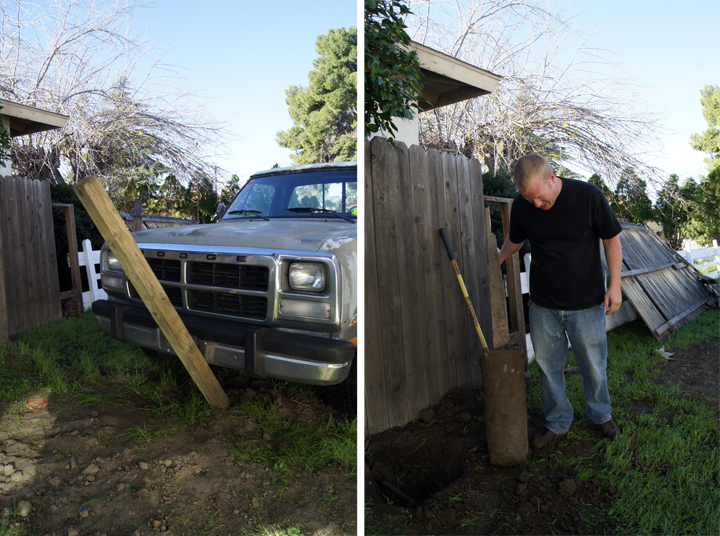
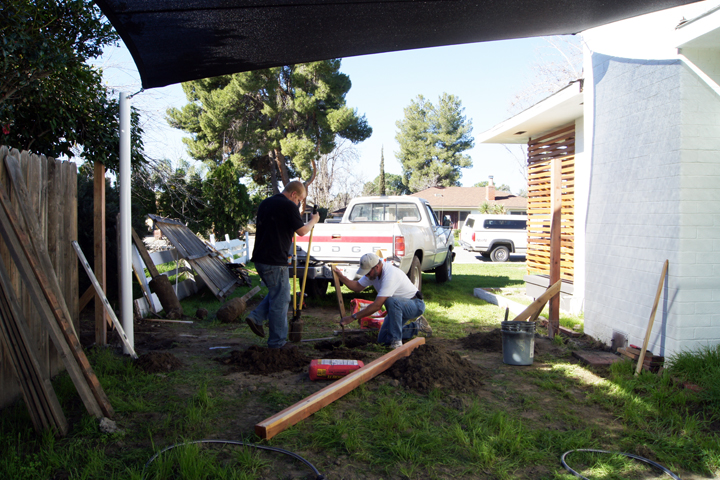
One of our many talents as DIY home owners is being great at demo. Maybe the methods are a little ghetto at times, but in the end we are very good at destroying things.

It was unbelievable how huge and heavy the cement footings for the fence supports where. These things had to be knocked down and drug out by the diesel truck and everything hacked apart. Although, nothing goes to waste around here…

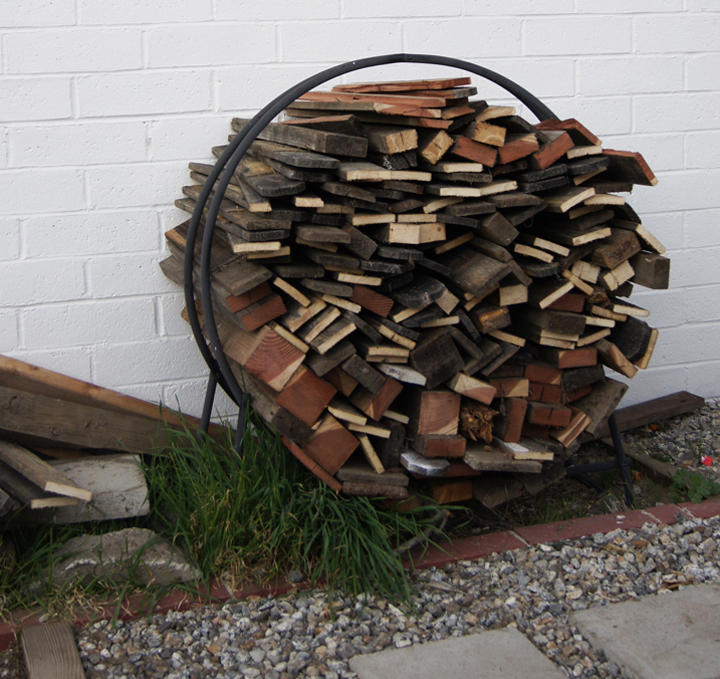
We cut up all the old fencing material and are now flush with firewood.

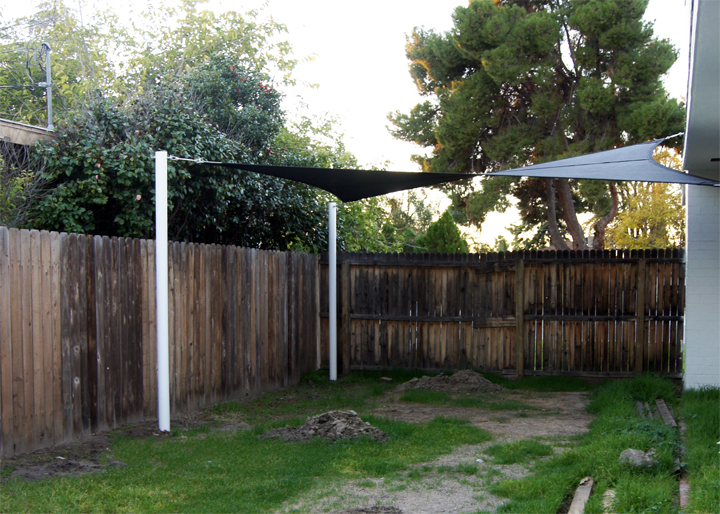
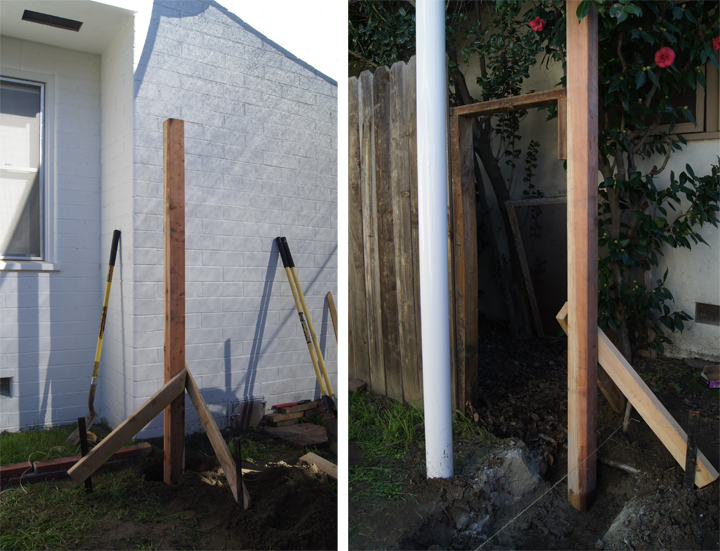
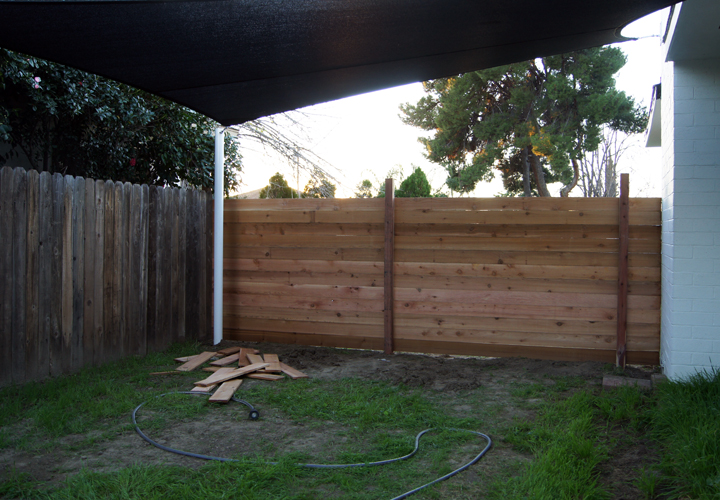
After everything was demolished and removed, we needed to start rebuilding the supports. Initially, I wanted the far right post to be flush with the wall, but unfortunately, there is a huge chunk of the houses foundation and lots of pipes to contend with in that immediate area. Our first big compromise was moving the support post over about a foot instead of flush to the wall.

The far left support post also had to support the rest of the perpendicular fence, so we had to compromise again by moving it all the way to the far left. This move caused the center support to be centered off the two supports, which is not quite center to the yard.

Funky old houses. I’m telling you, nothing but redesign and compromise constantly. With Every. Single. Project.

Maybe if we weren’t so cheap we would have devised some crazy scheme to make it work – but then we probably wouldn’t be building it ourselves either…

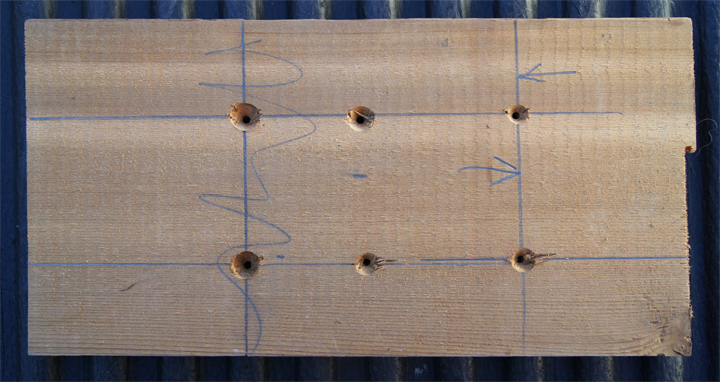
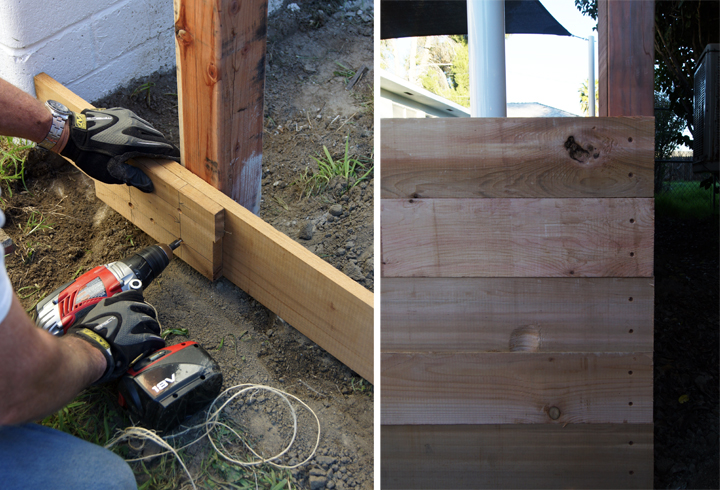
Once all the support posts where cemented in, we made a template to keep our screws square and centered on the horizontal face boards. It appears that the third attempt is the charm.

With the template in use, installing the front boards was a breeze. We’ve been slowly learning how to build this stuff a lot cleaner, more efficiently and a tad more pro looking…slowly. After screwing up a bunch.

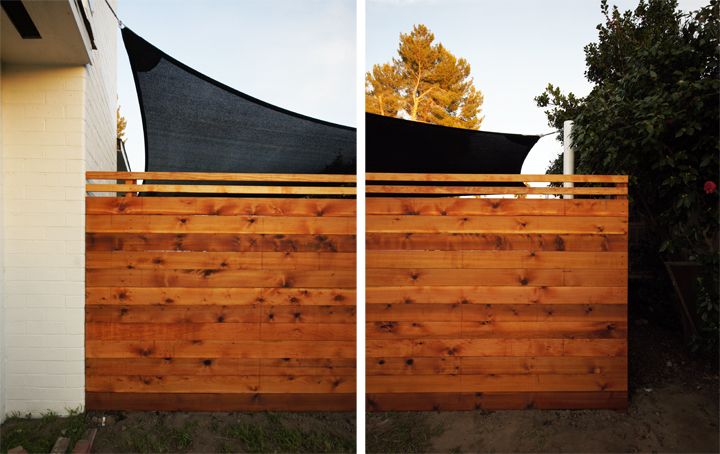
Here is where you can see the support post compromise assert itself. Didn’t really solve the ugly backside problem, but it doesn’t really bother me that much. If in a year it does bug me, maybe I’ll clad the backside with some cedar boards to hide the supports.

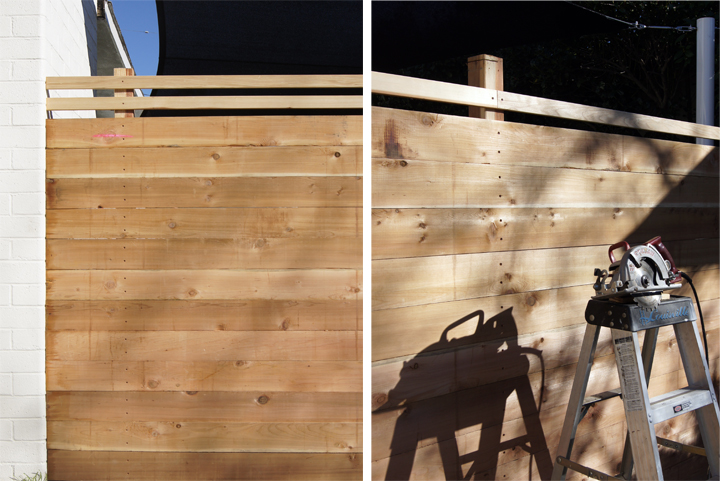
To finish off the top of the fence, we used the same 1×2″ redwood boards we used for the slat screen. After we measured out the same 1-1/2″ spacing and installed the smaller boards, we marked out how high the supports posts needed to be and then unscrewed the top run and chopped off the top of the support posts with a skill saw. Custom fancy stuff.

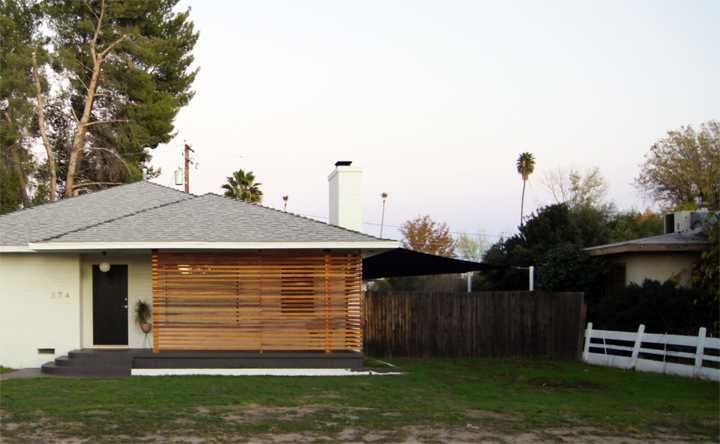
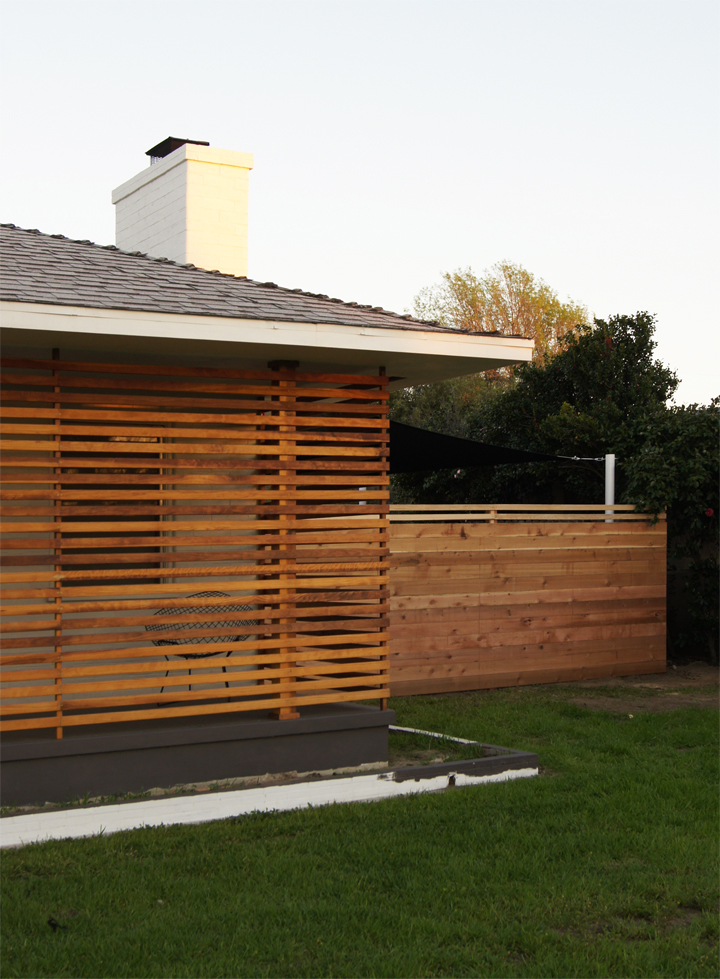
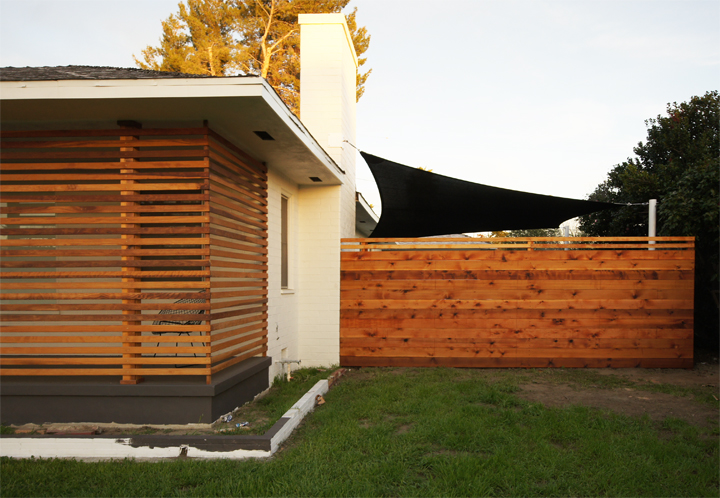
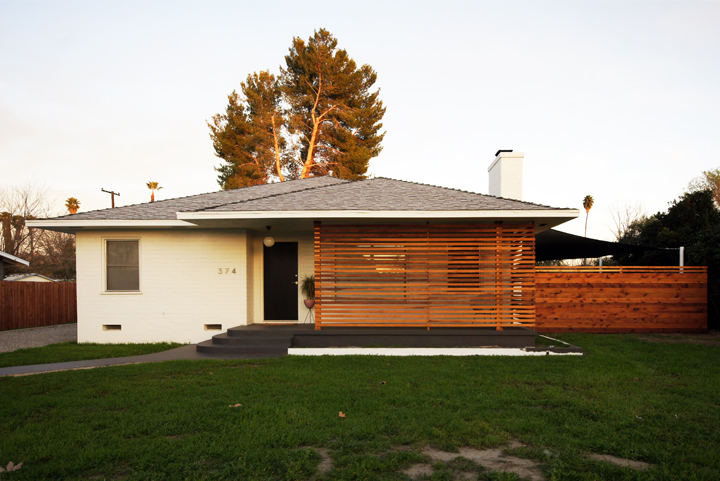
Here it is all finished up with the construction phase. The next step was to oil the wood down and seal everything against the weather, bugs and chaos of the outside world.

Through the power of internet immediacy, here it is all oiled up. We used Penofin for the slat screen and then Superdeck for the fence. The logic being? Superdeck is easier to find? More options? I don’t really recall.

They are pretty much the same stuff – oil that binds inside the wood and protects it from UV, water, termites, ect. Just roll it on and wipe it off after twenty or so minutes.

The broken down front planter looks terrible. This must be the next big project and it’s totally getting the steel edging treatment.

So fresh! So clean!

After a little while in the blinding desert sun the color is going to mellow out. The slat screen was similarly bright when we first treated it.

BEFORE:

AFTER:

We tested a patch of the oil on the weathered wood of the side fence and it looks really good. So that solves the question of what to do with that.

BEFORE:

AFTER:

Now, we just need to redo the planter then build a gate then hardscape then build a side fence then irrigation then landscaping then lighting then mailbox then roof…arrrgggghhhhhhh. This is going to be the Decade of the Exterior.

Fence Bench

Wednesday, November 24th, 2010

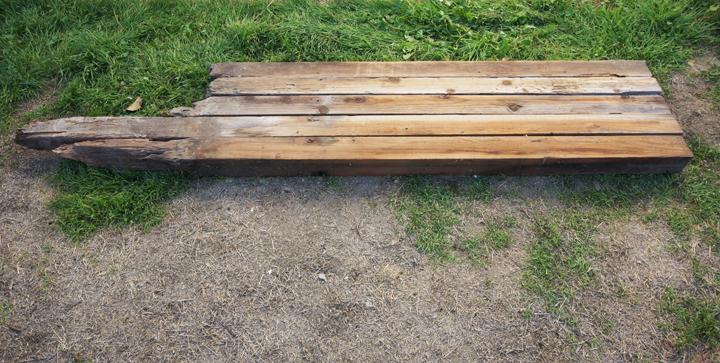
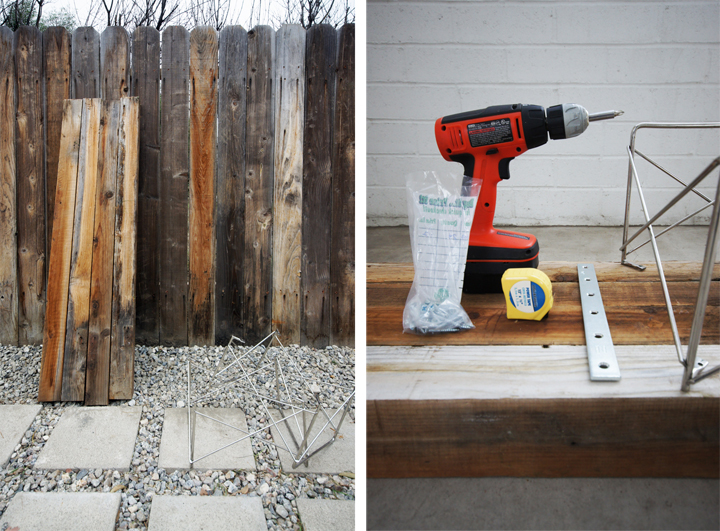
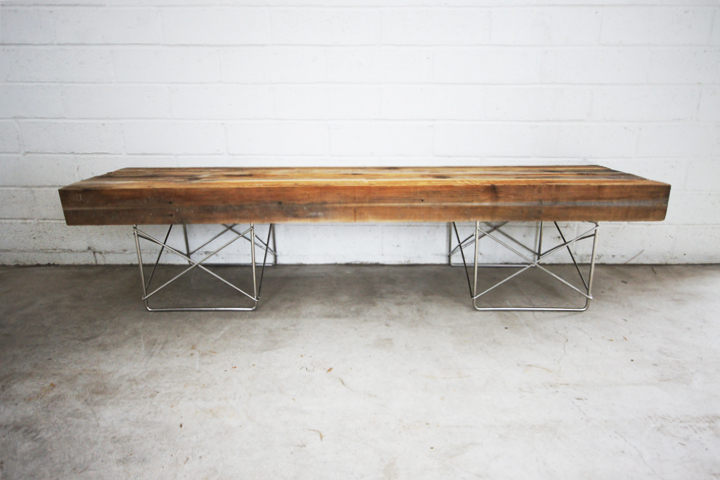
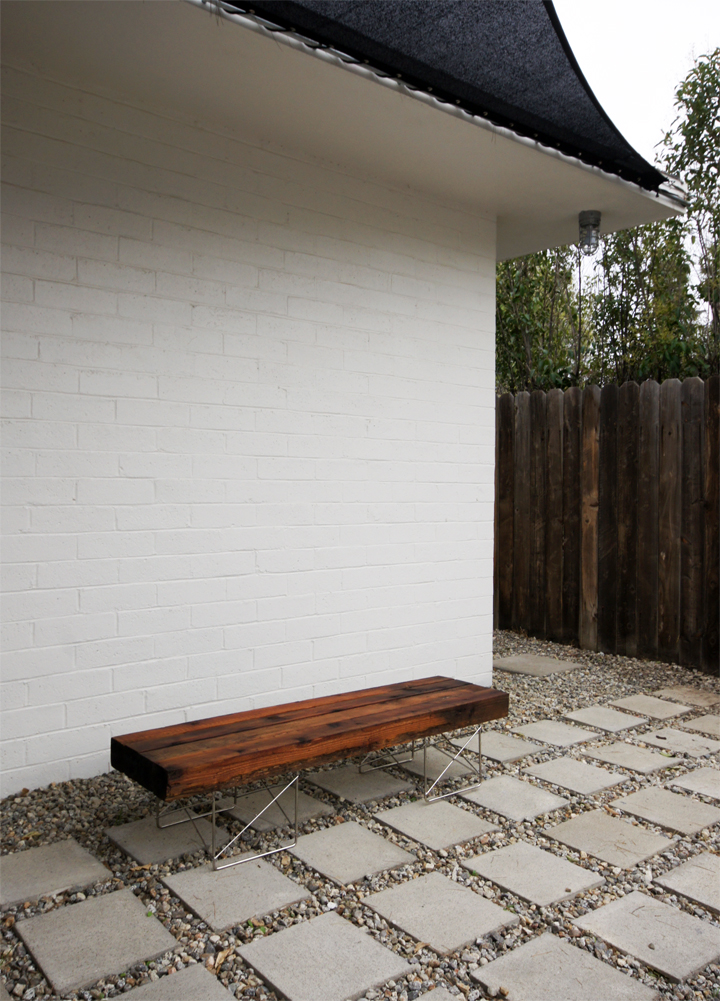
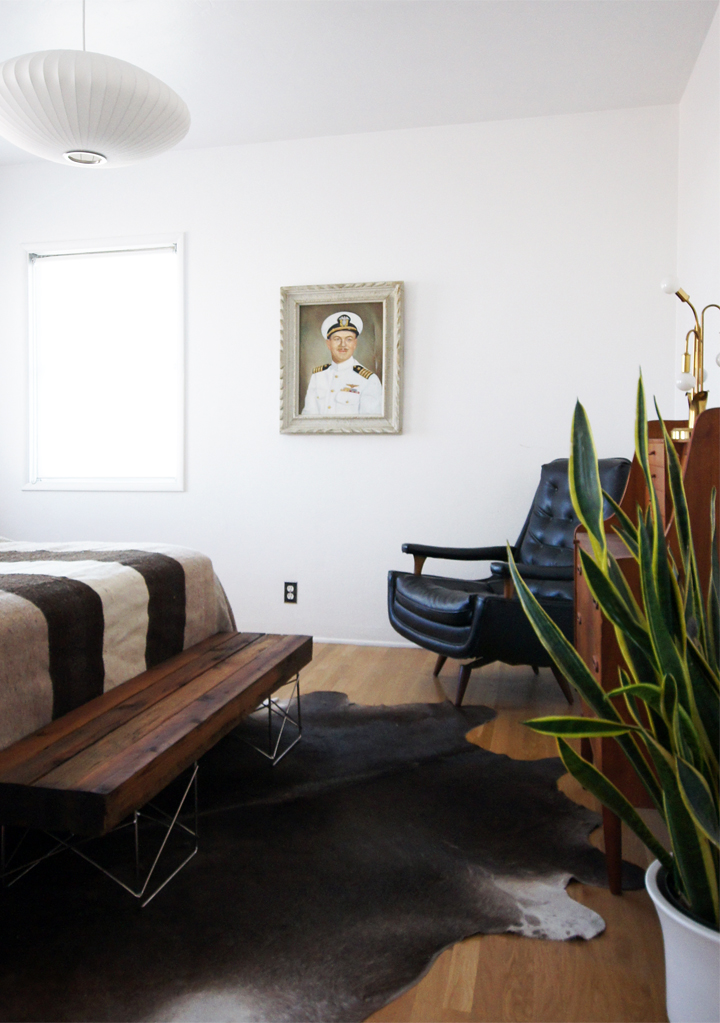
When we disassembled the side yard fence there were a bunch of rotten 4×4″ posts left over. I’ve been considering building a small bench for the master bedroom for some time and when presented with the wood leftovers, thoughts of a very cheap but super chunky piece of furniture danced in my noggin. Paired with a pair of left over Eames LTR bases (salvaged from our old beat up surfboard table) this little reclaimed wood bench was pretty easy to assemble.

Here’s how:

Materials:

4 – Reclaimed wood fence posts
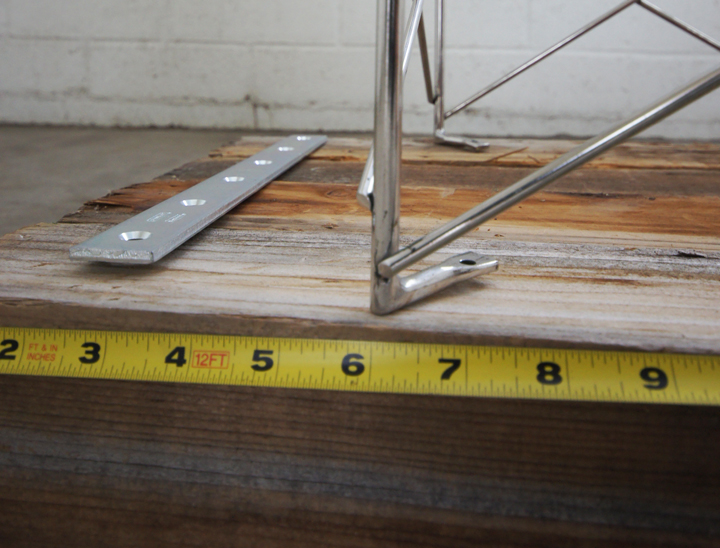
2 – Eames LTR bases (I salvaged mine off a broken Eames elliptical table)
4 – 12″ metal straps
Bunch of Screws
Teak Oil (or Danish Oil)
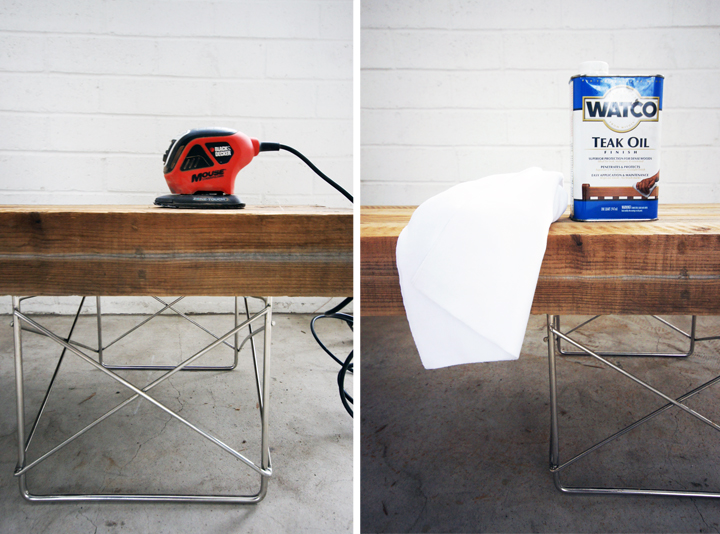
Sander

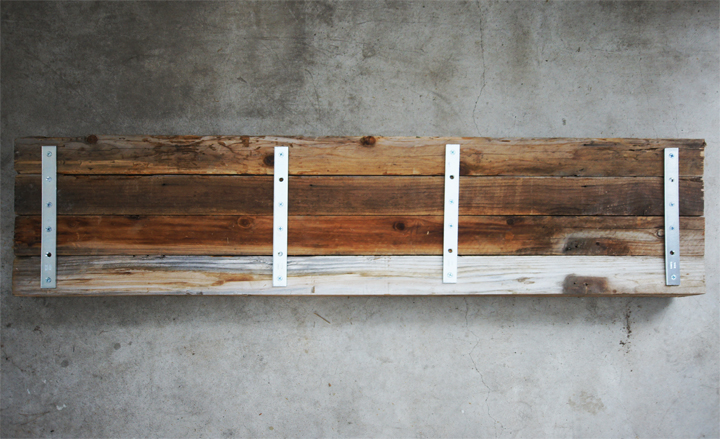
First, we cut off the rotten ends of the fence posts which left us with a usable length of 56″.

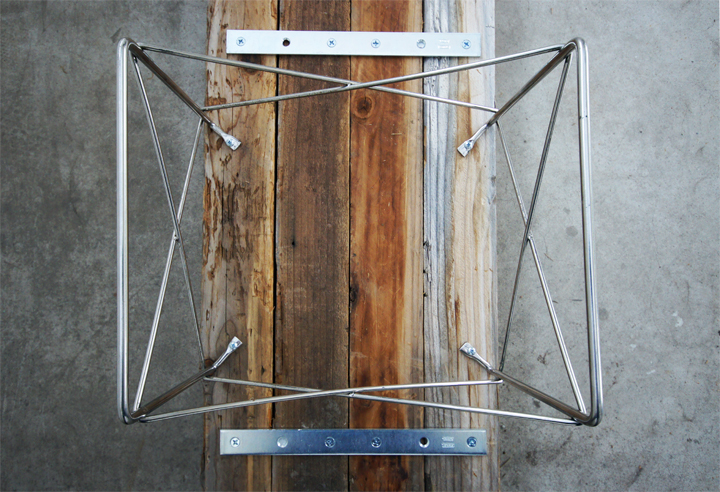
Then, I inset the bases 6″ from the end.

The straps were placed evenly around the bases and screwed into the wood.

To finish up construction, the the bases were then screwed into place.

Boom. Done.

Almost…

I gave the wood a quick sanding to remove any residual gunk, dirt or splinters.

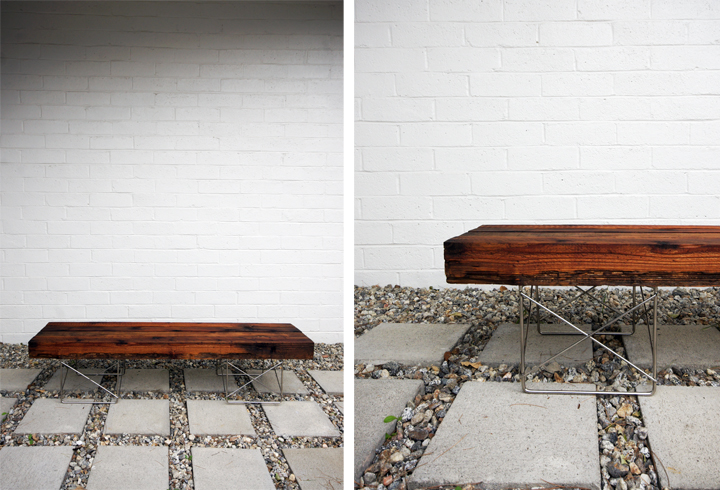
After the dust was cleaned off, I rubbed the wood down with a few coats of teak oil (I had it laying around) to seal and protect the wood. Then done!

The treated wood darkens up a lot with the oil.