BOOM.
It’s mother-effing fauxdenza* time.
We could flashback to the rough beginning of this particular fauxdenza via the power of HYPERLINKS or maybe just scroll down for a refresher.
OK. Let’s get our DIY on.
* Trademark via Anna at D16 & blatantly used here ad nauseum.
FAUXDENZA
Dimensions: 10′ long x 13-1/2″ deep x 33″ tall
Materials:
Ikea
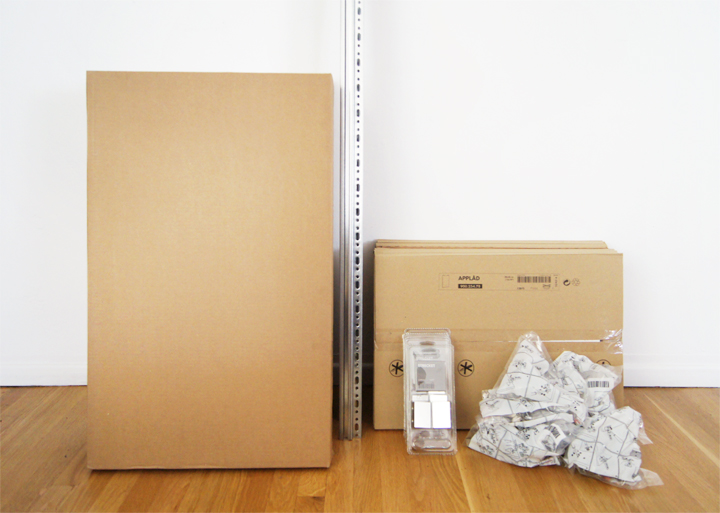
8 – Applad Doors (15 x 18″)
4 – Akurum Wall Cabinets (30 x 18″)
8 – Integral Hinge (2 pack)
2 – Akurum Suspension Rail
Lumber
1 – Wood (14′ L x 15″W x 1″T) *I used Afrormosia
Tools:
Drill
Circular saw
Level
Tape Measure
Ratchet
Screws + appropriate anchors
Shims
Steel Wool
Fine Sandpaper
Danish Oil
Feed n’ Wax
Clean Rags
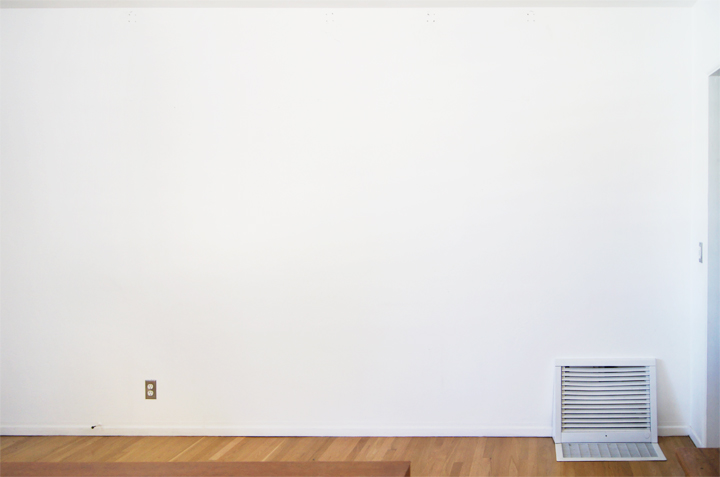
This poor, strange living room wall…
There was once a pipe shelf. Then I got bored with that. Then nothing for a bit. Then a floating storage credenza sounded good. Yup. Fauxdenza.
The whole fauxdenza thing boils down to just installing Ikea kitchen cabinets way, way too low. Since the tops of the wall cabinets aren’t meant to ever be seen and are all uglified, making some sort of aesthetically pleasing top becomes necessary. But first, installation.
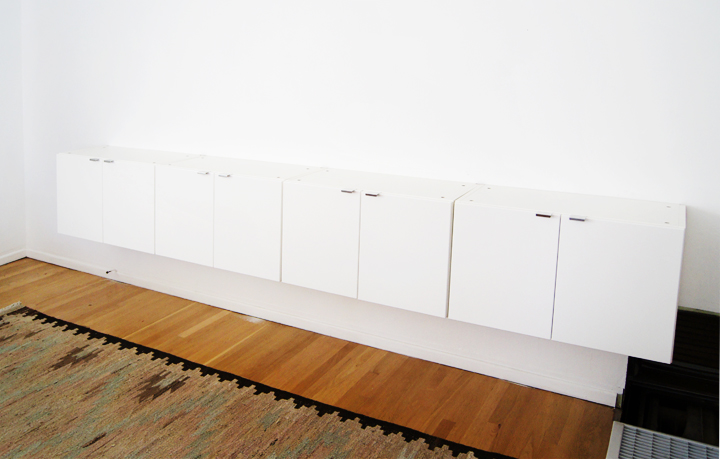
The Akurum suspension rail system is designed to levely hang Akurum wall cabinets very simply. Of course, to install the rail you have to choose appropriate wall fasteners for your walls. For our plaster walls, screws into studs plus heavy duty anchors worked perfectly.
I test mounted the cabinets to see what the plumb/level situation was going to be when confronted with our old plaster walls.
Obvious shocker. Old plaster walls are really uneven.
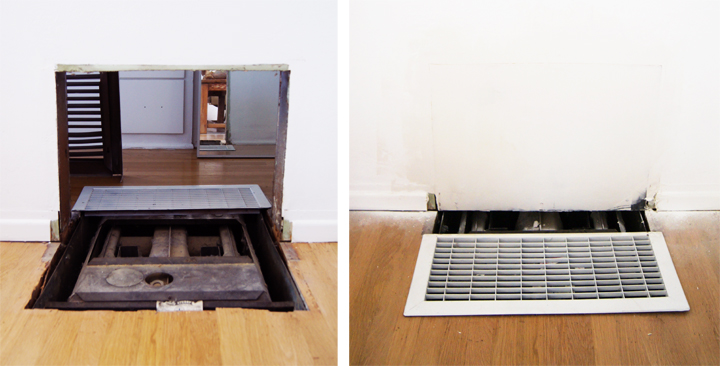
The walls are wonky, but the other installation hurdle was that creepy giant non-functioning heater thing. Not only did it ugly up the place, it’s location blocked the centered installation of the loooonnng fauxdenza.
So we removed the internal bits, framed out the wall, patched and painted it up (although, finding matching molding and large floor grates are still an issue).
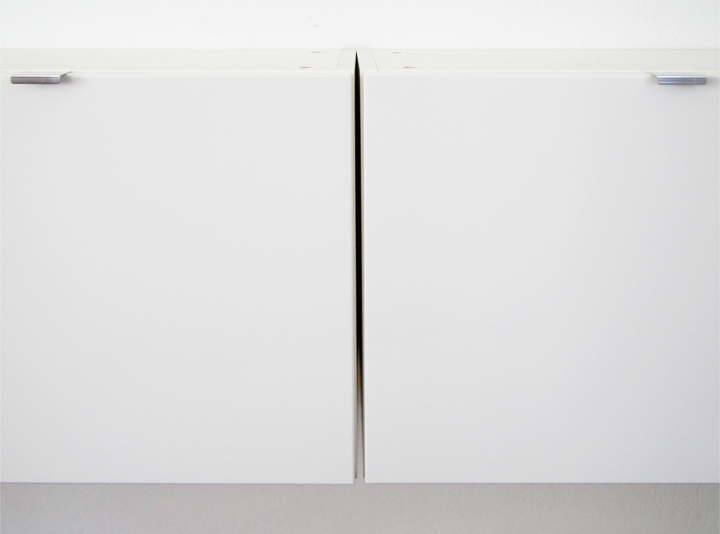
Old house + plaster walls = Gappity gap gap
The last cabinet had a pretty large gap since the plaster wall took a sudden curve.
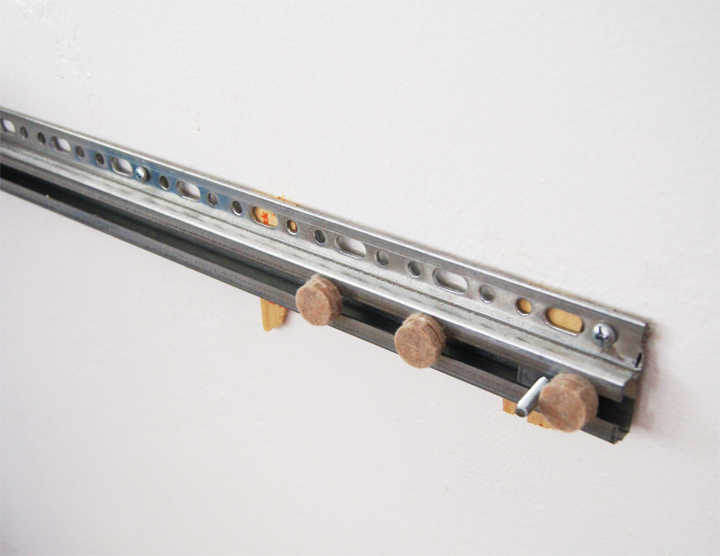
To correct the gap, first we shimmed the rail with some broken paint sticks from Home Depot, because that’s how we roll (unprofessionally). It was clear that the initial shim was nowhere near deep enough. We tested out how deep it had to be by sticking those little furniture foot pads onto the rail (unprofessionally).
Turns out, the last cabinet needed over an inch of the wackiest shimming you’ll never, ever see.
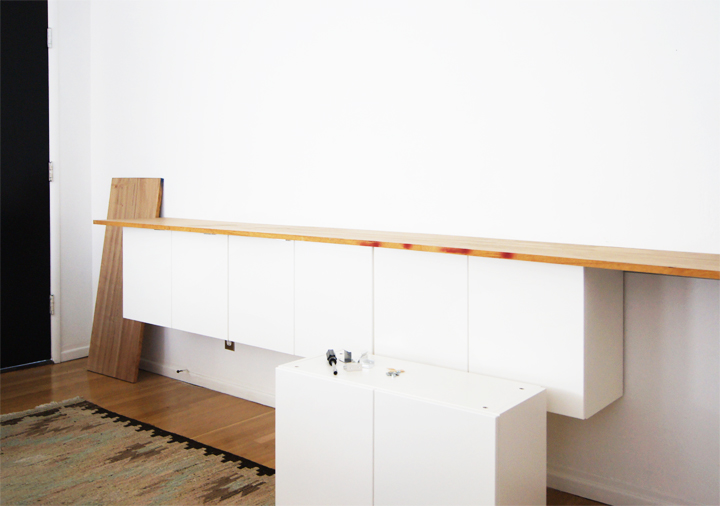
With the extreme shimming resolved and stuff hanging level, hiding the enormous new shim gap was the next quandary. The simple wood top I had planned on installing had to continue and wrap around the sides of the cabinets to disguise the monstrous shim gap.
For the newly expanded wood wrap, it felt best to find a better grade hardwood than I could grab at Home Depot.
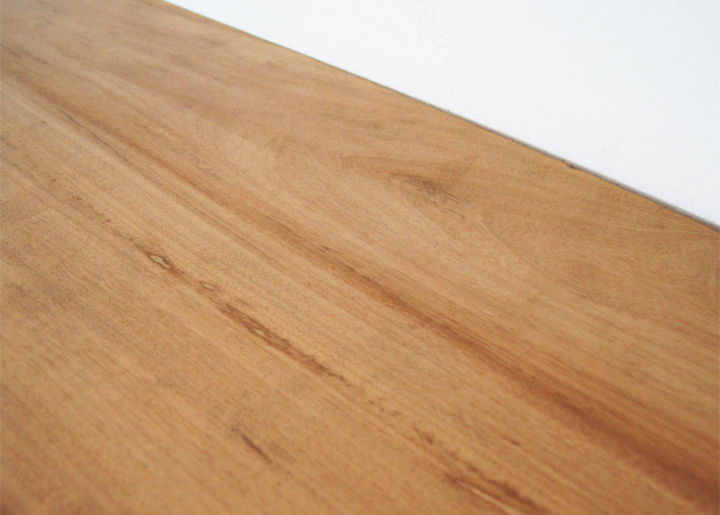
With some brief googles I found Peterman Lumber, a local mill/lumber yard that specializes in domestic and exotic woods. They have wood wood, you know, wood you take seriously. Wood that won’t take crap from no one, no how.
Tight budget in mind, I settled on a 14 foot long piece of Afrormosia, which is an excellent and – cough* cough* – cheaper teak substitute. Fauxteak.
At about 15 inches wide by an inch thick, the piece I picked ran about $100 and looked purtty.
We used a handheld circular saw to cut the wood down to size. No fancy woodworking, no miters. Just simple straight lines.
I traced along the front edge of the cabinet door onto the wood sitting on top of the cabinets and pressed flush against the wall. No brainer, no craziness. Cut on the traced line for a superb custom fit.
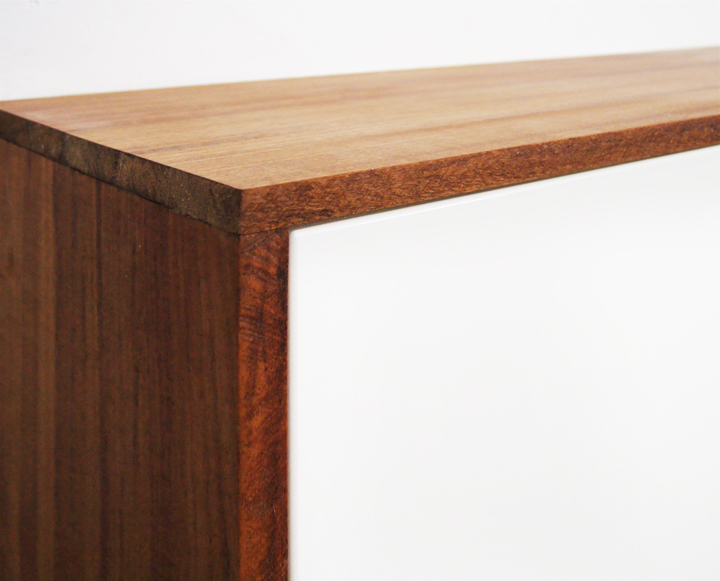
Each joint, as well as the edges, got a quick sanding to knock down any unevenness and smooth things out.
The rest of the wood got prepped with a once over sanding using super fine steel wool. Pretty much, I went with the same process that I use to restore vintage furniture to treat this new wood. Slap on a few coats of Danish oil and a few coats of Feed n’ Wax and…
Bam.
That untreated wood darkens up and looks incredible.
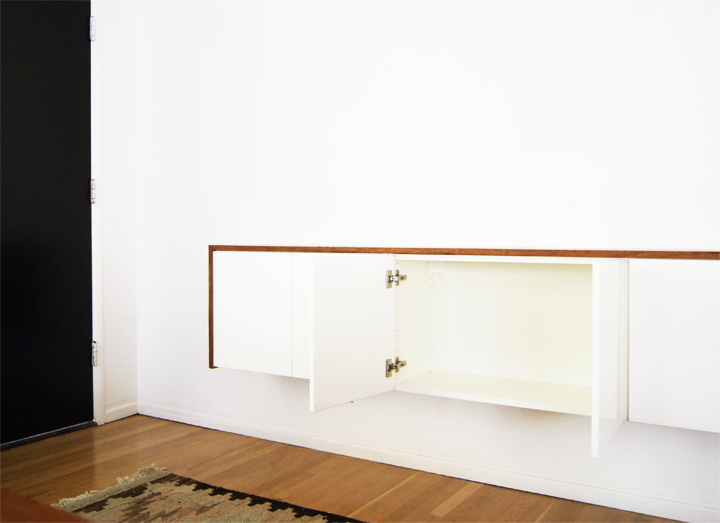
To attach the wood, I predrilled a few holes through the inside of the cabinet frames and screwed into the bottom of the wood to secure it; of course, do not go through it completely. It only takes a few strategic screws to set the wood solidly in place, all fancy looking.
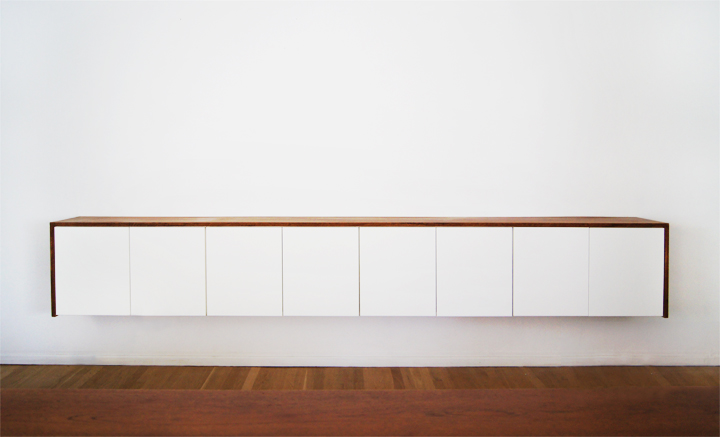
Initially, I had planned on using the Ikea Strecket handles and tested them out a bunch during the cabinet installation. Once the wood went on though, the handles suddenly looked way too fussy and got nixed.
Having no handles on the doors has been fine. The cabinets are high enough that I can comfortably grab the bottom door edge to open things up without any awkwardness.
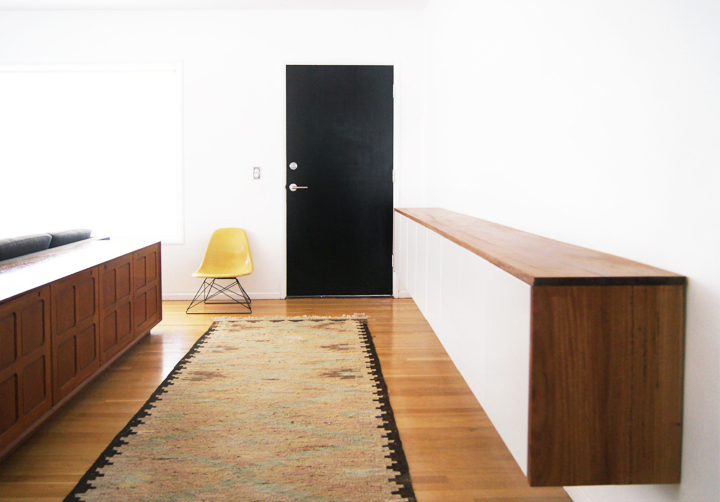
Done and done.
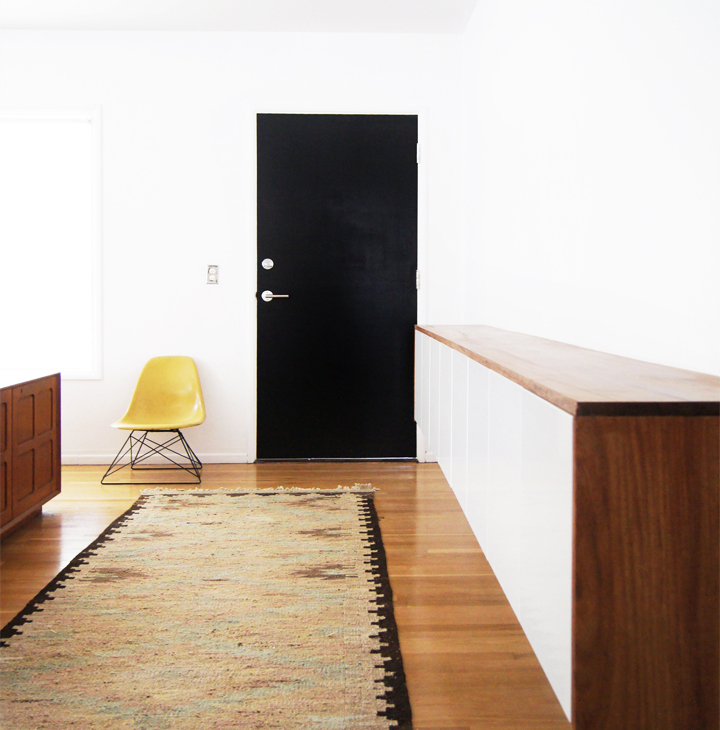
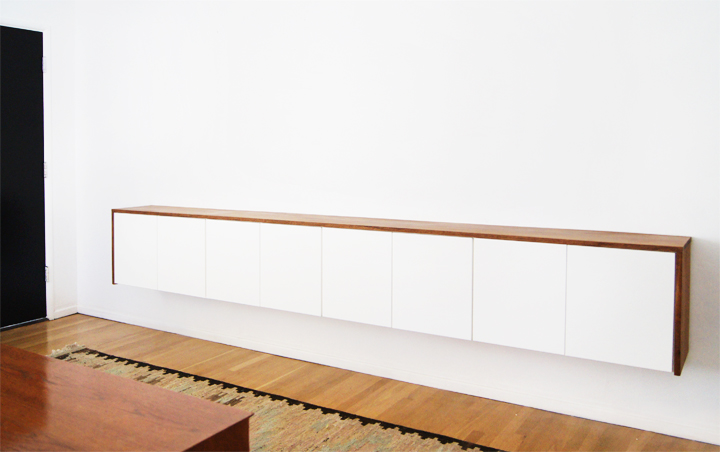
For about $300, some labor and some problem solving, we custom-built a ten foot long floating credenza that adds tons of storage while being perfectly scaled and custom fit on an awkwardly long and barren entryway wall.
Being both super customizable and easily constructed, the fauxdenza seems a clever DIY solution for a wide spectrum of storage conundrums. Plus it looks sexy doing it, which never hurts.


