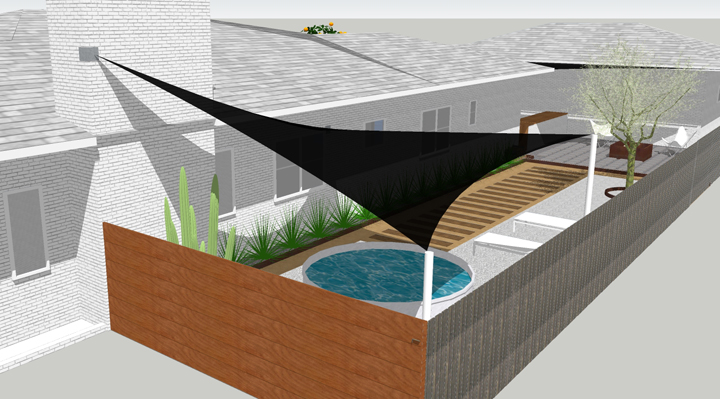
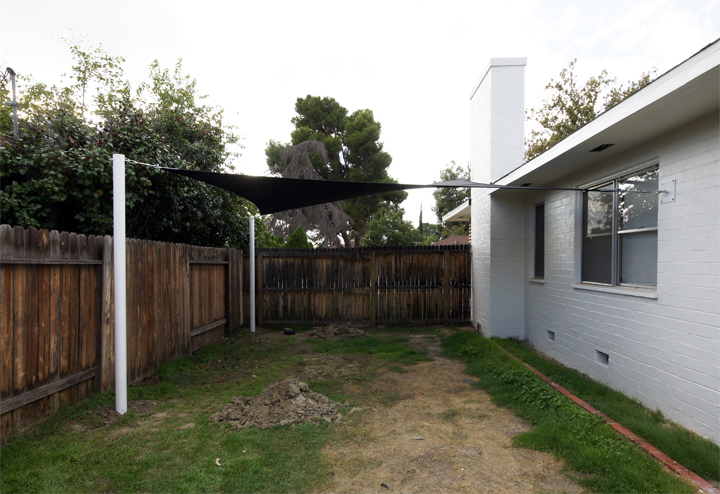
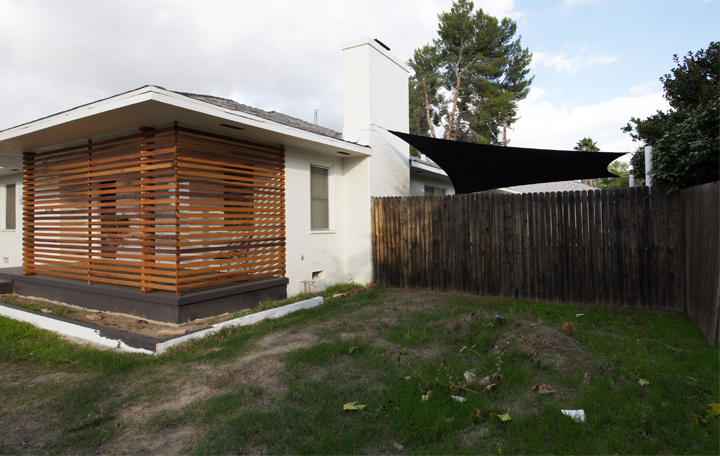
The second shade sail now flying high above the side yard is a different type of installation from the lace-on version installed near the fire pit. This version is what I would consider to be the more traditional style of a sail, at least in terms of design and the support structure.
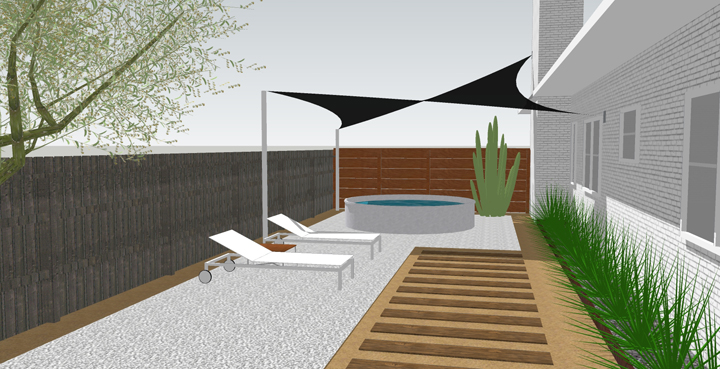
Check out the SketchUp model of the sail below.
Very nice if I do say so. I updated it a bit to reflect some changes to the fence and bar area. I cannot wait to landscape…
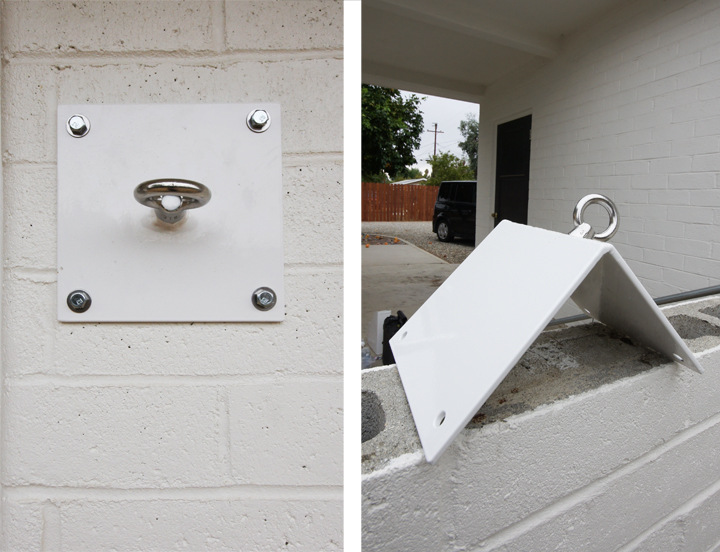
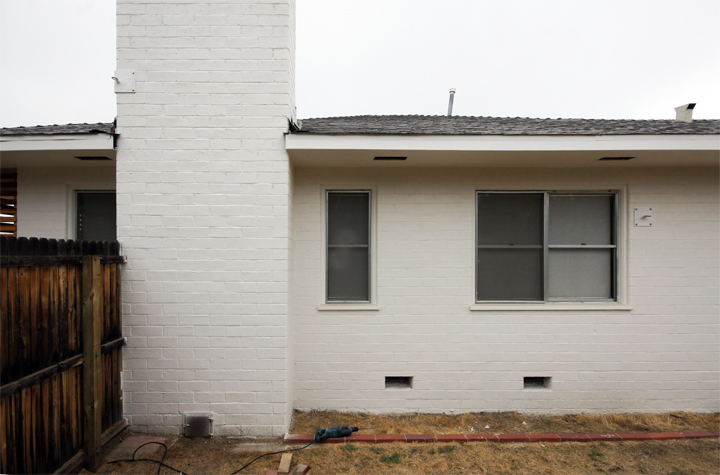
The heavy duty brackets that attach to the cement brick of the house were custom fabricated at Shade Industries. Basically, they are steel plates that have been powder-coated white with a large steel eyelet that serves as the attachment point for the turnbuckle. The brackets need to be incredibly strong in order to hold the tension on the sail and withstand our nutty desert wind.
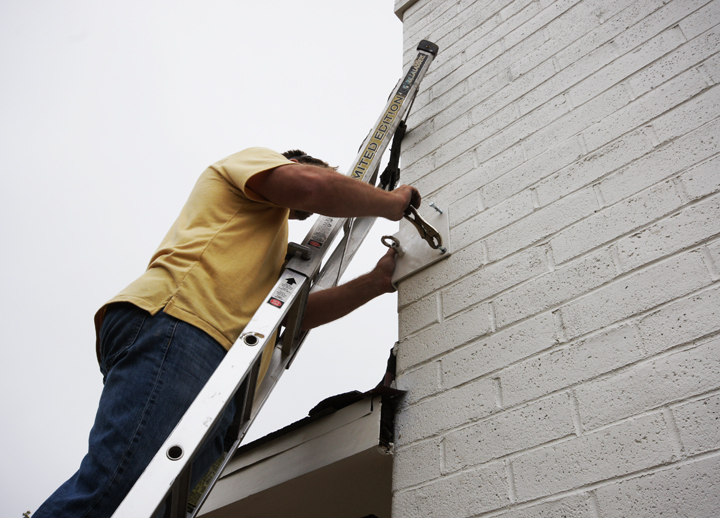
Patrick pre-drilled holes with a hard core hammer drill outfitted with a cement drill bit and then inserted big bolts to hold the mounting plates on the wall.
Here they are mounted and ready for installation. Of course I picked white so that the brackets would blend in with the exterior paint.
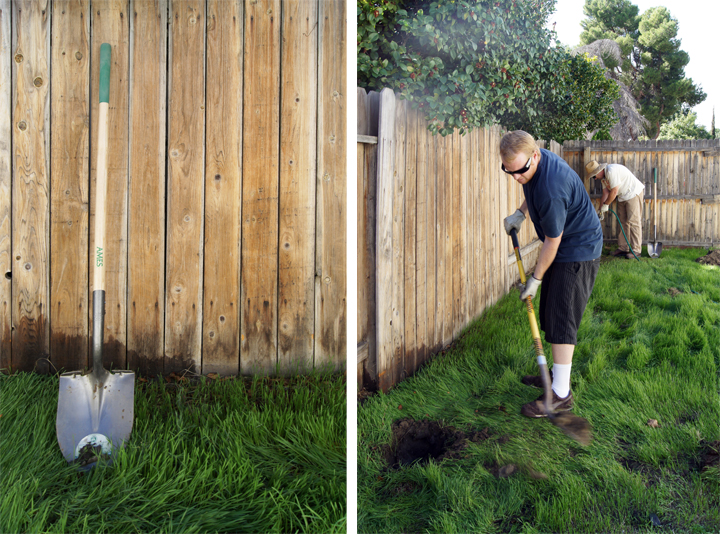
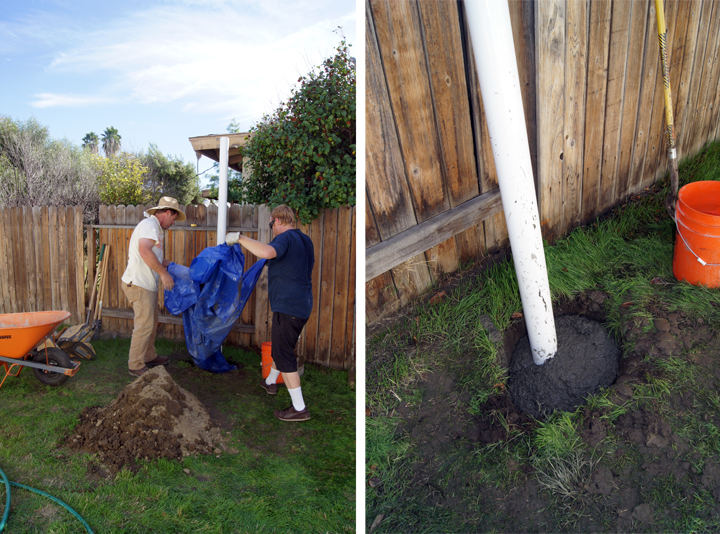
We dug out two 3′ deep by about 2′ wide holes that would be used to install the steel poles on the opposite side of the yard. Look at all the luscious grass – it has really been a wet fall, creating lots of weedy problems.
Digging holes sucks, but really anyone can do it. Installing the poles turned out to be surprisingly easy as well.
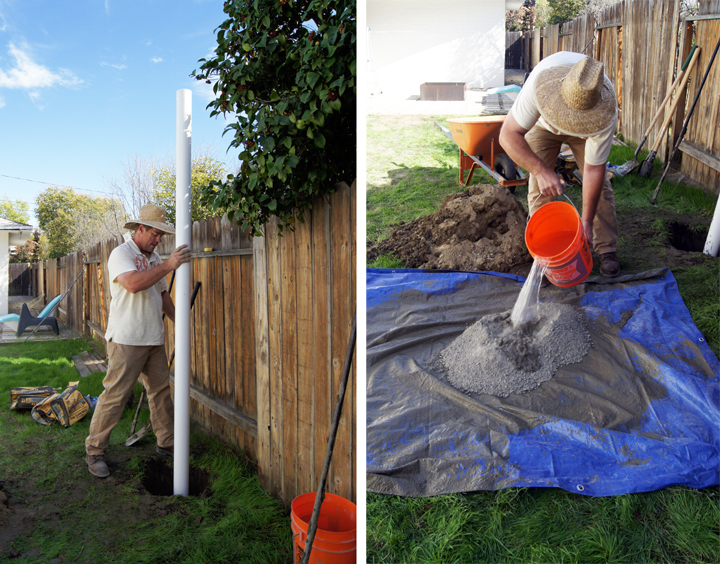
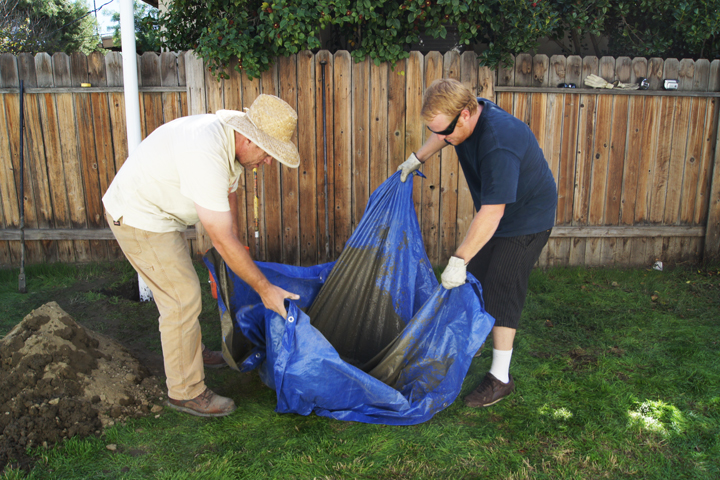
Patrick has an awesome method for mixing small batches of Quikrete. Use one big blue tarp, a bucket of water and two manly dudes to mix it up.
Take the tarp and shake it back and forth. Totally works and makes perfect cement really quickly. I’m much more excited to pour cement after we did this and found it to be super effective.
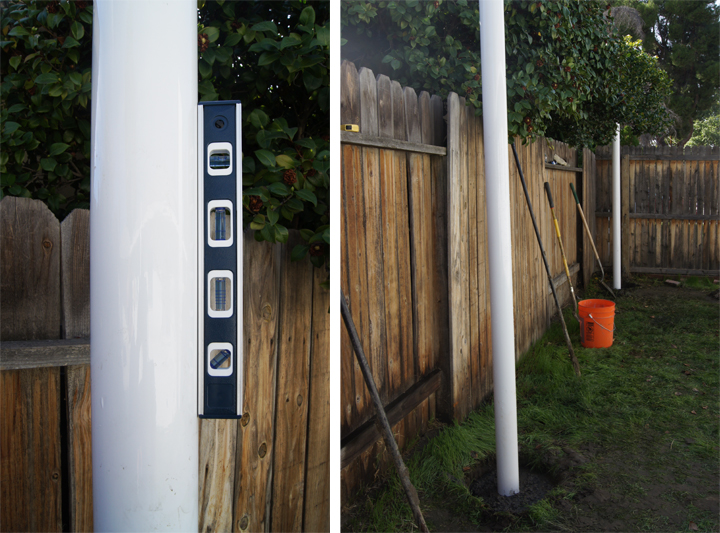
Then just dump your mixed Quikrete in the pole hole. Fill it up so that thing won’t ever move.
Instead of going perfectly plumb with the poles, you want to lean the poles back slightly to counteract the tension of the shade.
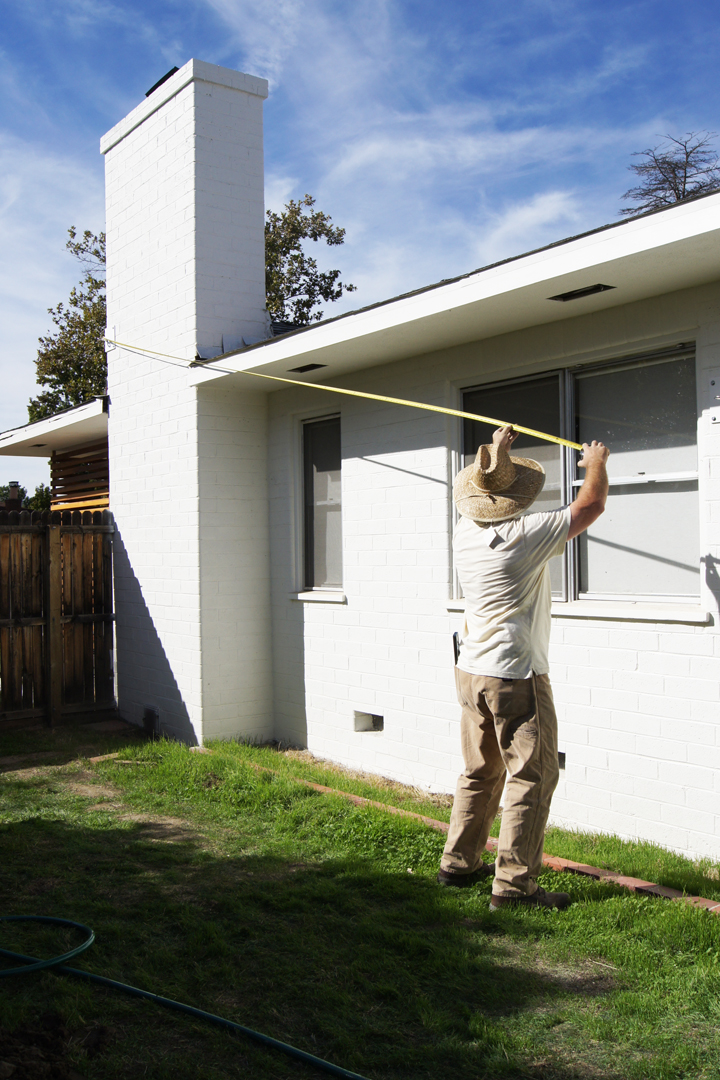
Once all the brackets and poles were installed, Patrick measured out the dimensions for the shade. Measuring on site, after all the mounting hardware is up, alleviates any nagging worries and assures that the shade will be a perfect custom fit.
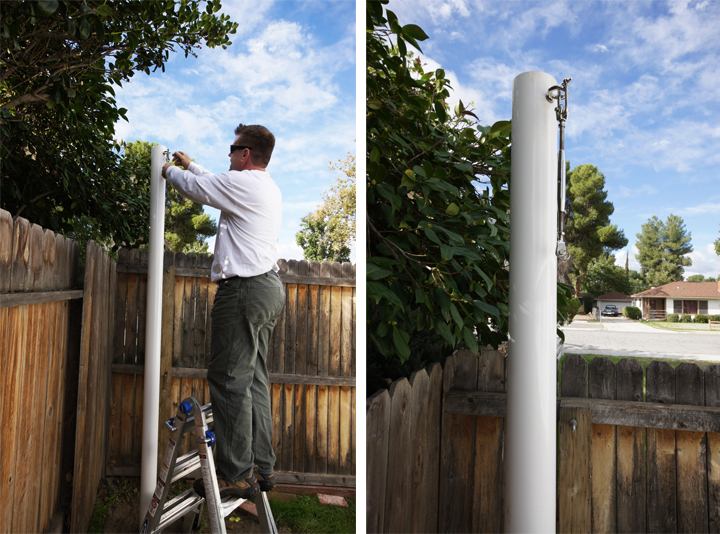
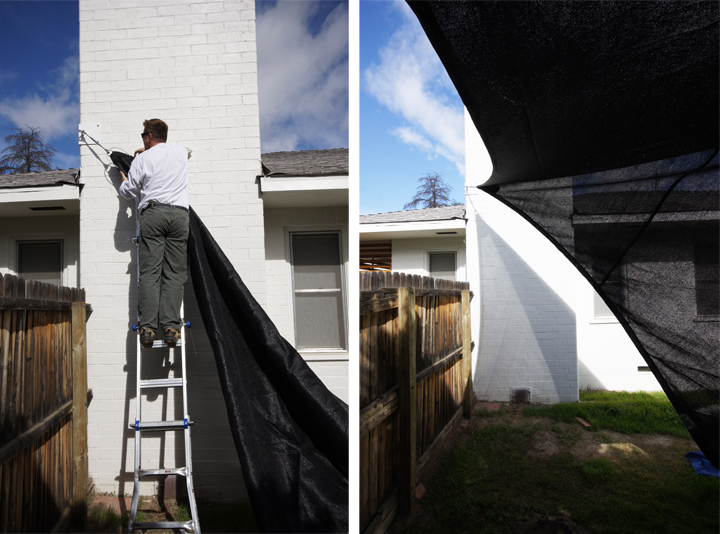
About a week or so later, the shade was all sewed up and ready to be installed. It only took about an hour to put up and is a fairly simple process. There are four turnbuckles that hook on to a steel ring at each corner as well as steel cable that runs around the edge of the shade.
Start installing the shade by attaching one corner and then work your way around. Easy peasy.
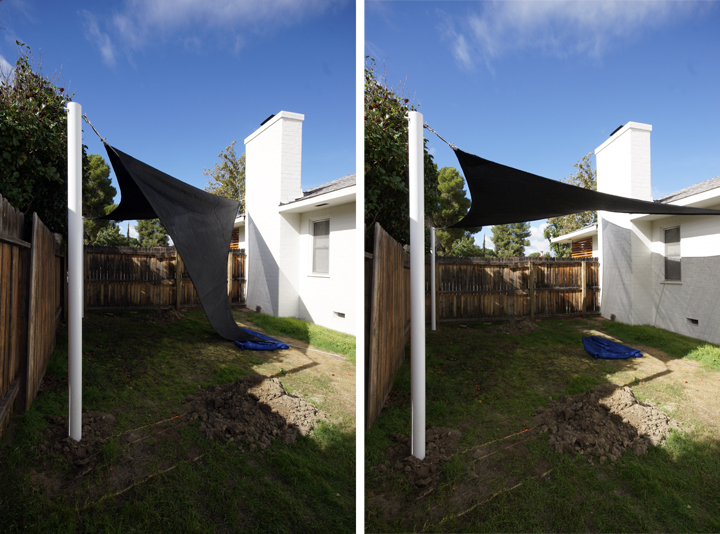
Sad shade. Happy shade.
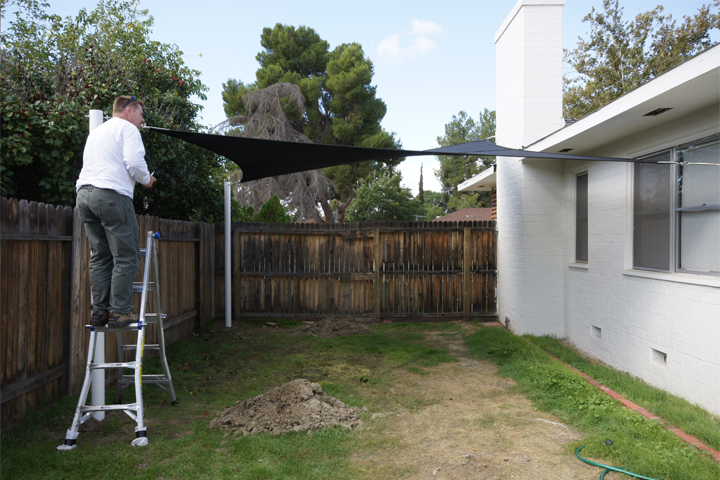
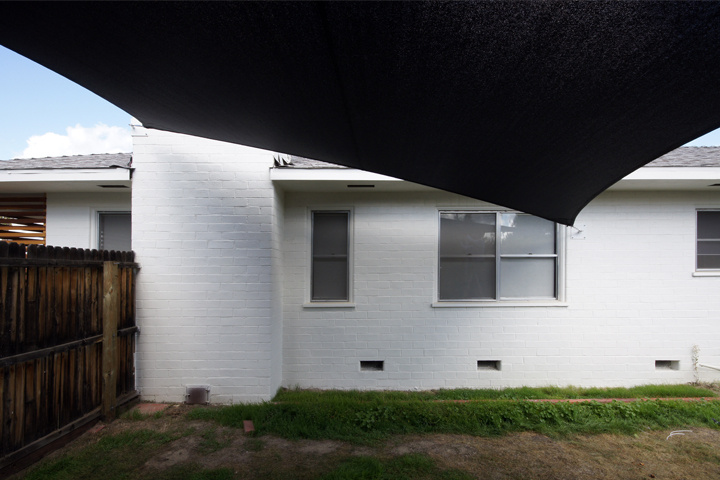
Once the shade is attached at all four corners the turnbuckles get evenly tightened and the steel edge cable is pulled taught. After it is completely stretched that thing is tighter than a drum. You really need to make sure your mounting areas are rock solid!
DONE.
This version is a little less laborious (in terms of installation) compared to the lace-on version, but the parts are much more custom and a tad more difficult to source. Installing four poles in the ground would be a fairly simple DIY project, just make sure they are heavy duty galvanized steel. You wouldn’t want them to collapse and bend in the middle after a big wind. I would probably source these type of heavy gauge poles at a local metal supply. We bought our hot rolled steel for the fire pit at a local industrial metal supply and found it to be a really amazing place as well as very affordable – plus there is so much cool stuff to look at…I need to go back.
It turned out so perfectly and is a million times better than I ever hoped for. I LOVE IT. Love love love. Overflowing with love and appreciation and happiness. Patrick is the shade sail whisperer for sure.
Too bad the landscaping is less than lovely right now, but all in due time I guess. I feel like Patrick’s incredible shade sail handiwork is lessened by the ghetto grass and fence. Must amend that very soon, 2010 is coming to an end…
I’m also super embarrassed of the unfinished porch, in my defense it has been less than ideal painting weather. Really, this sail needs to be shown off from the front of the house to illustrate its super dramatic curvy sexiness. These new dark sails really take the exterior up a big notch, making me rethink the rest of the landscape design. I mean it really needs to be amazing to match how cool these turned out. The big swooping bad boy definitely causes me to stare every time I drive by. I drool and then immediately curse the fence, unfinished porch and lack of landscape.
If you have any questions about shade sails, have an idea you might like to discuss, or need a quote – go ahead and contact Patrick Howe directly via email or Shade Industries.
Thank you Patrick, you are the best!
