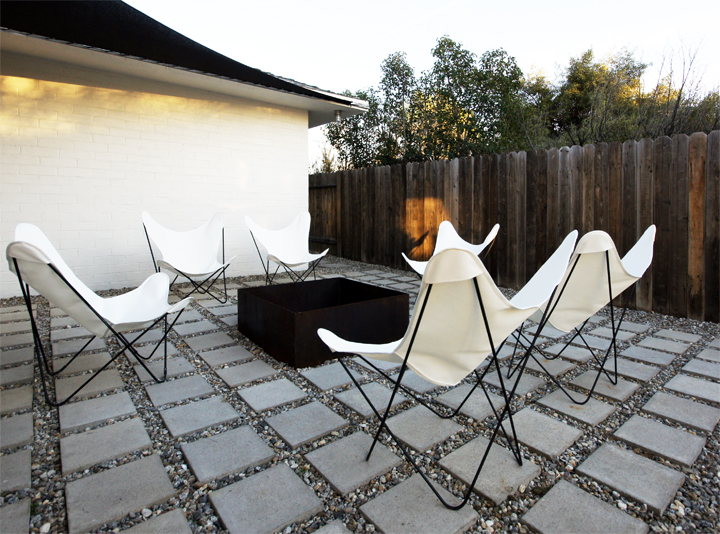
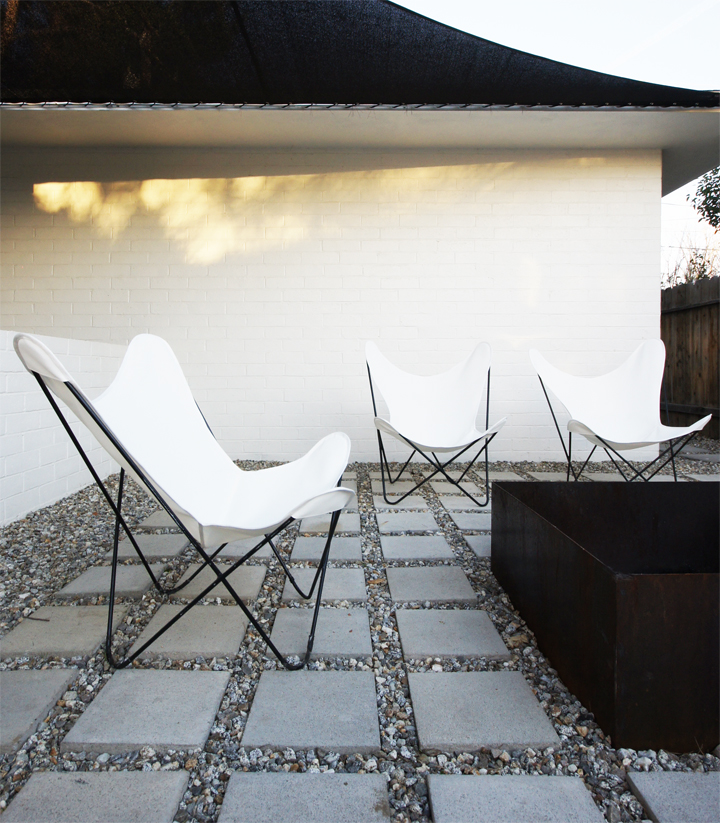
I am completely psyched to finally show off a big exterior project we have been working on for the last couple of months. While the days may be getting shorter and summer seems so very far away, I’ve been dreaming about shade sails for our side yard to help alleviate some of the crushing heat that the side of the house always receives. Admittedly, I’ve been struggling with how to build and incorporate a pretty large DIY shade sail for above our planned stock tank pool so it was pretty incredible to randomly receive a very helpful email from my new shade sail guru Patrick Howe a few months back.
Patrick Howe, whose currently with Shade Industries, emailed some suggestions and tips about how to get the most out of a shade sail and offered to help design and build a couple of versions that would not only be customizable, but also a project that most home owners can tackle on their own. To start, I sent him an old SketchUp model I made of the landscape design for the side yard and told him what my crazy plans were.
There are two areas that I was interested in shading:
1: The weird nook between the garage and house, protecting what will be a bar/eating area.
2: Above the stock tank pool at the front of the side yard.
Patrick sent back a SketchUp design with his thoughts and ideas about how to do it and I was ecstatic. It was everything I wanted, but so much better.
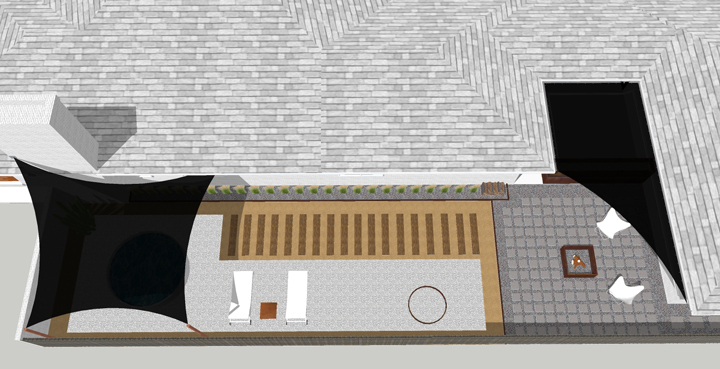
Each sail has a very different installation approach, so first, how about we focus on the nook area installation nearest the fire pit.
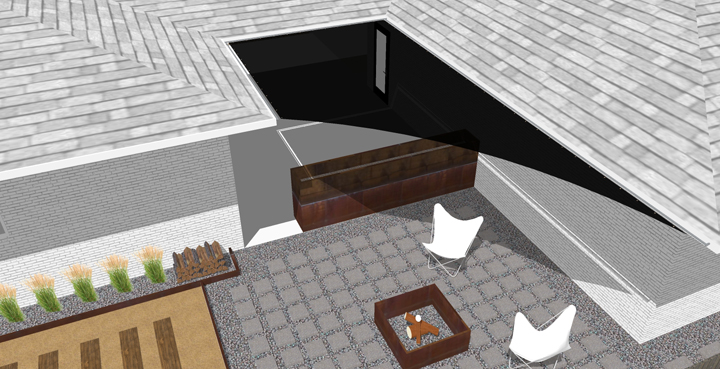
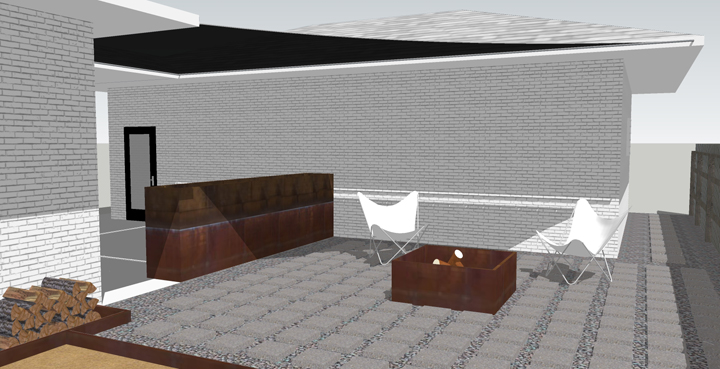
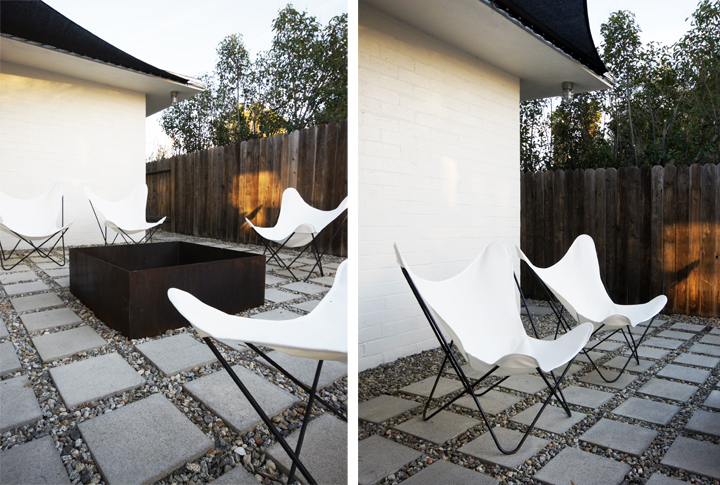
The shade sail is laced to a structure of basic galvanized piping attached to the fascia of the house and made tight by a combination of the lacing and a pair of turnbuckles at each corner. Patrick had the black shade sail customized to fit the area and arc in towards the garage, giving a wide clearance to the fire pit below. Whats great about this type of installation is that you can buy all the fittings and supplies at your local Home Depot, or any home supply store, and with a few basic measurements Patrick’s company can have a shade sail custom made to fit your area. Installing it yourself creates a custom look at a much more cost friendly price.
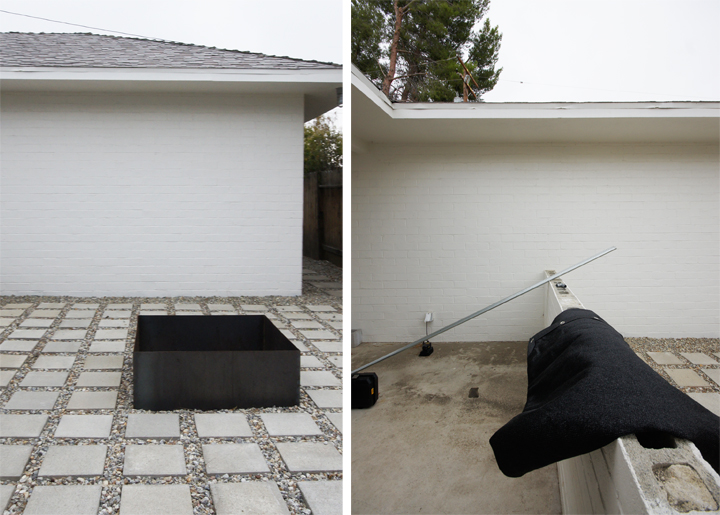
We installed this bad boy in one day, in pretty much just a few slightly rainy and damp hours. Patrick really did most of it…I mean come on, someone had to take photos. Right?
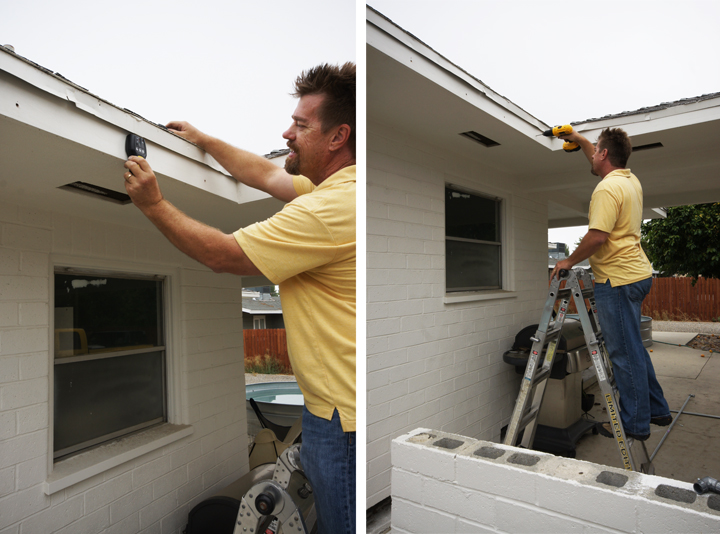
First, be cool like Patrick and find your studs. Then pre-drill the attachment points in the fascia.
Testing out the first attachment point. Hey, it works.
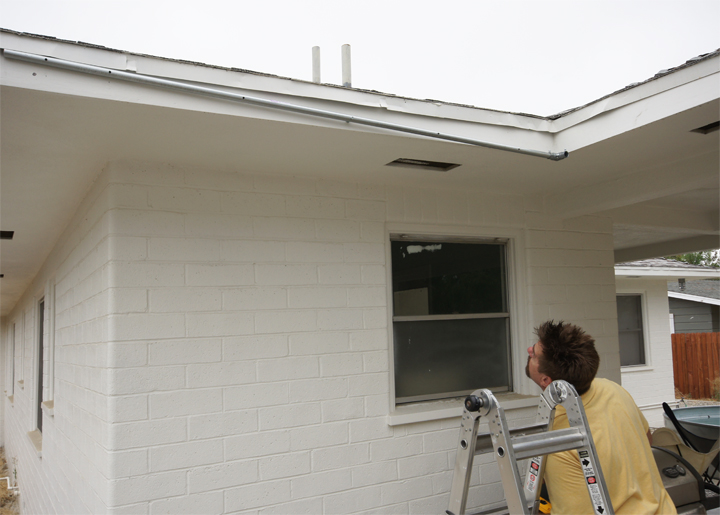
The galvanized pipe is also drilled through to correspond with your pre-drilled fascia holes (usually about 16″ on center). The pipe is attached to the fascia with self tapping bolts with a washer/nut inserted between the fascia and pipe to act as a spacer for the shade sails woven cord to pass through.
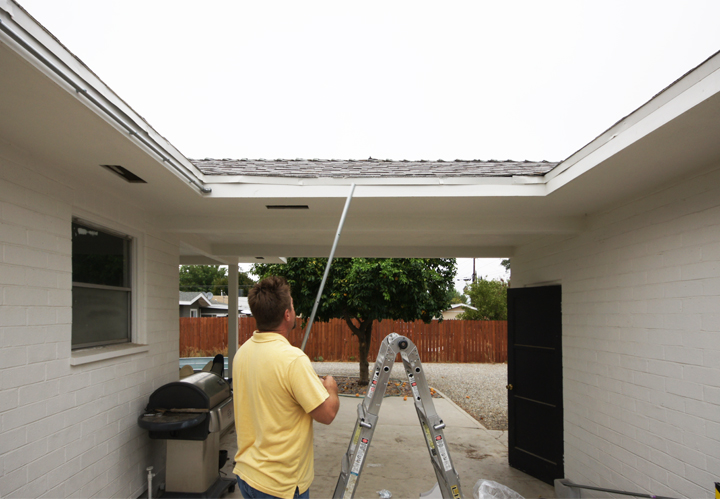
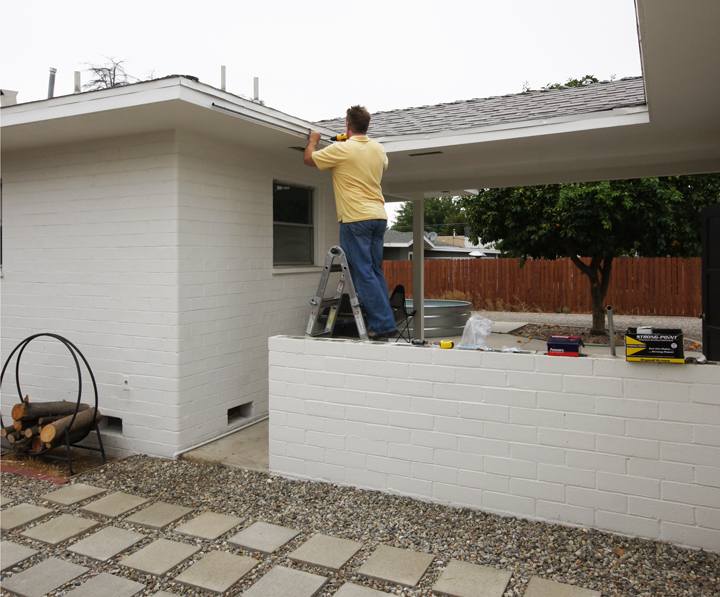
A 90° elbow attaches the pipes together. From there, the same installation procedure applies to the entire galvanized support structure. Find your studs, use a spacer and bolt into place. Once installed that thing is solid as a rock. It seems that galvanized pipes are crazy useful for all sorts of DIY adventures.
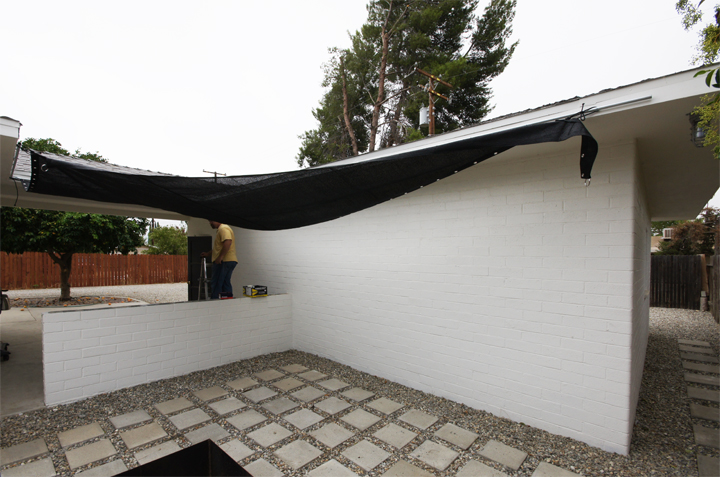
To begin lacing the sail in place, first just casually secure the corners in place with a few bits of cord.
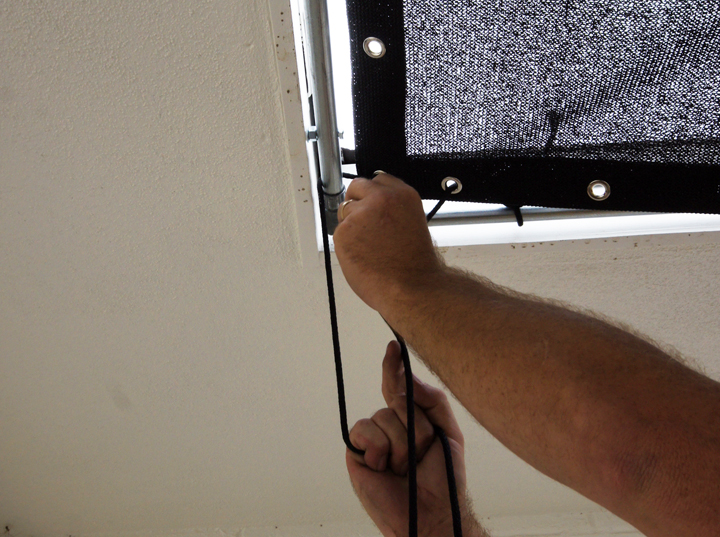
Once it is loosely hung in place the long process of wrapping the cord through the grommets and around the pipe begins. It’s like lacing the longest shoe in the world.
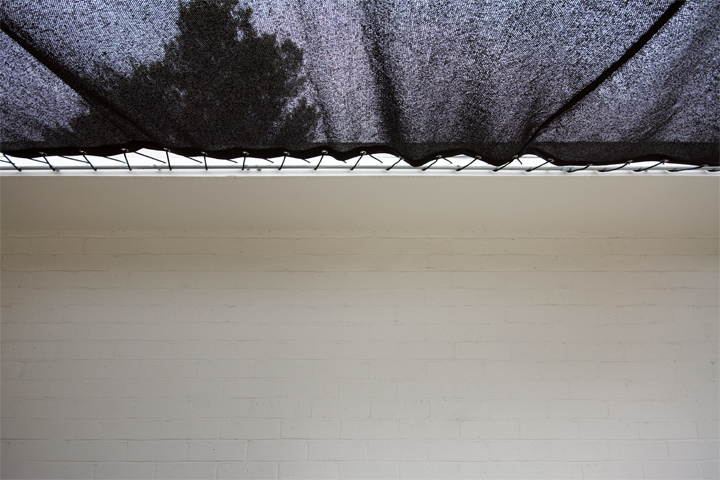
The initial cord wrapping is left a bit loose in order to later evenly pull the shade sail taught with the turnbuckles and cord.
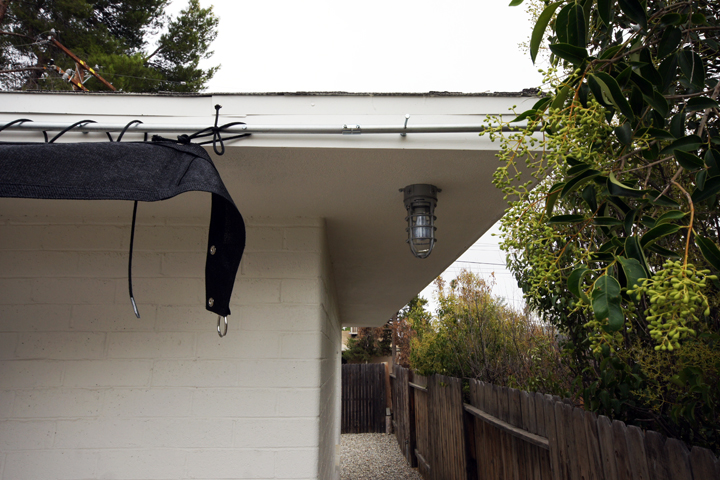
Once the cord is loosely installed, it is time to attach the turnbuckles at the end of the sail.
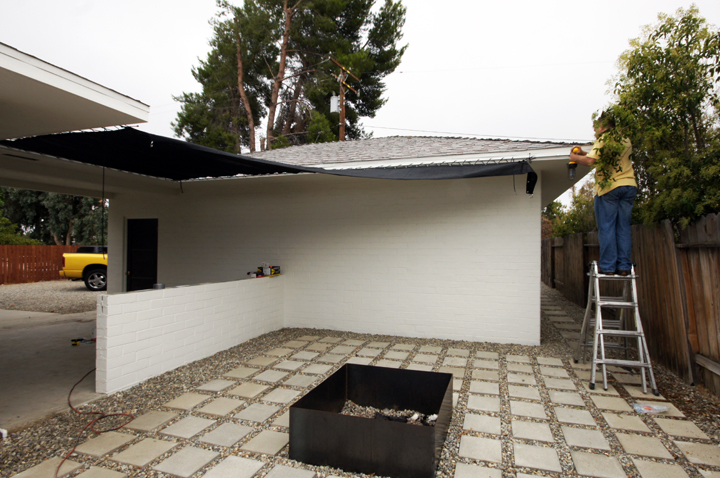
Again, you want to find a stud and pre-drill a hole to install your eyelet screw. This point will have a ton of tension on it, so make sure its solidly secured.
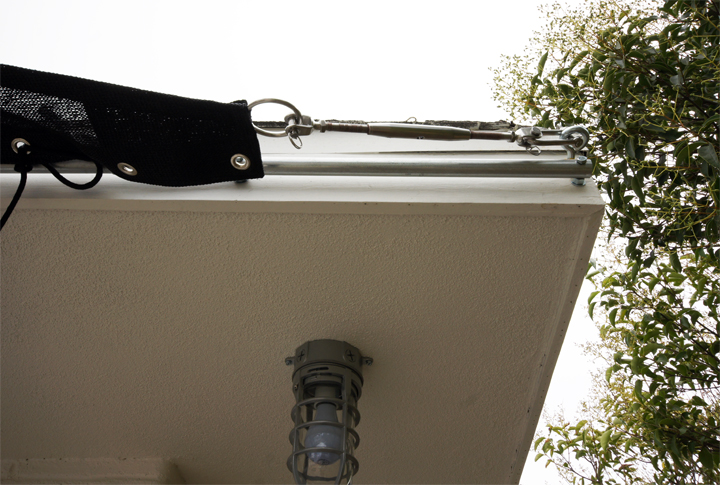
The turnbuckle attaches to the eyelet screw and a ring at the end of the sail. Slowly, all of the cord and the turnbuckles are pulled tighter and tighter to make the sail taught, like a giant drum.
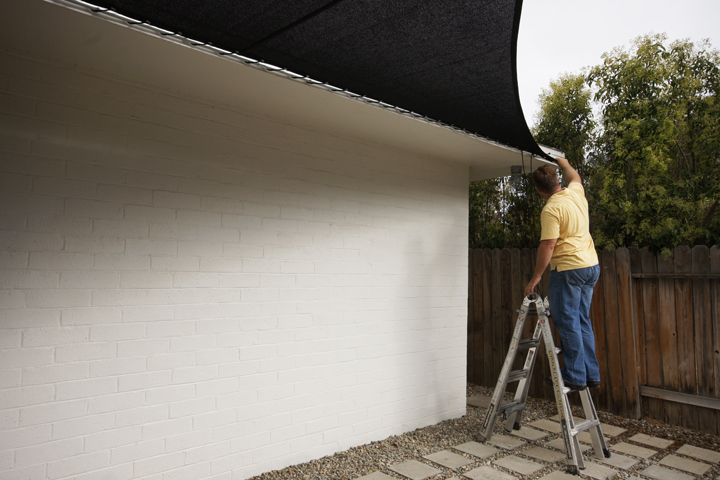
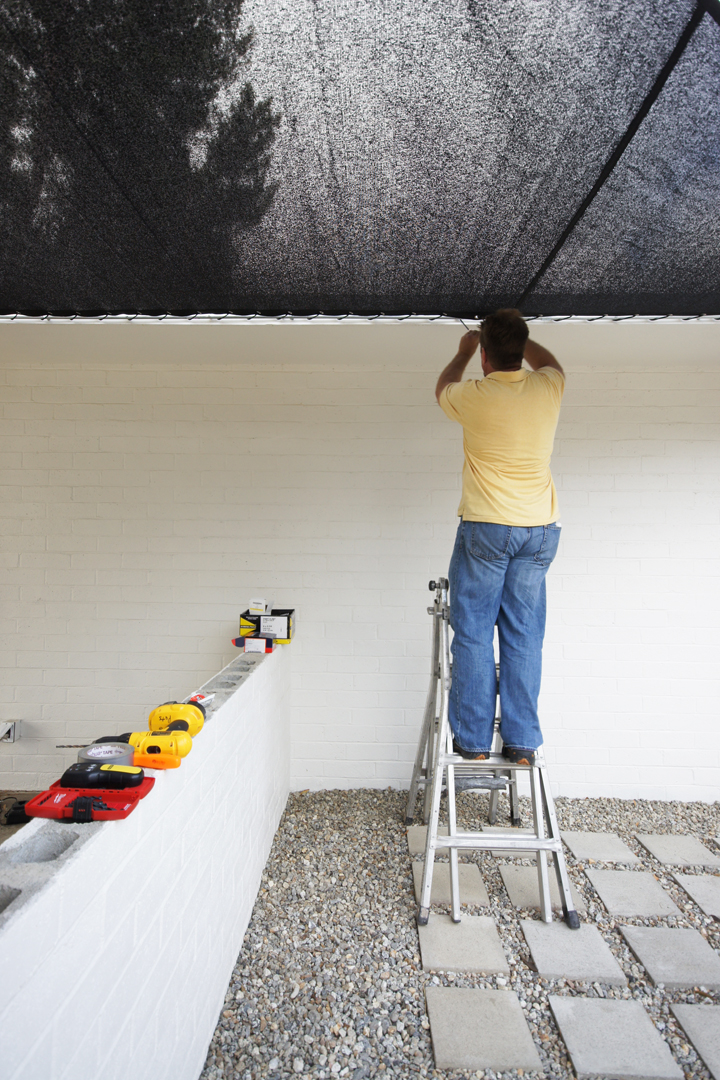
Patrick goes back through a second time and pulls out any slack in the cord. Tedious, but totally worthwhile.
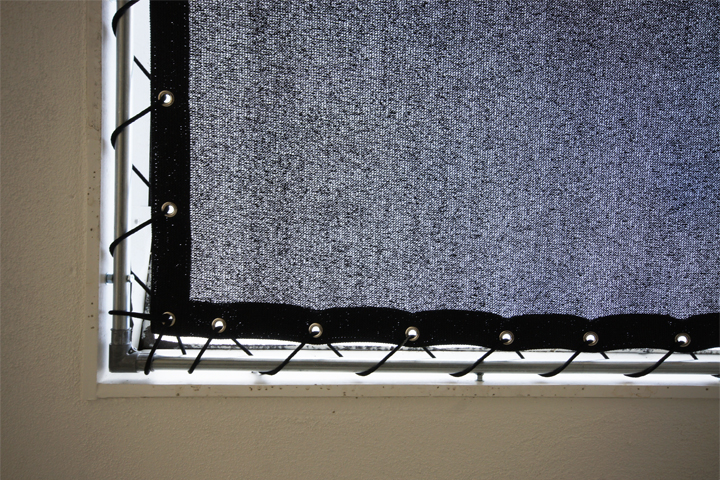
Here is a closeup of the tightened cord as well as the spacers and elbow connector.
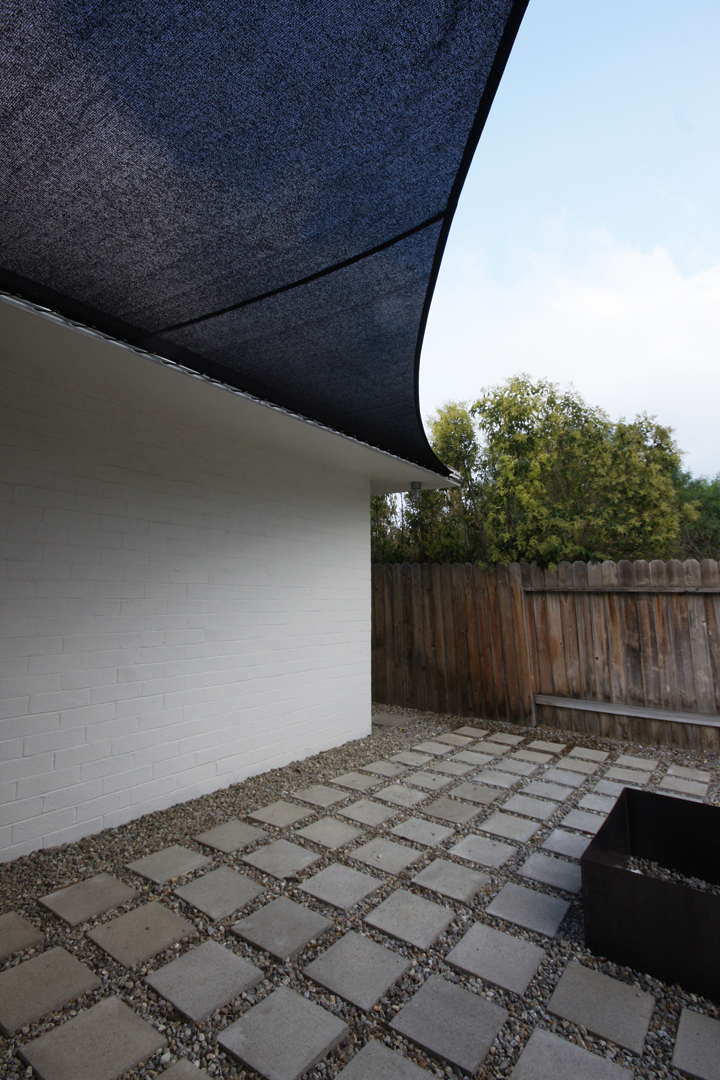
Finish installation by tying the loose cord off, cutting it to length and singing off the end of the cord. The shade sail fabric is exterior rated to last about ten years and will withstand the harsh weather all year round.
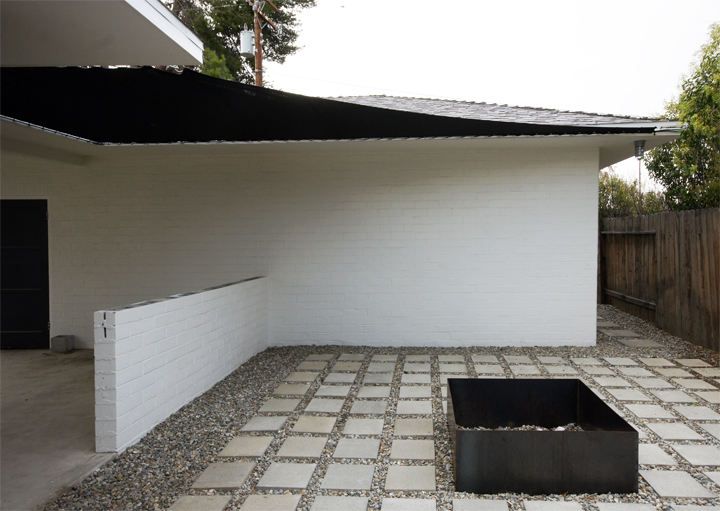
Shazamm. DONE.
The little bar/eating pony wall area is ready to be built out is already cooled off and protected. Loving it!
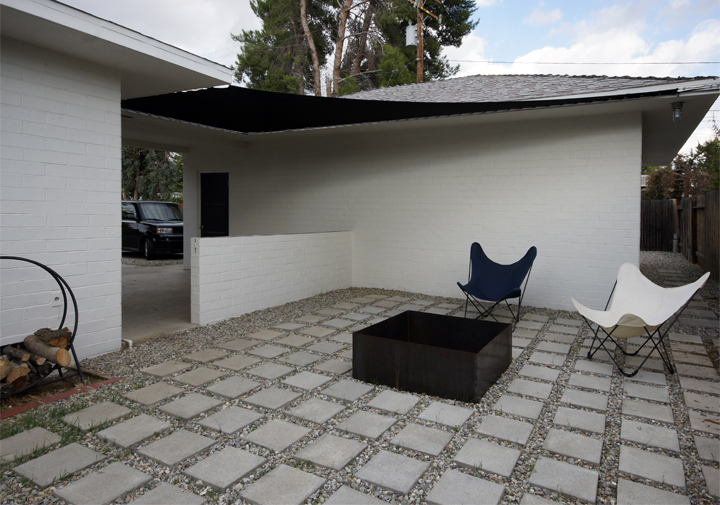
We’ve had the shade installed for about a month and already have had crazy windstorms, rain, heat and harsh temperature changes and this thing is performing like a champ. It’s made a big difference in the temperature of our laundry room, back patio, the breezeway and the garage and we’ve had four or five fires in our steel fire pit without any issues whatsoever. In the pictures I know that the shade tends to look super close to the fire pit, but trust me, there is plenty of clearance space.
All in all I feel like this could be a pretty awesome DIY project for anyone willing to tackle it. Once we got started the whole thing was fairly simple to build with really easily sourced hardware. The super talented and savvy Patrick is currently building a DIY shade sail website and will be offering video instructions, design and installation advice, hardware kits, custom shade sails as well as design services in 2011. I’ll make sure to keep everyone posted when it launches.
For now you can contact Patrick directly via email or contact Shade Industries with any questions or if you have a shade sail project you’d like to tackle.
Get ready, get set, because shade number two is on the agenda for tomorrow. I’ll can’t wait to show you how we built the most dramatic addition to The Brick House yet.
