Archive for the ‘landscape’ Category

Hoopla

Tuesday, February 2nd, 2010

I found this firewood hoop at a local hardware store for about $20. It’s currently holding a sad selection of wood mangled out of the weed tree we cut down before starting the back patio project. It’s about the only exterior addition that has happened in the last few weeks because of the constant unstoppable rain.

The Boy lit the inaugural fire in the newly primed and sealed (we used Rust-Oleum Black High Heat Paint on the interior) fire pit.

The verdict?

No explosions or shrapnel, that the internet warned of – just a little bit of cracking in one section of the mortar. But, with issues in the construction already manifesting this might turn out to be a temporary structure. A little rethinking is looking like it will be necessary.

Now we just need to finish up figuring out the installation of the square cement pavers. And then do it. Ugh.

Patio Walkway

Monday, January 11th, 2010

DSC06583

Figured out today that we are stupid, like really stupid.

I blame it on inexperience, but logically if your going to create a gridded cement paver patio it would be wise to level the area, put down sand and install the pavers first.

Maybe it’s just project fatigue. We also drove to Home Depot in my little Scion to pick up 10′ lengths of wood and 30 super heavy cinder blocks. Once we loaded up the cart we realized we had to drive back home and get The Boys truck.

We Are Idiots.

DSC06603

The whole plan was to create a 18 x 18′ gridded cement paver patio around the fire pit with gravel as a filler. It would have been smarter to install those f*cking pavers first but somehow we got gravel happy and thought we needed to level out the area with gravel. Dumb move.

I installed the first row of stepping stones behind the garage today and it required digging out each individual spot, leveling and finessing each stone in a rocky pit of hell, and cursing our own ineptness.

I do think it turned out rad considering the disgusting hamster bedding dog run of death that was there before.

We chose 18 x 18″ cement stepping stones that cost about $50 total.

DSC06608

Now we have to decide what to do:

– Leave it all gravel.
– Install 18 x 18″ pavers at $5 a piece.
– Install 12 x 12″ pavers at $1 a piece.

I’m leaning towards the 12 x 12″ pavers, even though initially I was super opposed to them (I had lofty dreams of like 30 x 30″ pavers till I found out how much they are and how fragile). The smaller ones are WAY easier to work with, could be installed closer together and would be about $150 compared to like $350 for the larger size.

Landscape Inspiration

Friday, January 8th, 2010

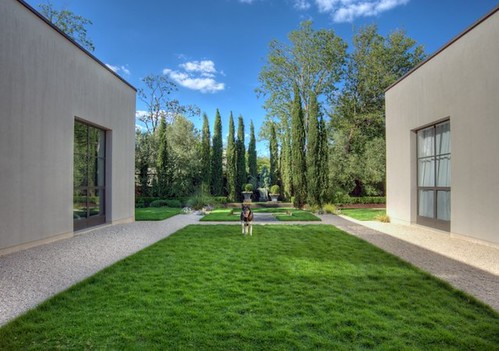
Loving D-Crain landscape design. LOVING! Which I found after lisa tomiko mentioned Rig Red Sun in Venice.

d-crain_0026_medium d-crain_35_medium

d-crain_90_medium

d-crain_110_medium d-crain_88_medium

d-crain_102_medium

d-crain_0018_medium d-crain_89_medium

d-crain_109_medium

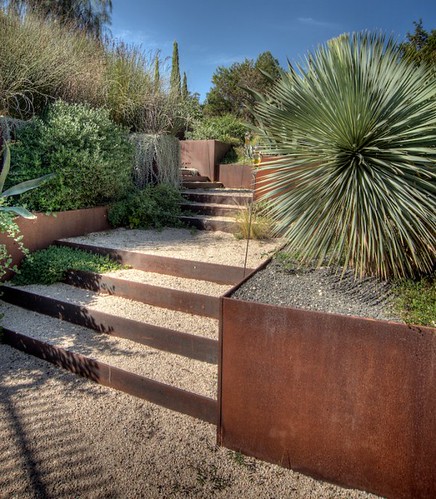
Also, Jonathan Duke, owner of Austin Outdoor Studio chimed in with a good tip about that steel landscape edging:

Hey Guys,

I just thought I’d chime in and offer a little advice if I could. We use regular hot rolled steel for our edging jobs. We prefer to do everything in 1/4″ thick steel if not thicker. Corten is great for certain installations like commercial planter application to minimize the rusting. I don’t believe it is necessary for landscaping steel. You’d be suprised how long it takes for 1/4″ steel to rust through.

Here are some tips for having a local shop do it for you.

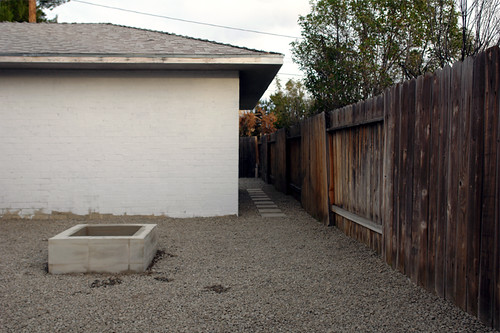
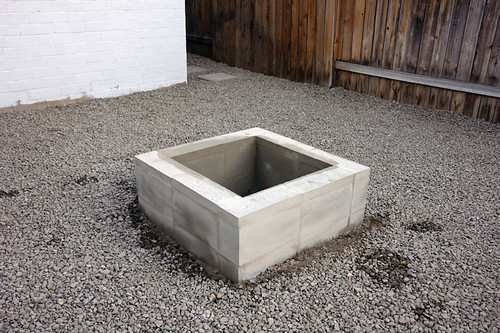
1.) You want to use steel that is atleast 1-2″ wider than the height you want out of the ground. This will help any washout problems that could happen. Hot Rolled steel is available in widths ranging from 1-12″ that are 20′ long. If you want talled than 12″ you will have to get full sheets fo steel sheared and then weld them together.

2.) The steel can be anchored to the ground in several ways. We use 5/8″ rebar for most edging installations, but other means for taller structures to get the support. The rebar stakes need to be pounded into the ground at least 18″ and then welded to steel edging. Tell the welder which side of the steel the stakes need to be welded on.(you shouldn’t be able to see them. Sometimes it is necesarry to weld angle iron to the back to get perfectly straight edging.

3.) The most important things to communicate to the welder is it must be straight, plumb and installed level if that is the look you are going for. Otherwise, what’s the point of paying the extra cost if it doesn’t look right.

4.) Edging takes longer than you might think to install properly and welder’s rates are not cheap, so keep that in mind if the shop wants to bill you by the hour.

Good luck and keep up the good work, its looking great!

Jonathan Duke
Owner
Austin Outdoor Studio

Hooray, professional tips! Thank you interweb!