Archive for the ‘DIY’ Category

Problems just waiting for solutions…

Tuesday, May 13th, 2008

The unpacking never ends. Who knew we had so much crap? Oh yeah – I did.
I think a trip to Goodwill might be in order.

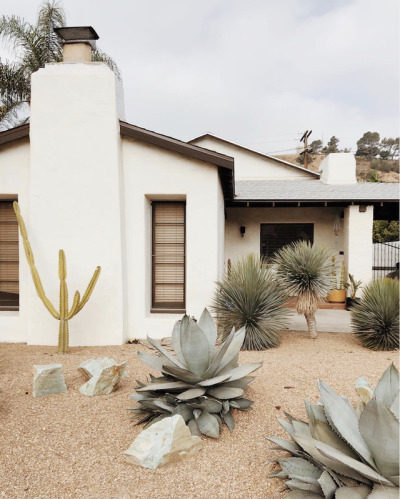
So there are a number of issues that are starting to come up as we finish more and more. I think we have decided to paint the outside of the Brick House. The bricks have been left unmolested throughout the last 50 years, but the house seems unfinished – and a little depressing.

I really liked this porch makeover featured on Martha Stewart’s site from the Blueprint article. I definitely want a yellow door, and love the idea of painting the house white with dark charcoal trim. Well the Boy and I will have to fight it out – he wants to paint the outside dark gray…which might work with white trim…aaaaaaahhhhhhh. Its so hard to decide.

People keep telling me to drive around and copy something I like – but I haven’t seen one stupid house in town that I approve of – people just don’t care about style out in the middle of nowhere.

We still need to get a new entry system for the front door. I hate everything I see – and I’m not sure how to cover this big hole on the inside. We still have the real estates office combination coded key holder attached to the outside handle – it blocks the hole…

And then the leftover wall heater holes.

I guess we need to patch them in – but I’m not sure where to get wainscotting to match. So I thought maybe we could build like a little inset bookshelf. Would that be weird – should I make the hole bigger?

Something like this…but nicer?

A New Light

Thursday, May 8th, 2008

My brother destroyed our ceiling fan when he tried to take it down in order to paint the ceiling. I was openly grateful as I tend to despise all ceiling fans and have been looking to replace the mishmash installed in the Brick House. There were 4 ceiling fans, none of which matched. One was arts and crafts, one looks like its from the future, and the others were cheapy white ones from the 1980’s that had been painted a rainbow of colors.

So it fell and smashed on the floor and we’ve had a hole in our ceiling for a month and a half. I really wanted to install some mid century inspired drop pendants throughout the house as they give a good even light and have a very streamlined feel. Ikea has a line called FADO that fit the bill and my price range. The smaller 10″ hardwire pendant down light – which I traveled to Ikea to buy – is $24.99 while the larger 12″ pendant hangs from a cord and costs $34.99.

I drove 2 hours and Ikea had no small Fado’s, no Ikea in ALL of California has small Fado’s…and they aren’t getting any more till mid-June. The friendly salesperson told me that they only have 12 ordered and that they sell out almost immediately. WTF.

I bought the larger pendant, even though I hated how the cord looked and I knew it would be way to long for the den. I hoped that I could rig it to be shorter…and after some trial and error…


SUCCESS!

I ended up pulling the whole thing apart and removing some of the cables and rods. Its a little hokey but its stable and works great. This was also the first time I’ve ever hardwired something, and it was frightening! So we have to caulk the medallion in place to cover the electrical box and then paint the medallion and the ceiling to match and it will be done! I really like how it turned out and its really great to have light in the den. I plan on rigging the larger Fado the same way in the bedrooms – and if I can get my hands on the smaller Fado – I might put it in the hall. Globe lights everywhere – I’m globe crazed.

My other new (old) hardwire light arrived that I bought on EBAY for $5. Its going to be installed over the desk in the den and I love it! It swivels and adjusts every which way and the spun aluminum looks great with the Fado hardware. I originally wanted a double cone light, but the deal was just to good and we can always move it if I happen to find that perfect vintage fiberglass double cone sconce. So more adventures in hardwiring and then maybe we can clean up this place.


Moulding

Thursday, May 8th, 2008

This past weekend we installed new moulding in the kitchen and bathroom to replace the cheap vinyl commercial-grade sticky moulding that the previous owners installed. We also painted everything bright white. Lot and lots of painting has been happening…

Before moulding:


And after:


We also started installing moulding in the pink bathroom, but haven’t quite finished. It needs to wrap around the built-ins and the walls need to be patched, sanded and then painted. More goddamn paint.

Before:

After:


The plug of doom got a mini makeover with electrical tape and an adapter and now we were able to bring in the fridge (finally) from the garage. It looks so weird! It also makes the kitchen feel tiny. I’m not sure what to do…we might need to get an older fridge to match the style of the cabinets and stove. Just as I thought we were getting somewhere with the kitchen, curses!