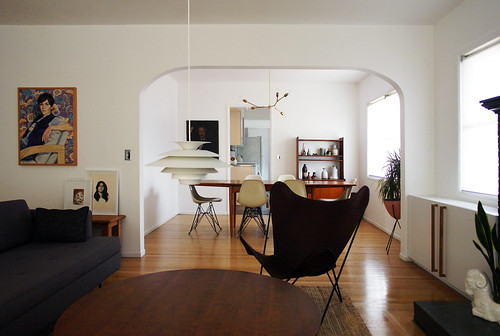
These terrible images were shot during our home inspection almost two years ago. Unfortunately, not that much has really changed with the exterior of The Brick House as we move on into 2010.
Heretofore I dub 2010 “the year of the exterior”.
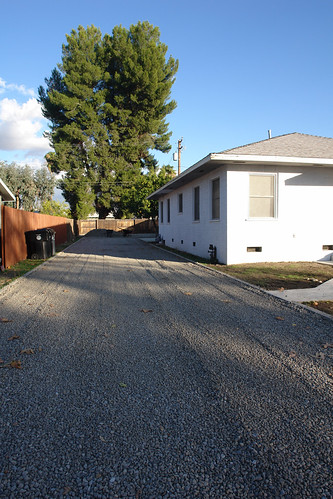
So hey, lets start off with the DRIVEWAY.
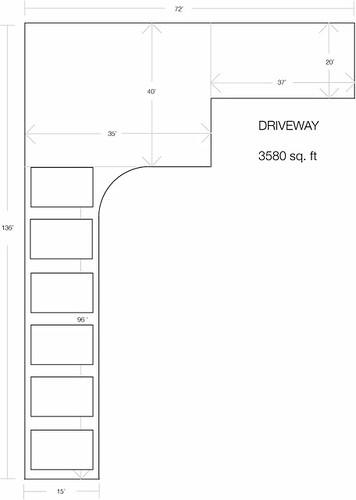
Here is my awesome drawing denoting the super rad cement pads that would run up the length of the driveway with 1″ crushed rock gravel as a main base. HA HA HA – awww dreaming. Yeah, that was way too expensive. Quotes ranged from $6,000 – $20,000 dollars. What!
Our DIY budget was $1,000 to do almost 3,600 sq. ft. of driveway. Yeah, I know. Stupid low.
Here is what we did…
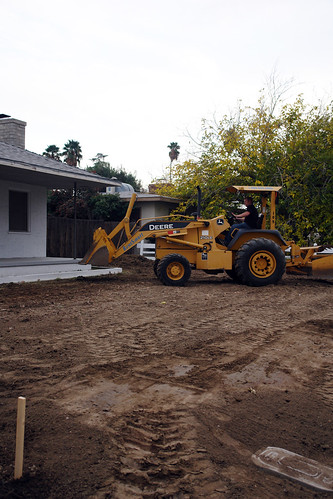
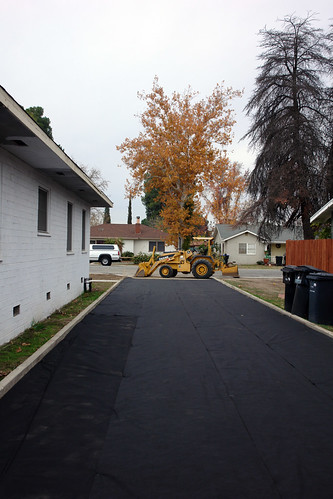
Step 1
-Rent a tractor for one day.
-Let the Boy go hog-wild grading all our fancy dirt. (BTW, this was his first time on a tractor and he did brilliantly)


There was a surprising mess…
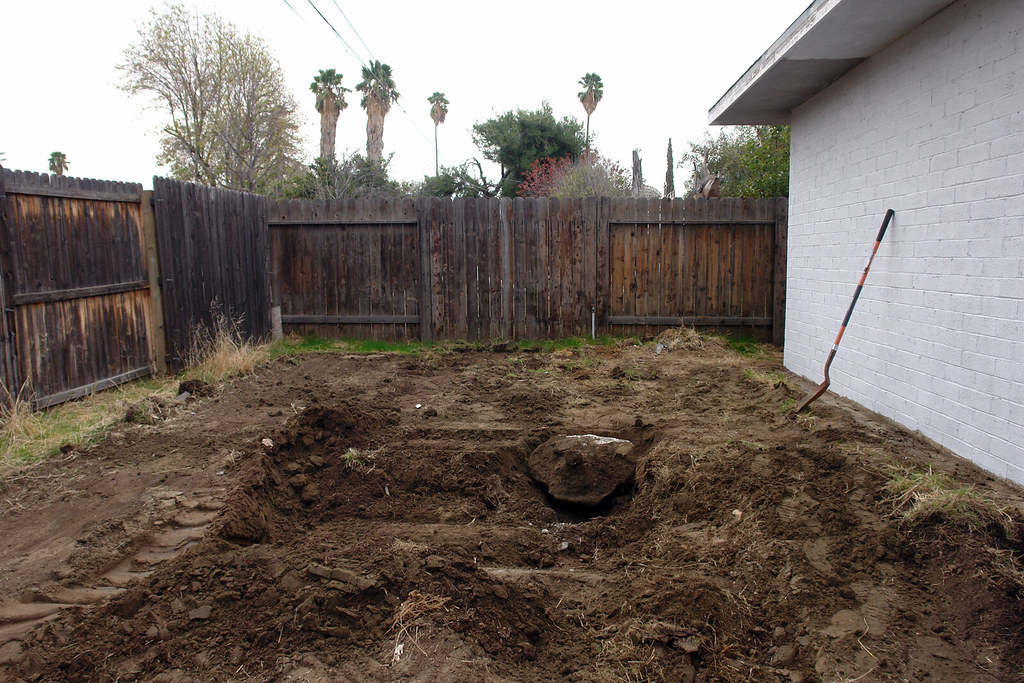
WTF, giant cement blob. You were a pain in the ass.
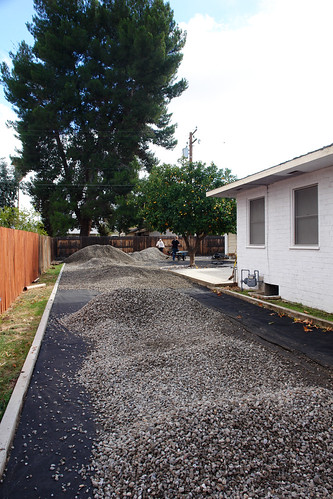
Step 2
-Take preventative measures with geotextile fabric. It’s permeable, prevents erosion, keeps gravel in place and helps stop weeds. Keeps that gravel looking fresh and not ghetto.
-Roll out 3,600 sq. ft. of this stuff and stake it down into place.

Step 3
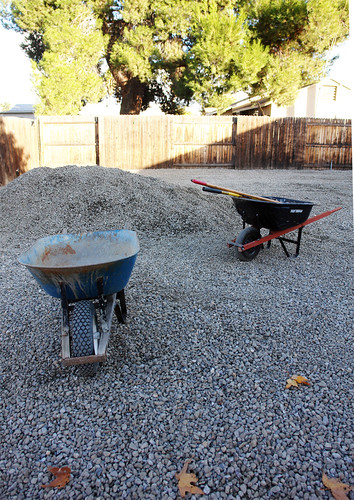
-Move 50 tons of locally sourced 1″ crushed river rock. By hand. 50 TONS. F*ck you gravel.
-Thank your mom, Carpenter Craig, two friendly neighbors, and the Boy for helping spread gravel all day. Thank you guys.
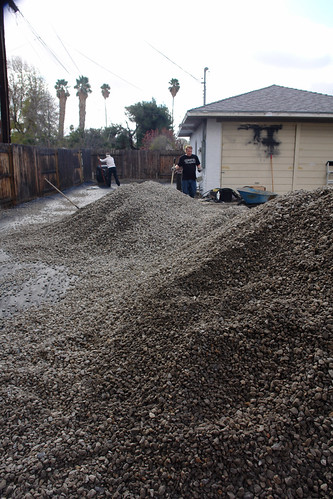
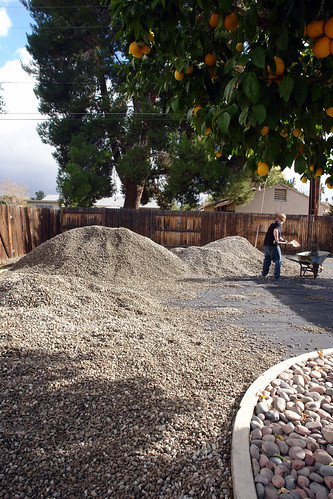
Yeah. BY HAND.
Step 4
-Compact that crap down. (We used our cars)
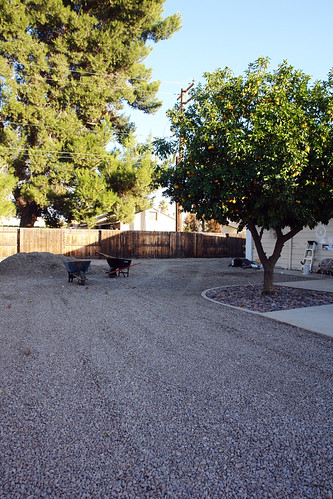
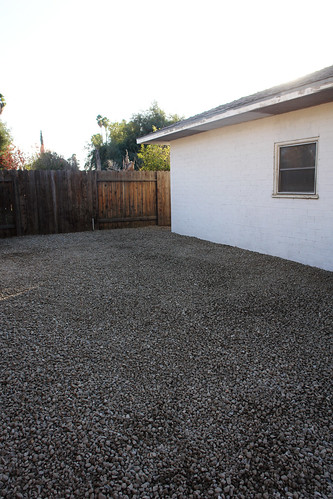
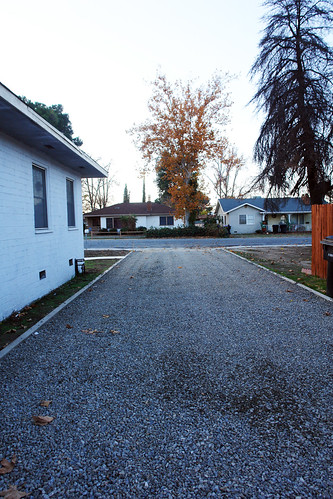
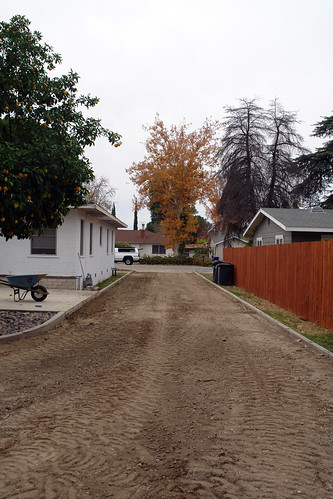
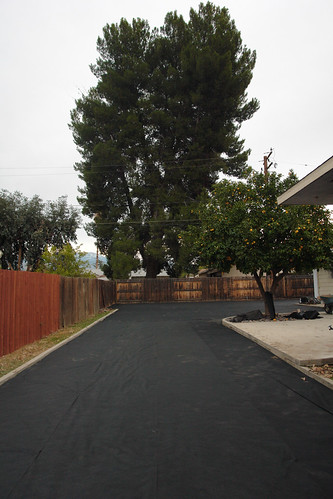
Done!
Well, almost. There is still the issue of that large mound of gravel in the middle. It’s the leftovers for another project we are currently working on…teaser.
The DIY cost break down:
Tractor Rental: $235.46
Geotextile Fabric: $250.13
50 Tons o’ Gravel: $610.00
Driveway Total: $1,095.59
All in all we finished on budget and on time. It took two full days with a lot of help, a little rain and a ton of aspirin.